Who knew a common kitchen utensil would become part of your sewing kit? You'll be wondering why you didn't throw a fork in your bag years ago when you learn how easy it is to create perfect fork pleats using our step-by-step tutorial. Even beginners can master this pleating technique, and all you need are your sewing machine, a fork and some fabric.
Pleating is basically folding fabric to create ease, texture or volume in your DIY clothing. There are many different kinds of pleats, but the most common are box pleats and knife pleats. The difference between them is the direction in which the folds face. A box pleat has two knife pleats facing in opposite directions that form a raised section in between. A knife pleat has folded fabric that is pressed to one side in the same direction. In this sewing tutorial, we'll be using a fork to easily create a knife pleat. So, go loot your silverware drawer, and let's get started.
Video of the Day
Video of the Day
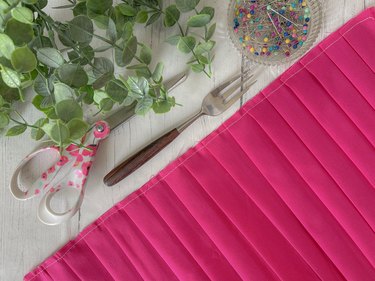
Things You'll Need
Fabric
Sewing machine
Thread
Fork
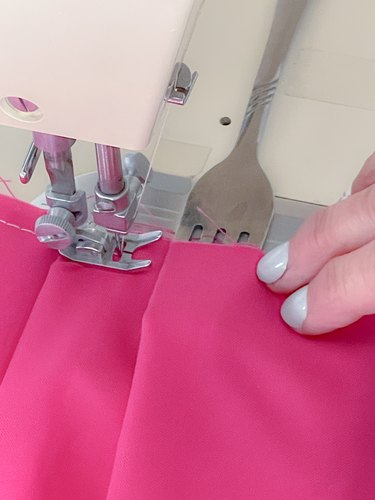
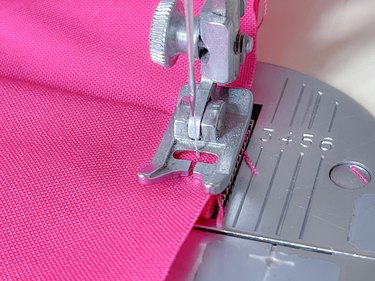
Step 1
Turn the fork upside down and place the fabric into the bottom slot of the fork.
Step 2
Twist the fork away from you so the fork is right side up and the fabric is folded.
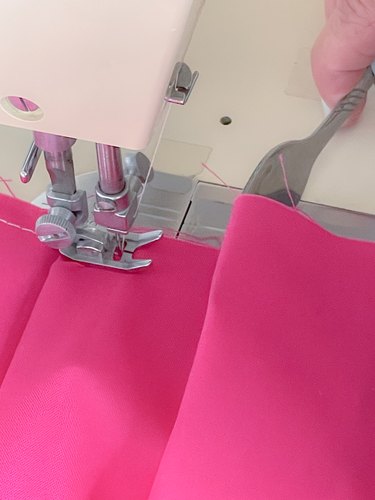
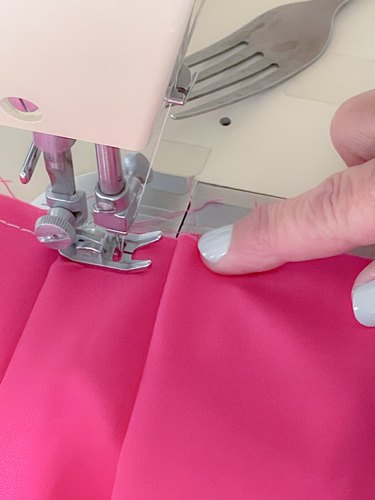
Step 3
Lay the fork flat and line up the edge of the fork fold with the edge of the previous pleat. Slide out the fork while holding the fold in place with your finger.
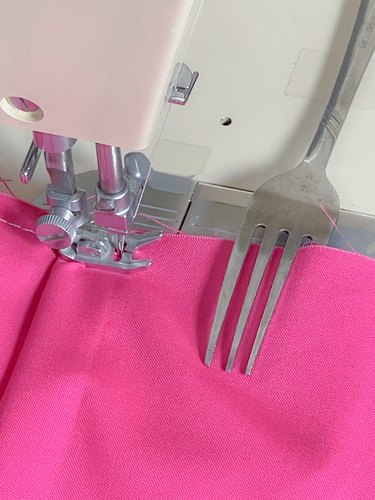
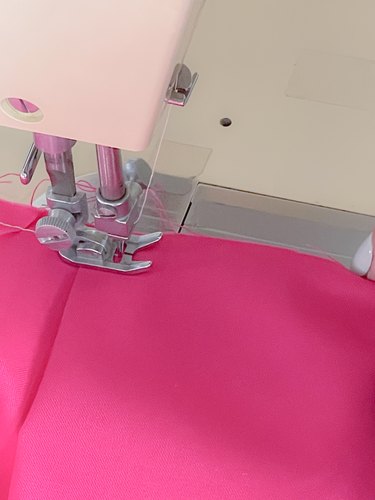
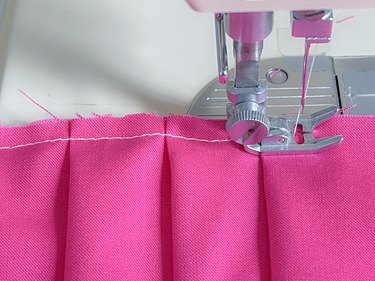
Step 4
Sew halfway through the pleat. The fold of the previous pleat should line up underneath with the edge of the slide plate.
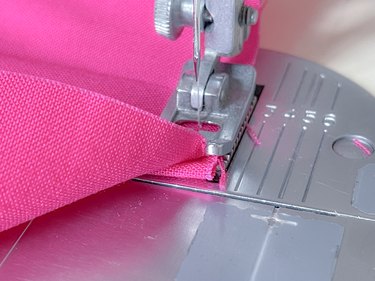
Step 5
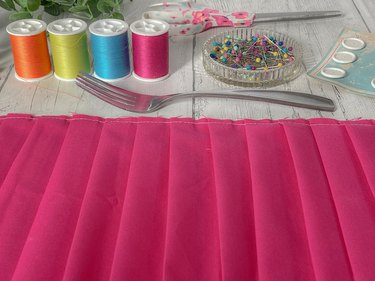
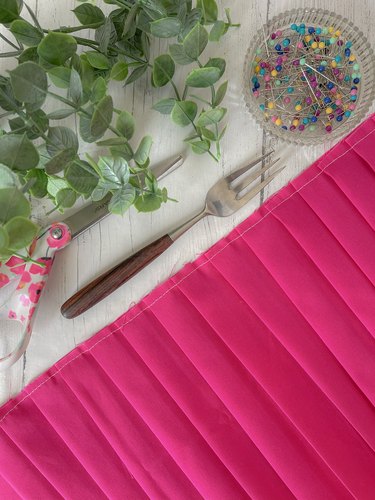
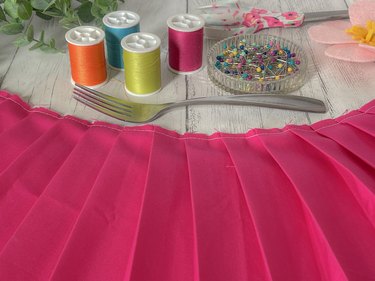
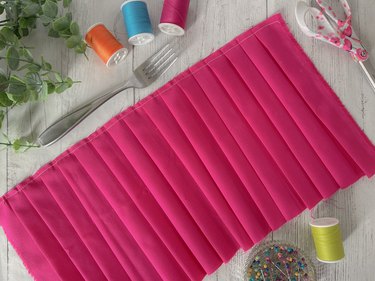
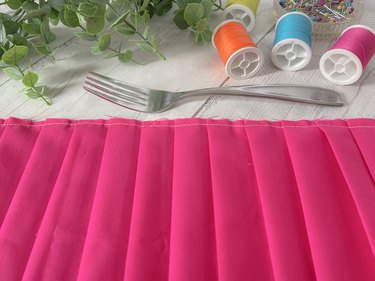
Continue to use the fork in this way to create even pleats all along the edge of your fabric.
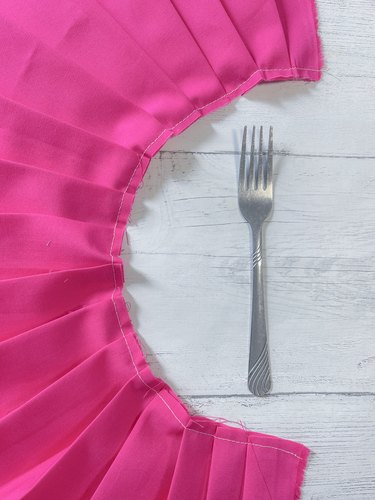
Pleat perfection!