Things You'll Need
Templar robe pattern
White cotton fabric (3 Yards)
Red felt (1 yard)
Fabric Scissors
Pins
Sewing Machine
Red thread (spool)
White thread (spool)
2 bobbins
Iron
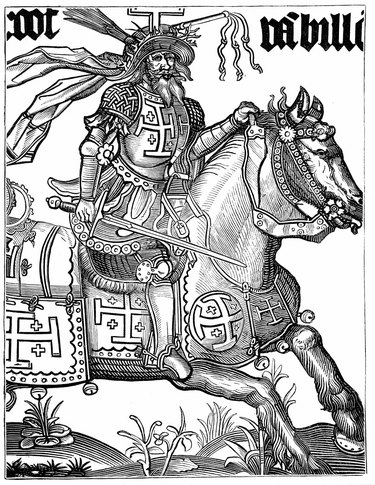
The medieval order of the Knights Templar was endorsed by the Catholic Church in 1129 A.D. and is famous for its association with the crusades and the legends of the Holy Grail. The quintessential garb for the knights was a suit of metal armor, equipped with chain mail, and topped with the Templar's tunic. Creating the armor often requires extensive metal work and tools, but the tunic is a fairly easy task. A common costume for Halloween, the tunic is a simple white robe that is embellished with a large red cross.
Step 1
Fold the white fabric in half, lengthwise and lay the Templar robe pattern on top. The front of the tunic should be arranged along the fold, so that it is one continuous piece. Place the back of the tunic on fabric's selvage or edge, which will create two identical pieces. Then, pin the pattern down and cut it out with a pair of fabric scissors.
Video of the Day
Step 2
Place the pattern for the tunic's cross onto the red felt. Unlike the cotton, which was folded, the felt should lay flat. Pin the pattern down to secure it into place before cutting it out.
Step 3
Remove the pins and open the pattern for the tunic's front and lay the fabric flat. Position the red cross in the center of the tunic, in between the two armholes. Then, pin the cross onto the tunic.
Step 4
Thread the sewing machine and bobbin with red thread before sewing the cross onto the shirt. Sew along the entire perimeter of the cross. To create acute angles, position the needle down at each corner, then lift the pressure foot -- the foot located at the needle that holds the material down -- and pivot the fabric.
Step 5
Switch the machine's threads to white. Pin the two sides of the tunic's back together along the center back seam so that the face, or front, of the fabric is on the inside. Using the pins as a guide, sew along the seams removing the pins after the seam is sewn. Then pin the shoulder seams together in the same manner before sewing. Finally, repeat the process to the side seams, making sure to remove all pins once the seams are intact.
Step 6
Iron the garment while it is still inside out. Open the seams so that the seam allowance -- the space between the seam and fabric's edge -- is laying flat. This can help give the seams a crisp look and finish the garment.
Tip
Refer to the sewing machine’s manual or guide for threading the machine and bobbin, as each machine can be threaded differently.
Pin the seams so that the pins lie perpendicular to the seams, instead of parallel. This can reduce the risk of the sewing machine’s needle breaking during the sewing process.
Video of the Day