Things You'll Need
Large white button-up shirt
Scissors
Pins
Smaller white button-up shirt
Five thin leather belts
Sewing machine
Leather needles
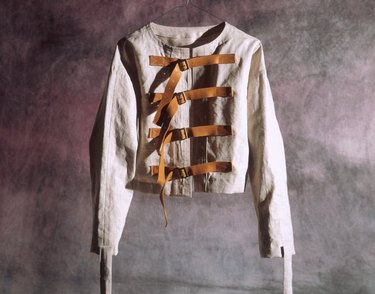
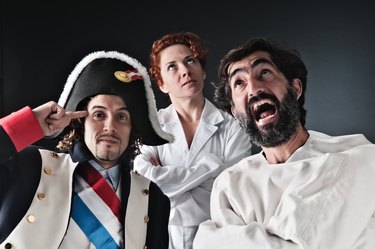
No escaped lunatic or mental patient costume is complete without a straightjacket. Making your own costume piece is not only cheaper than buying one from the store, but it lasts longer too. Use the finished straightjacket to create a new character every Halloween. Make your straightjacket from cheap clothing and tools purchased from a thrift store or with items you already have on hand.

Prepare the Shirt to Become Your DIY Straightjacket
Lay the larger button-up shirt down on a flat surface, facing up. Clip off the buttons with your scissors. Run one side of the open scissors along the pocket seam, breaking the stitches. Pull off the pocket. Cut off the shirt's collar.
Video of the Day
Step 1
Fold the seam that held the buttons under 2 inches and attach several pins along the entire length of the seam, holding the fabric together. Fold the collar down 1 inch inside the shirt and attach with pins. Use the sewing machine to stitch a new seam along the side of the shirt that once held the buttons and then along the collar.
Video of the Day
It's All About the Sleeves
Cut the two sleeves off the smaller shirt. Make the cuts along the seam where the sleeves meet the shirt at the shoulders. Make sure the larger shirt's sleeves are spread out flat on either side of the shirt. Place the smaller shirtsleeves directly on top of the sleeves from the larger shirt, lining the top seams of the sleeves together.
Pull, Pin and Sew
Pull the sleeves from the smaller shirt by the cuffs down along the sleeves of the larger shirt until the top seam of the smaller sleeve is the same width as the larger one.
Mark the spot on the larger sleeve. Draw a line along the larger sleeve 1 inch below the spot you marked. Cut along this line with the scissors. Slide the smaller sleeve into the larger sleeve. Pin the two sleeves together and sew them together with the sewing machine.
Close Up the Sleeves

Trim the buttons off the cuffs of the sleeves. Sew along the bottom edges of the sleeves to close them off.
Cut the Belts
Cut each of the eight belts in half. Replace the sewing machine needles with leather needles.
Arrange the Belts
Arrange three belts on the front of the shirt (which becomes the back when worn as a straightjacket). Place the buckles of the belts on the left side of the shirt and the opposite ends of the belts on the right side.
Arrange one belt 2 inches from the bottom of the shirt. Place the second belt halves in the center of the shirt and place the last two belts near the shoulder blades. The ends of the belt should sit flush with the side seam in the shirt. Make sure both sides of the belt line up with each other. Use the sewing machine with the leather needles to attach the belts to the shirt.
Sew On the Belt Halves
Place another belt vertically on the back of the shirt, which will become the shirt's front. Sew one of the halves in the center of your chest, facing down, and the other at about the center of your abdomen. The belts should be able to clasp together over your folded arms.
Sew Belts to the Sleeves
Sew one belt half to the end of one sleeve and sew the opposite half to the other sleeve.
Finish the Job

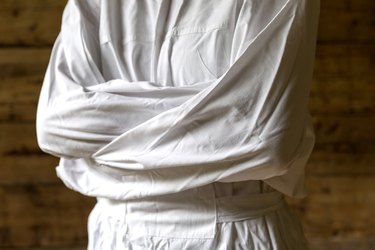
Put the shirt on backwards. The longer sleeves will completely cover your hands. Cross your arms and wrap the sleeves around your body. Have someone attach all the belt straps for you to finish your mental patient costume.
Tip
Two long-sleeved white scrub shirts work equally well for this DIY straightjacket. Cut a line down the middle of one shirt and follow the same steps.