Things You'll Need
Tape measure
Scissors
Fabric
Pins
Sewing machine
Thread
Iron
Compass (optional)
Fabric marker
Single-fold bias tape
Cord
Safety pins
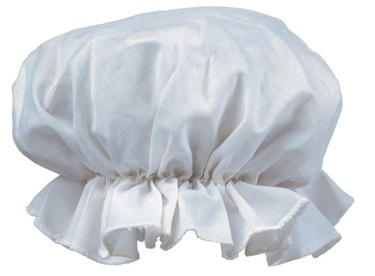
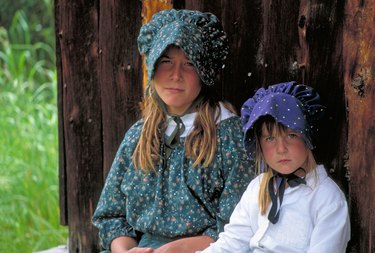
Laura and Mary looked so sweet in their ruffled night cap hats on "Little House on the Prairie." Also referred to as night or sleep bonnets, night caps, were practical garments that kept the wearer's head warm. Wearing a night cap might allow you to turn down your thermostat without being uncomfortable. Even if the weather is warm, they are a charming accessory for a little girl. The ruffled edge provides a soft frame for a little girl's face.
Measure the Wearer
Measure the distance over the wearer's head from ear to ear. Add 1 inch to this measurement for seam allowances. Cut two fabric circles with this diameter.
Video of the Day
Join the CIrcles
Pin the circles together with the right sides of the fabric touching. Sew around the edge of the circle with a 1/2-inch seam allowance. Leave a 2-inch opening for turning.
Snip the Seam Allowance
Clip the curve by snipping the seam allowance every 1/4 inch. The cuts should be perpendicular to the seam and come very close to it, but be careful not to cut the thread of the seam.
Turn, Press and Stitch
Video of the Day
Turn the hat right side out and press it. Sew the opening closed. Draw a circle on the inside of the hat with a fabric marker so that the edge of the circle is 2 1/2 inches from the edge of the hat. You may use a compass or your tape measure.
Secure and Fold
Place single-fold bias tape over the circle and use safety pins to secure it in place. Fold under 1/2 inch on each end of the tape and leave a 1/2-inch gap between the ends of the tape for inserting the cord. Then sew the bias tape to the hat with two rows of stitching -- one along the top edge and one along the bottom. Remove the safety pins.
Cut and Knot
Cut a yard of cord and knot both ends. Attach one end of the cord to a safety pin, and then insert the pin into the bias tape casing. Use your fingers to massage the safety pin all the way through the casing to the other end so that the cord is now threaded inside.
Finish Your Night Hat
Pull the ends of the cord until they are even. Loosely knot the ends of the cord and pull them to gather the hat to fit the wearer's head. Tie the ends of the cord to hold the gathers in place and distribute the gathers evenly.
Tip
Elastic was not available on the prairie, but you can substitute a band of elastic for the drawstring for your Little House on the Prairie bonnet. Cut the elastic to the diameter of the wearer's head and sew the ends together.
Numerous types of fabric can be used for making night caps. Cotton knit is often ideal because it breathes and stretches. However, wool can work well for colder climates, while satin is nice for warmer ones.
Make a bunch of night cap hats in different colors, patterns and styles, and then give them away as Christmas or birthday gifts.
Warning
Avoid damaging the casing by always crossing, or loosely knotting, the ends of the cord of your loosely threaded hat before you pull them to tighten the hat.