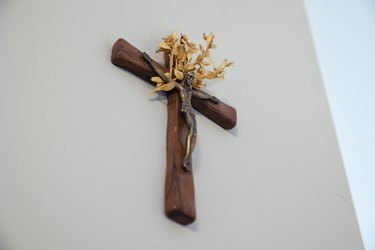
The cross is an important religious symbol for Christians. People make crosses from many different kinds of materials, from palm fronds to large wood planks. Most churches have a large cross inside near the pulpit. Making a cross seems easy, but unless you have the right dimensions for a cross, it could come out looking a little off. Here's how to make a cross with the right dimensions.
Things You'll Need
Measuring tape
Pencil
Wood
Saw
Hammer
Chisel
Flat rasp
Sandpaper
Video of the Day
1. Make a Plan

Determine the material, size, thickness, style, and character of the cross you want to make. Do you want an old, rustic cross or a more modern version? Make a rough plan and have a vision before you begin working to make the process smoother. Sketch it out and refer back to your original plan throughout the project to stay on track.
Video of the Day
2. Gather Supplies to Make a Cross
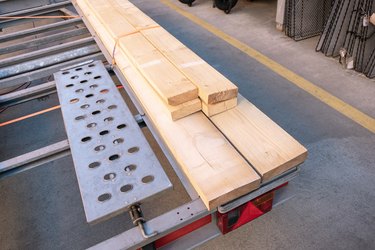
Buy wood that matches your desired style and size of cross. You can find wood at your local home improvement store. To deepen the color, consider staining the wood.
The Dimensions of a Cross
While there is no absolute rule, the width of the wood planks in inches should correspond to the overall height of the cross in feet. For example, a 5-foot-tall cross should use planks 5 inches in width. For a church interior, a 12-foot high by 6-foot wide cross is considered appropriate.
3. Cut Wood and Mark the Cross
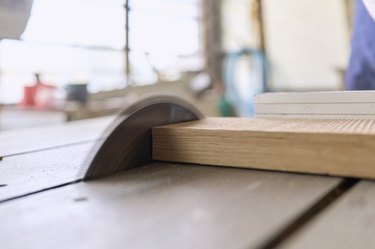
Cut the wood to size and mark the cross where the two pieces intersect. For a 12-foot high cross, mark the center of the cross on the vertical piece three feet below the top edge and nine feet above the bottom edge. Mark the center of the horizontal piece at the midpoint of the board, three feet from either end.
Place the horizontal piece on top of the vertical piece. Using a pencil, mark the vertical piece where the sides of the horizontal piece crosses it. Do the same on the underside of the horizontal cross piece. This marks where the lap joint will be made.
4. Assemble the Cross

Cut along the pencil lines halfway into the depth of the wood on both pieces. Carve out the wood in between the saw cuts with a hammer and chisel, then file them smooth with a rasp. Both pieces should fit snugly together.
5. Use Glue to Secure the Cross in Place

Apply wood glue and join the two pieces together with heavy weights on top until the glue has dried (a few hours, at least). Fill in any gaps at the joint with wood joint compound. Sand and finish to get your desired look.
Tip
As an option, consider staining the wood in a color that matches the surroundings and finish it with a clear satin finish to add richness to the color and to make keeping it clean easier.