Things You'll Need
Stove
Mirro Matic pressure cooker
Food ingredients
Pressure cooker recipes
Vegetable oil

Mirro Matic pressure cookers were all the rage from the 1940s to the 1960s. Almost everybody's mom had one. They were first generation cooking pots with sealed and locked lids to build up pressure. Cooking under high pressure cut down cooking time by 70% or more. More nutrients were retained by the closed cookers than with conventional open cooking pots. Pressure cookers were often also used to sterilize and can food. A shorter cooking time meant less gas or electric power was consumed. Less unwelcome heat was generated in the summertime. Mirro pressure cookers are still manufactured as of 2011.
Step 1
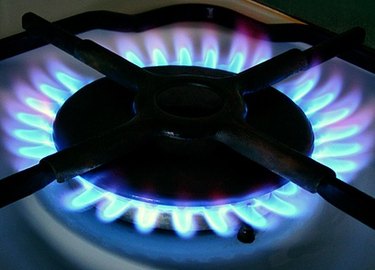
Secure the use of a gas or electric stove. Use a stove that is not a glass-top or flat-top range. The bottom of the cooker is concave and it won't sit well or heat evenly on a flat stove.
Video of the Day
Step 2
Inspect the cooker for cracks or pinholes. Make sure the safety valve is clear and open. Check the gasket for signs of deterioration such as gumminess or cracking. Do not use the cooker if it is cracked or deteriorating.
Step 3
Acquire and read pressure cooker recipes.
Step 4
Collect your food ingredients in the proper proportions and put them in the cooker. Add a minimum of one cup of water for a 20-minute cooking time. Fill the cooker up to 2/3 full, leaving a space at the top for the steam. Leave the cooker half empty when cooking liquids or frothy foods such as beans. Put food on a raised rack with plenty of water underneath to steam cook it.
Step 5
Apply some vegetable oil all the way around the lid gasket to insure a good seal then close the top of the cooker by turning the lid until it locks.
Step 6
Set the cooker on a large enough burner and put the heat setting on high to reach cooking pressure. Before heating, remove the round pressure regulator weight from the lid. Replace the weight when steam shoots out of the vent pipe.
Step 7
Lower the heat level to maintain the cooking pressure. Select the correct setting on the jiggler, or pressure regulator weight. Choose 5, 10 or 15 PSI as called for in the recipe. Use 15 PSI as your default setting as most recipes use it. Adjust the burner until the pressure regulator jiggles or rocks three to five times a minute.
Step 8
Time your recipe from the time the jiggler starts moving. Adjust the heat setting if the jiggler slows down or speeds up.
Step 9
Cool the pressure cooker down according to the recipe. Let it naturally cool for 20 minutes or so for longer cooking foods. Run tap water over the cooker in the sink utilizing the cold release method to drop the pressure more quickly.
Tip
If you open the cooker to add more ingredients, towel excess moisture off the inside of the lid.
Warning
Never force the pressure cooker open until it has cooled down enough to open easily. Avoid the hot steam from the cooker.
Video of the Day