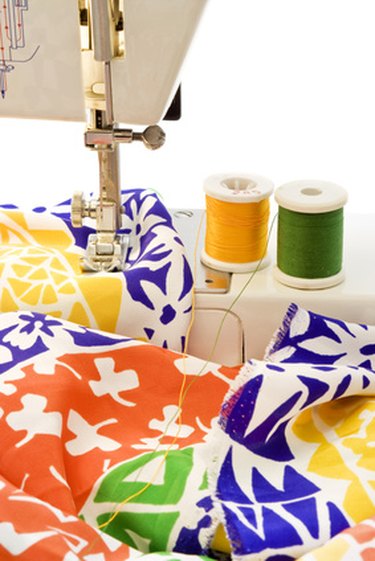
Singer is one of the most popular brands of sewing machines. The Singer 2502C sewing machine is easy to use, making it ideal for beginners. Like other Singer machines, the 2502C has several features, and the knobs, guides and guards can be intimidating at first. Threading any machine can be troublesome if you've never attempted to do so before, but with the Singer 2502C machine, the process is a cinch once you've walked through the steps a couple of times.
Step 1
Slide your thread spool onto the pin located on the top of the machine and place the cap on top of the spool to prevent tangling.
Video of the Day
Step 2
Raise the presser foot on the needle assembly.
Step 3
Turn the hand wheel (on the side of the machine) toward you until the take up lever is in its highest position.
Step 4
Grasp the thread in each hand and snap it into the upper thread guide (top front of the sewing machine)
Step 5
Hold the spool with one hand and lead the thread down and around the tension disc with the other. Then pull the thread up and slip it into the tension disc's thread guard.
Step 6
Slide the thread under the slot on top of the take up lever.
Step 7
Draw the thread from the rear through the guide (which resembles a spring) on the side of the machine, and then pull it to the right.
Step 8
Lead the thread through the guide on the side of needle assembly.
Step 9
Thread the needle from front to back, pulling about 4 inches of thread through the needle eye.
Step 10
Remove the cover plate from the bobbin case.
Step 11
Pull 4 inches of thread from the bobbin and place it into the case.
Step 12
Hold the bobbin in place and guide the thread through the first (to the right) notch on top of the bobbin. Pull the thread down the slot and around to bring it up through the second notch.
Step 13
Draw the thread across the bobbin toward the back of the machine.
Step 14
Hold the thread and close the cover plate, leaving the thread extending through the slot between the slide plate and the needle plate.
Step 15
Hold the needle thread with one hand and turn the hand wheel toward you. Let the needle lower into the plate and then rise back up.
Step 16
Pull on the needle thread (gently) and bring the bobbin thread up in a loop.
Step 17
Open the loop with your fingers and find the end of the bobbin thread.
Step 18
Draw the needle thread through the left side opening on the presser foot. Pull both threads toward the back of the sewing machine. Your machine is now threaded.
Tip
Fix burrs around the needle hole with a needle file or using fine sandpaper. Check the hook for damage as well. A damaged hook will cause thread to break.
Using a needle that isn’t big enough for the type or thickness of your fabric will force it to bend and hit the hook causing it to break.
Make sure the needle isn’t bent or too dull. This can also cause it to miss the bobbin thread.
Video of the Day