Maxi dresses are the ultimate classic dress for every women's closet. They can be comfortable, cute, even sexy, and are perfect for wearing year round. These dresses never go out of style -- all you need to do is update your accessories for a fresh new look each time you wear it. What most people don't realize is just how easy a maxi dress can be to make. If you have a fitted T-shirt that you love, and know how to sew a straight line, then you can definitely sew a maxi dress. A knit T-shirt maxi dress can be dressed up or down, and you will love just how comfortable it is.

Video of the Day

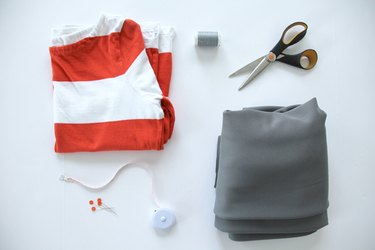
Things You'll Need
2.5 to 3 yards mid-weight knit fabric
Coordinating thread
Measuring tape
Ball point sewing needle
Pins
Rotary cutter / fabric scissors
Cutting mat
Fitted T-shirt for pattern
Step 1: Measure Yourself
Measure from your neckline to the floor, and add 1 inch to that measurement. This will determine the length of the maxi dress, for cutting the dress pattern from the fabric. Record that number.
Video of the Day
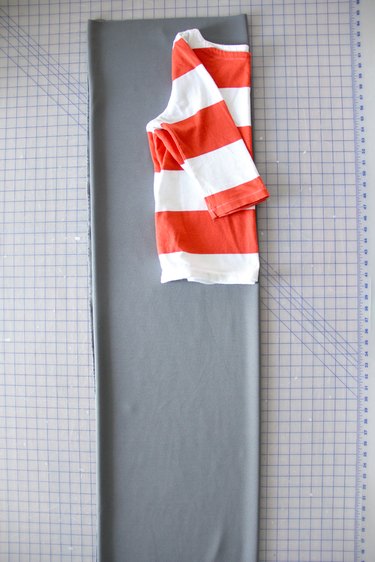
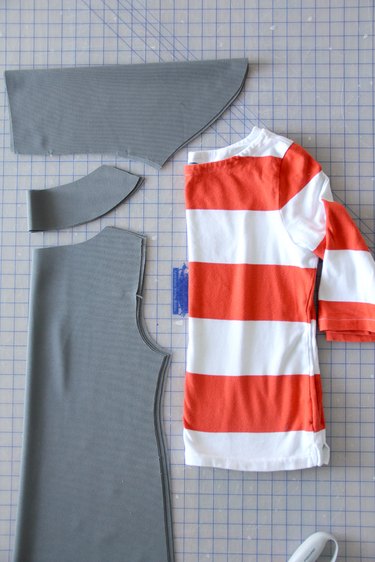
Step 2: Cut Out Front and Back Dress Pattern
Fold your fabric in half, so that the selvage of both sides of the fabric meet. Fold your shirt in half carefully, making sure the side seams of the shirt meet up nice and even. Lay the shirt fold flat along the fabric fold. Fold in the sleeve of the T-shirt so that the curve of the armscye is nice and flat against the fabric.
Tip
When folding the fabric, you can double the fold and cut out the front and back dress pattern at the same time, if your dress does not require a lot of width. This will cut down on the fabric requirement needed, as well as save time when cutting out the pattern.
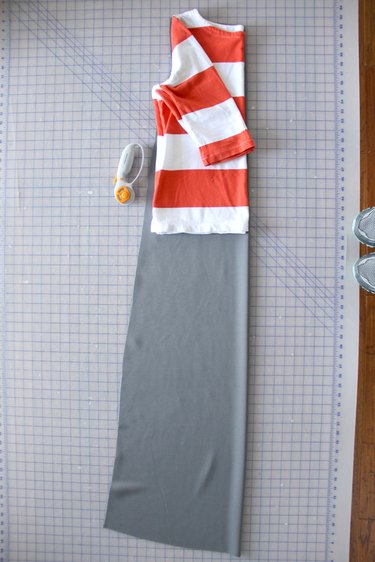
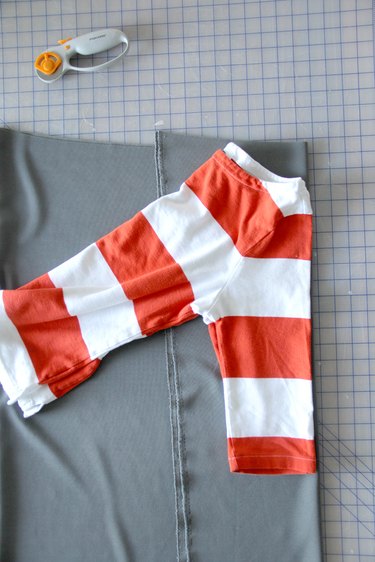
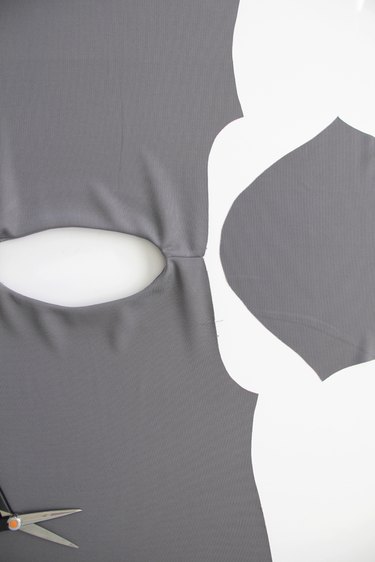
Using rotary cutters or fabric scissors, carefully cut around the neckline, the shoulder seam, and the armsyce, leaving a 1/2-inch seam allowance when cutting. Measure down from the neckline of your shirt along the fabric fold until you reach the ultimate length of your dress based on the measurement from Step 1. Cut a straight line across the bottom of the dress for the hem.
From the bottom of the armscye, cut out in an arc along the side of the dress, getting wider and wider, until you reach the bottom. Lastly, curve the hem of the dress slightly upwards 1 to 2 inches from the bottom fold center to the side seam. Repeat for both front and back of dress pattern.
Step 3: Cut Out Sleeve Pattern
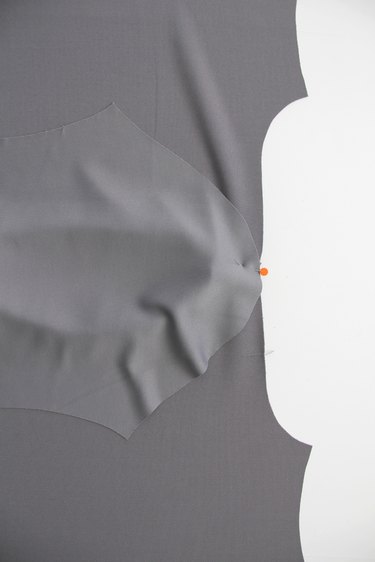
Fold the fabric in half, and place the top of the sleeve along the fold. It is very important to make sure that the folded fabric stretch is going from left to right, across the width of the sleeve, not up and down across the length. Otherwise, the sleeve will not stretch across your arm properly when wearing and will be too tight.
Fold back the body of the shirt pattern, so that it is out of the way of the sleeve curve, and cut all around the sleeve, leaving a 1/2-inch seam allowance. Cut out 2 sleeves.
Step 4: Cut Out Neckline Facing
Using your front and back dress pattern as a guide, place the top of your dress pattern along the fold of the fabric, once again making sure the stretch is going from left to right. Cut exactly around the neckline and shoulder seam, with no additional seam allowance. Remove the dress from the top of the fabric, and cut down in an arc, giving you a 3-inch wide neckline facing. Repeat for both front and back dress pattern.
Step 5: Sew the Dress Neckline
Place the front and back dress pattern pieces right sides together. Pin and sew shoulder seams, using a 1/2-inch seam allowance. Repeat for front and back neckline facing. Press seams open.

Line up the facing, matching up the shoulder seams with the dress neckline, right sides together. Pin around. Sew using a serger, small zigzag stitch, or stretch stitch.
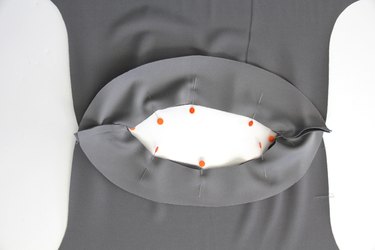
Using a pair of sharp fabric scissors, clip notches into the seam allowance around the neckline. Make sure not to accidentally clip your sewn line when you are cutting, but get as close to the stitches as possible. This will ensure that your neckline lays nice and flat when wearing.
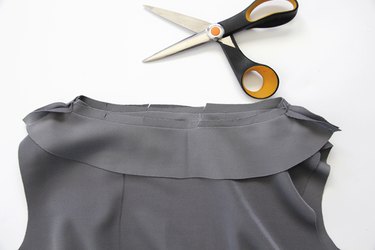
To help ensure the facing stays securely on the inside of the dress, you may want to understitch the neckline facing. To do this, press the facing and the seam up and away from the neckline. Carefully sew along the seam, 1/8 inch away from the neckline stitches, securing the facing and the seam together. Once finished, turn the facing inside the dress and press.
Step 6: Sew the Sleeve
Line up the top center curve of your sleeve, with the shoulder seam. Make sure the dress and the sleeve are both right side up.
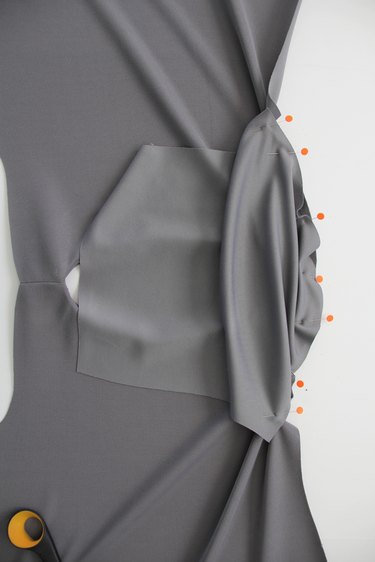
Flip the sleeve over so that it is now right sides together with the dress. Pin the top center curve of the sleeve to the shoulder seam.
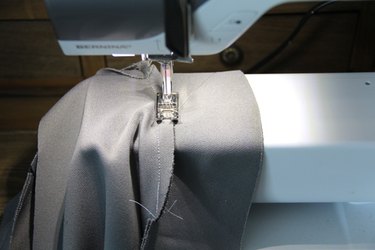
Continue pinning the sleeve curve to the armscye along both sides until you reach the ends. Sew using a straight stitch, serger, or stretch stitch. Repeat for the other sleeve, and clip seam allowances.
Step 7: Sew the Side Seam
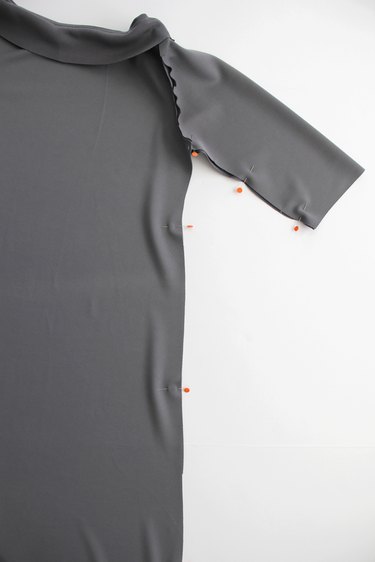
Fold the dress front and back right sides together, matching up the side seams and under sleeve. Pin and sew using a serger, straight stitch or stretch stitch. Repeat for both sides and press.
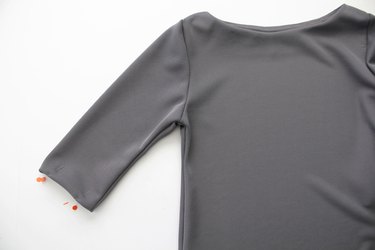
Step 8: Hem the Sleeves and Dress Bottom
Fold the sleeve 1/2 inch towards the wrong side and press. Pin around and sew, using a double needle, zigzag stitch, or stretch stitch. Repeat for both sleeves and dress bottom.
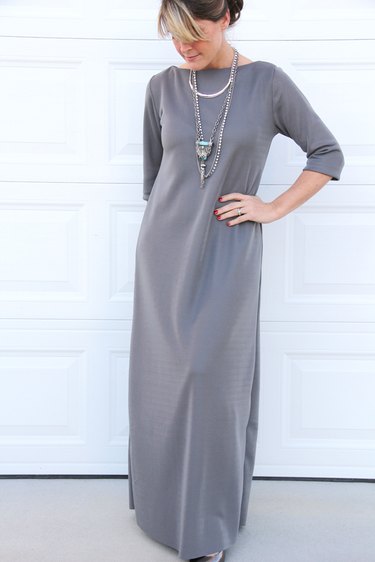
Step 9: Press Dress to Finish
Always press your handmade clothes when finished for the best possible end results. This will ensure a professional feel, that will definitely not look handmade. Add accessories, belt it up, or simply wear it loose for a casual feel. You will love your new handmade maxi dress.

Tip
Like this dress? Use it to make your own dress pattern, so you can make one for each season. Working with a knit fabric? Try any of these hemming techniques.