Things You'll Need
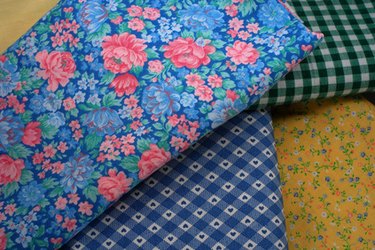
12 fat squares of various colored/patterned cotton fabric or 12 pieces of 1/2 yard cotton fabric
1/2 yard fabric for first border
3/4 yard fabric for second border
3/4 yard fabric for binding
1 1/2 yards fabric for grout
Thread to match the grout fabric
Thread to sew the quilt squares
Complementary fabric for the backing
Sewing machine
Seam ripper
Scissors
Sewing needles
Straight pins
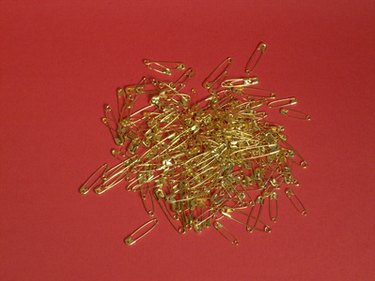
Safety pins (large package)
Tape measure
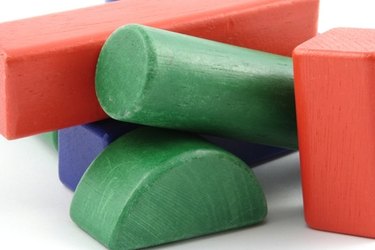
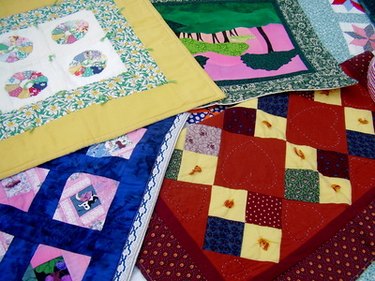
Kathleen Bissett published a pattern for "Magic Tiles" in 1992 that was inspired by a pile of building blocks spotted in a friend's house in New Hampshire. The distinctive pattern has been popular ever since. Magic Tiles is distinguished by its oddly shaped rectangular "tiles" separated by "grouting" that give the effect of a quilt constructed of stained glass. This quilt is most striking when worked in bold, bright, contrasting colors with black grouting. These instructions are for a queen-size quilt that is machine-pieced and hand-quilted.
Step 1
Cut 24 squares of fabric measuring 16 1/2-inch-by-16 1/2-inch squares from each of the 12 fabric squares. Cut 1-inch strips of the grout material, cutting selvage to selvage. Layer the fabric squares one on top of the other. Take dressmakers chalk or a ball point pen and draw a misshapen 9-square grid. The lines should all be straight, but not vertical or the same length and make sure you do not create triangles or rectangles that are too small to work with. Practice on a piece of paper first until you find an affect you like. Cut all the squares by this pattern, 3 or 4 squares at a time.
Video of the Day
Step 2
Mix and match your tiles to remake the squares. Machine sew the tiles together with a 1/4-inch seam. Press as you sew, generally toward the center of the block. Make the grout for the blocks by taking a grout strip, folding it lengthwise and sewing it with a 1/4-inch seam. Turn right side out into tubes and press to form 1/2-inch wide black strips of grout. Use only about half the strips or whatever you need to separate all the tiles from each other. Machine sew the grout between the tiles of each square. Arrange the squares to form a queen size quilt and machine sew into strips. Machine sew the strips together. Sew several unused strips of grout material together end to end to reach across the breadth of the quilt. Make a long tube as before and press. Pin the grout between the squares and sew. Sew the grout between all the squares.
Step 3

Decide how wide you want your first border to be, subtract 1/2 inch for seam allowances, and cut as many strips as you need as wide as you need them, selvage to selvage. Sew the strips end-to-end if necessary and press, then pin them around the quilt and sew. Press toward the center. Decide on the width of the next border and repeat as above. Take the remaining grout strips, sew as many as you need end to end and sew 1/2-inch tubes as before. Pin the grout around the quilt and sew. Pin the grout between the borders and sew.
Step 4
Measure the batting, leaving at least 2 inches extra (and perhaps 4) at the edges just to be sure and cut. Cut and sew the backing fabric to match the size of the front. Assemble your quilt sandwich on large clean area like a kitchen table or basement floor. Protect your kitchen table from pin scratches with a heavy cloth or plywood sheet. Work from the middle of the quilt and put safety pins every 6 inches or so all the way to the edges. Use a clearly contrasting thread and 1-inch long stitches to sew along the rows of pins. Remove the safety pins.
Step 5
Tie your quilt by threading complementary colored yarn through the quilt at intervals and tying at the back, or machine sew along the grout strips or hand-quilt along the grout strips. Finish off your quilt by securely sewing the binding around the entire quilt, making sure to sandwich all three layers in securely. Remove the inch long threading you worked to keep the layers in place.
Video of the Day