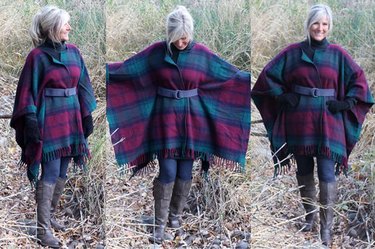
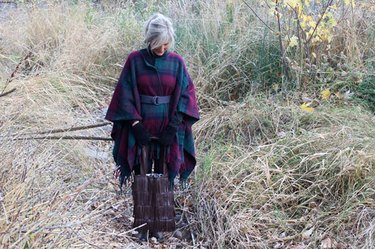
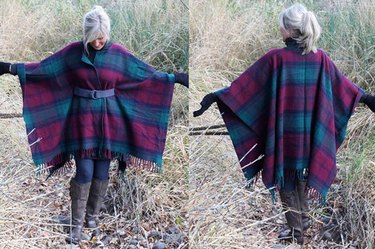
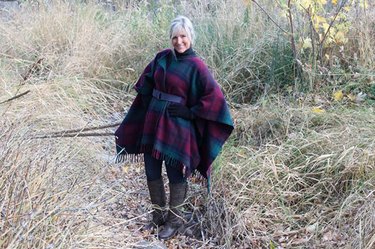
Is it a cape? Is it a shawl? Is it a poncho? NO! It's a blanket coat. In a few simple steps, you can easily make this warm and cozy coat from a blanket you might already have around the house.
Watch the video tutorial
Things You'll Need
Small plate
Pins
Thread
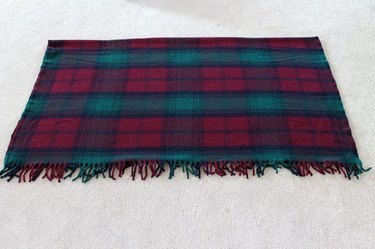
Step 1
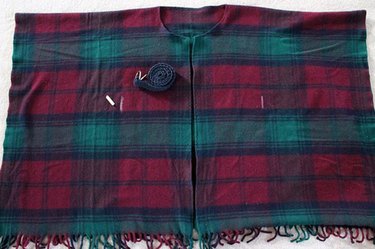
Fold the blanket in half so the short ends are together. Make sure the sides are even.
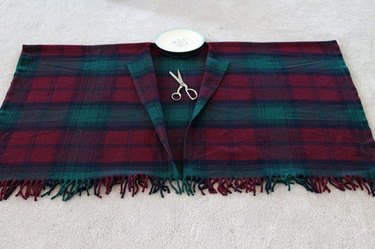
Step 2
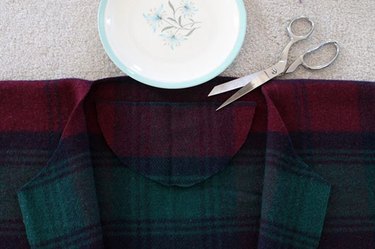
Measure and mark the center of the blanket. Place a plate at the top center of the fold so half of it is on the blanket and half is off. Cut the top piece up the center until you reach the bottom of the plate. Then, cut around the plate to create a half circle.
Step 3
Move the plate and cut the half circle off at the fold.
Step 4
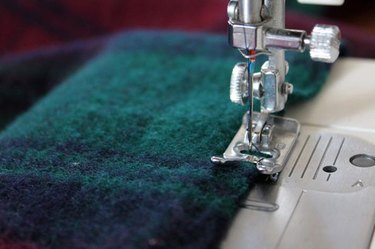
Change your machine to the zigzag stitch.

Step 5
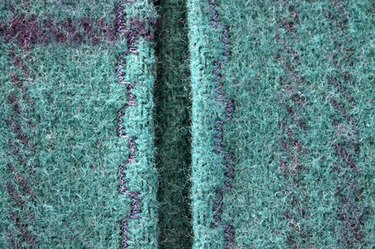
Use the zigzag stitch to sew all around the newly cut raw edges of the blanket.
Step 6
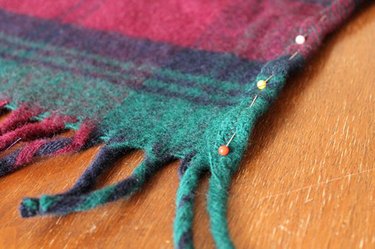
Now, fold the zigzagged raw edges a 1/4 inch toward the inside and pin in place.
Step 7
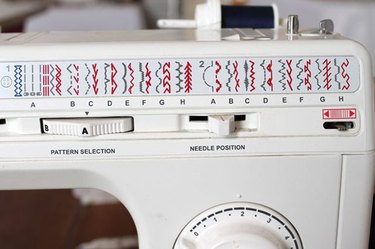
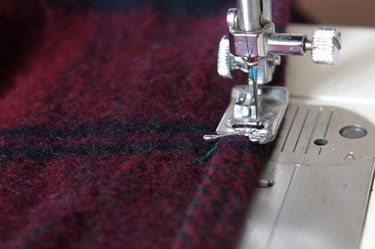
Choose a decorative stitch on your machine. If your machine doesn't have fun stitches, a straight stitch or a zig zag will work just fine.
Step 8
Sew around the folded edge with your desired stitch.
Step 9
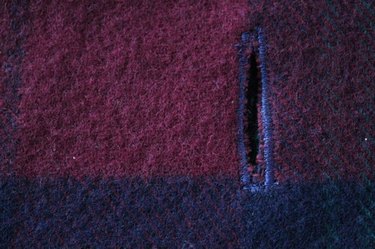
Fold the blanket in half again so the cut side is facing up. Mark the position of the belt loops 9 inches from the center opening and 13 inches down from the fold with a piece of chalk. Make the marks as wide as the belt you will be using to close your blanket coat.
Step 10
Use the buttonhole stitch on your machine to sew over the chalk marks to create a finished hole for your belt loop. Be sure to only sew through the top layer of fabric. If you don't have a buttonhole capability on your machine, you can use a zigzag stitch. Use a sharp pair of scissors to cut the buttonhole open.
Step 11
Now, wrap up in style by sliding your belt through the belt loops so the back of the belt is around your waist under the blanket and the front of the belt is around your waist on top of the blanket.
Video of the Day