Things You'll Need
Seashell
Saw
Grinding wheel
Stick
Shellac
Wax
Reference photo
Drawing
Grease pencil
Dremel
Gravers
Olive oil
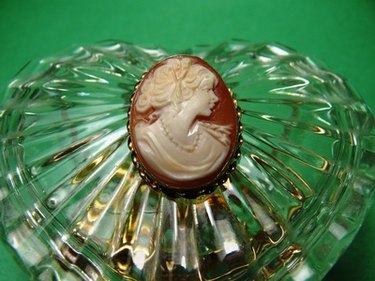
Cutting and carving seashells is a challenging undertaking that requires abilities in drawing, carving, and knowledge in the use of power tools and grinding wheels. Cutting shells and carving them into miniature relief sculptures and cameos is a traditional art form dating back to the 15th century Renaissance. Single and group profile portraits are common subject matter of shell carvings. The best modern shell carving is done in Toro del Greco, Italy, where finely detailed cameos are produced by artisans that blur the distinction between craftsmanship and fine art.
Step 1
Select the type of shell you will cut and carve. Choose from conch, abalone, tiger or other cowry species for your carving material. Look for bullmouth or emperor helmet shells for the finest quality carving. Pick a smooth shell of uniform thickness with good color and no cracks or defects.
Video of the Day
Step 2
Saw the shell into sections with a stationary saw if you're carving a cameo, or saw it in half, or leave it whole for large bas-relief carvings. Cut the shell into smaller pieces, forming round, oval, square or rectangular shapes for cameo carving.
Step 3
Smooth the shell and remove the rough outer layer with a grinding wheel. Smooth and round the back of the shell with the grinder. Stick the blank shell onto a short stick with shellac or wax for working.
Step 4
Follow the same procedures for carving a full shell or a cameo. Use a photograph or a drawing done from life for your subject matter. Sketch your design with a sharpened grease pencil onto the shell in preparation for carving.
Step 5
Remove the differently colored layers of the shell with a dremel to rough out the design. Carve a portrait profile by removing the background color shell, leaving the outline of the face in a contrasting color. Carve the fine details with sharp steel handheld graver tools called bulinos.
Step 6
Sand your carving with fine grit sand paper or emory cloth for a smooth, shiny finish. Soak the shell in olive oil when you're finished, then thoroughly clean it with soap and water.
Tip
Constantly clean the shell surface as you work.
Warning
Be careful not to apply too much pressure with your tools or you may crack or chip the shell while you work.
Video of the Day