Things You'll Need
Air-dry earthenware clay
Polymer clay
Baking sheets
Aluminum foil
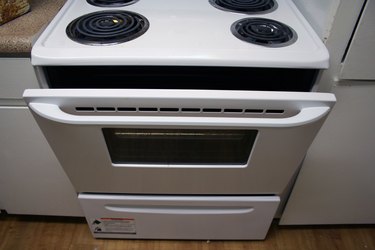
Conventional or toaster oven
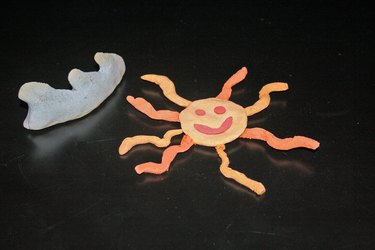
There are many kinds of modeling clays and doughs available for home crafters, including some designed to harden into permanent pieces of art once the sculpting is complete. Two of the most popular of these, air-dry earthenware and polymer clay, are assisted in that hardening process by baking. Oven baking is essential for the curing of polymer clay, while it assists air-dry clay to dry quickly and avoid the risk of mold.
Air-Dry Clay
Step 1
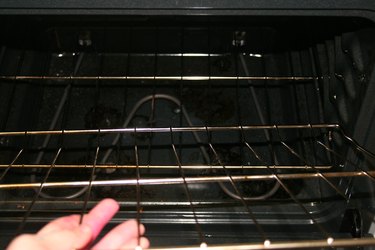
Remove the top racks from the oven if your sculpture is tall enough to make this necessary.
Video of the Day
Step 2
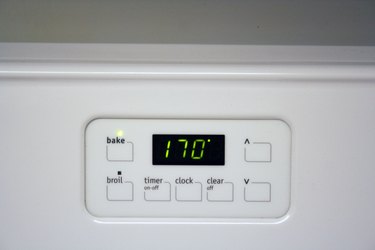
Pre-heat the oven to the lowest heat setting it has (this should be 175 degrees Fahrenheit or less). This will create a hot, dry environment to speed up the hardening process without being hot enough to scorch the clay.
Step 3
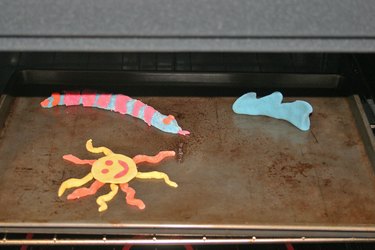
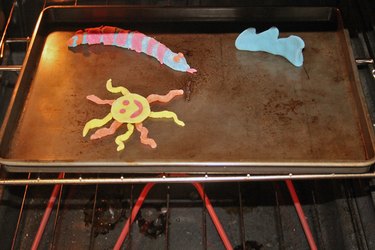
Place the clay in the oven on a clean cookie sheet.
Step 4
Prop the oven door slightly ajar. If your door won't do this on its own, prop it with a crushed soda can or hard-compacted ball of aluminum foil. This will allow moisture to vent and dry the clay rather than simply heating it.
Step 5
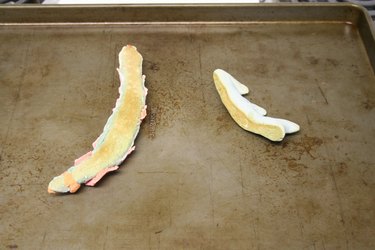
Bake the clay. The time it takes to dry will depend on the size and thickness of the sculpture, so check on it every 10 minutes or so; the clay will be dry when it is uniformly lighter in color.
Step 6
Turn the clay on its side to bake the bottom.
Polymer Clay
Step 1
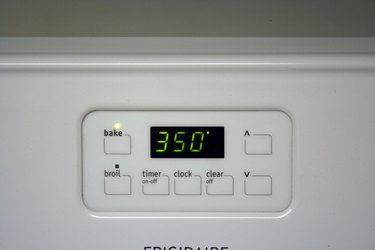
Preheat the oven to the baking temperature listed on the clay's packaging. If you're combining more than one brand or formula of polymer clay at a time, set the oven to the lower of the two temperatures.
Step 2
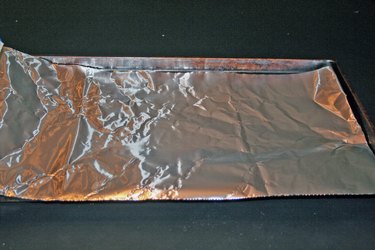
Coat a cookie sheet with aluminum foil; polymer clay will often absorb stains from older cookie sheets with baked-on, hard-to-remove grease. Aluminum foil will protect the clay.
Step 3
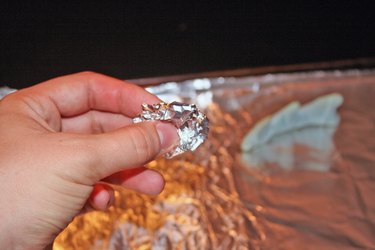
Build aluminum foil props to hold up the item while baking, if necessary. Ball up the aluminum foil, then shape it (this is somewhat like shaping clay) to create supports if your polymer clay sculpture has fragile parts that won't stand up on their own.
Step 4
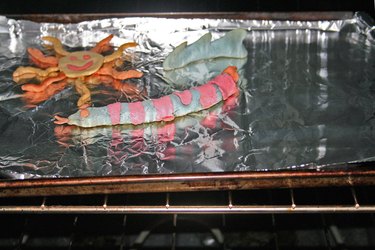
Bake the clay items for 15 minutes. Let the clay cool and examine whether it's hard enough. If not, bake for another 10 minutes.
Video of the Day