Things You'll Need
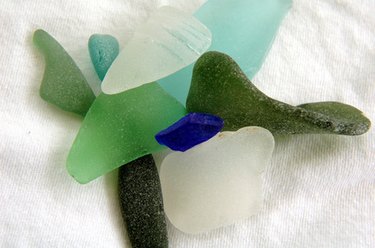
Various pieces of sea glass
Pencil
Canvas in size of your choice
Hot glue gun

Sea glass refers to glass shards that have been smoothed and made matte by the sand and water. Sea glass is also known as mermaid's tears and beach glass and is a wonderful material to use to create beautiful crafts. Using sea glass you can create a unique gift or piece of art that can be hung in your house as a personalized piece of decor.
Step 1
Separate your sea glass into many different piles--a pile for each color, and then other piles within each color for the various sizes.
Video of the Day
Step 2
Draw out whatever picture you'd like to create with a pencil, very lightly, on a canvas in the size of your choice. Make sure the canvas will be able to be completely covered with sea glass. While outlining, only make general lines for the picture, with no small details. The best kind of pictures to make with sea glass are simple landscapes with basic sections like sand and sky or general abstract designs. Complete the outline with the pencil.
Step 3
Assemble the pieces of sea glass within the penciled boundaries accordingly, filling in one section at a time. For example, if you are creating a landscape picture and want to do the sky first, fill the area with sea glass in the color of your choice, rotating the pieces around so that they fit together like a puzzle. Stop adding sea glass after an entire area is filled.
Step 4
Hot glue the sea glass pieces to the canvas, making your way across the entire area and waiting until all pieces are secured before moving on to the next area.
Step 5
Continue to assemble the picture section by section, arranging the sea glass to fit before gluing it down. Allow the piece to completely dry.
Video of the Day