Things You'll Need
Pencil
Paper
Hummingbird photo
Hummingbird pattern
Carving wood
Carbon paper
Graphite paper
Scroll saw
Band saw
Carving knife
Carving tool set
Sandpaper
Stain
Paint
Brushes
Wood sealer
Carving a hummingbird can be a little tricky if you try to create a hummingbird with features that are in proportion to a real hummingbird. However, if you choose a hummingbird pattern simplified to lack the feet and with the beak thickness increased then carving a hummingbird in wood will be much easier. This applies whether the hummingbird is being carved from wood as a 2-D or 3-D figure or if the hummingbird will be carved into a piece of wood. The more experienced your skills and the more tools you have available, the more details you will be able to add to your hummingbird. It is possible to create a basic hummingbird with only one carving knife and carving wood.
Step 1
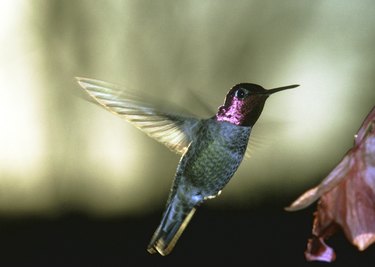
Select the pattern and final size for your hummingbird carving. If you want to make your own hummingbird pattern, find a picture of a hummingbird in the position that you desire. Draw or trace the outline of the image onto paper. Simplify the lines of the hummingbird by removing the feet and widening the beak. Enlarge the hummingbird image or pattern if needed.
Video of the Day
Step 2
Transfer the design onto your carving wood using carbon paper or graphite paper. Lines made from graphite paper are able to be cleanly erased with an eraser so they will not show in your finished piece.
Step 3
Cut out the basic hummingbird outline from the carving wood using a scroll saw or a band saw. This step will save a lot of time but it is optional.
Step 4
Carve the hummingbird edges more rounded on just one side for a wall hanging. Carve the edges of the hummingbird on both sides if both sides will be visible when you display your hummingbird.
Step 5
Use tools from a wood carving kit to create details like feathers, wing lines and texture if you desire. Or the hummingbird can be sanded smooth for a simple stain application or in preparation for the final details to be painted on.
Step 6
Add stain or paint the hummingbird to finish. If you do not want to stain or paint the hummingbird, at least seal the hummingbird with your preferred wood sealer to protect and preserve your carving.
Tip
Always use well sharpened tools. Dull knives increase your chances of injuries.
Video of the Day