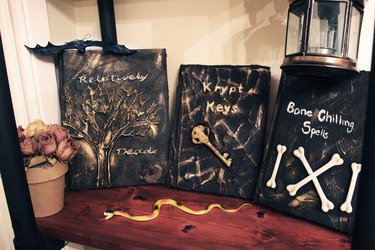
Create spell books to make your bookshelves extra spooky for Halloween. They are easy to make and a creative way to repurpose old books. Add a few inexpensive Halloween trinkets to give them a creepy 3-D effect, and you'll be casting spells in no time!
Watch the Video Tutorial
Things You'll Need
Old books
Printer
Glue gun
Small plastic spiders, skeleton keys, or other Halloween decor
Paper towel or tissue paper
Decoupage glue
Foam paint brush
Art brush
Black acrylic paint
Gold leaf wax metallic finish
Step 1: Arrange Items on the Book
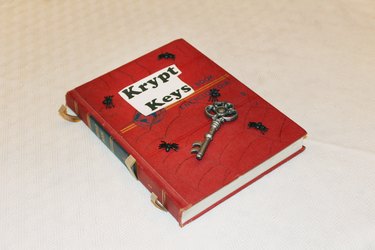
Print out a title and place it where you would like it to go on the front of the book. Add any decorative items, such as a skeleton key and plastic spiders, to the book front as well.
Step 2: Glue Everything in Place
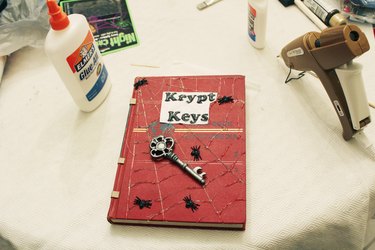
Use the hot glue gun to glue the title and items into place. Then use the glue gun to trace the letters on the title. You can also use the glue gun to create a spiderweb effect around the items.
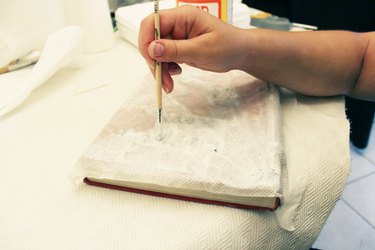
Step 3: Drape Paper on the Book
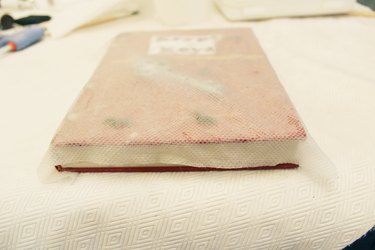
Wet a piece of single-ply paper towel and ring it out gently so you don't have a lot of water dripping from it. You only want it damp, not soaking wet. Place the paper towel over the book front and sides. Alternatively, you can use tissue paper instead of paper towel. The tissue paper does not need to be damp.
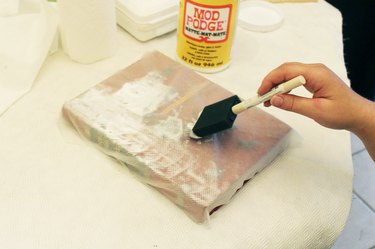
Step 4: Decoupage Items to the Book
Apply a generous amount of decoupage glue on top of the paper, using the foam paint brush to move the glue around the book front and sides. Don't worry if the paper wrinkles and creases -- it will give the finished spell book an aged leather look. Once the glue is spread out, use the paintbrush to help with the harder to reach places by pushing down the towel around the items that are placed on top. Give the book several hours to dry completely before painting, and make sure to clean off your brushes so the glue doesn't dry on them.
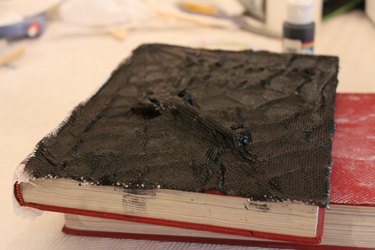
Step 5: Paint the Book
Use black acrylic paint to cover the book. When the paint is dry, use the gold leaf wax metallic finish to highlight the title and parts of the objects that you placed on the cover. Together these paints will create a mesmerizing and unique look to the books. You do not need to apply too much of the wax finish -- a little goes a long way.

Tip
If some of your objects get drowned out by the decoupage or paint, you can always trace glue on top of them on the finished book and re-paint them once the glue dries.
Video of the Day