Things You'll Need
Plywood
Celluclay papier-mache
Recycled plastic container
Acrylic paint (burnt sienna, light and dark blue, white, black and varied green colors)
Plastic gloves
Plastic spoon and knife
Wax paper
Paint brushes
Small stones
White tacky craft glue
Twigs
Lichen and Spanish moss
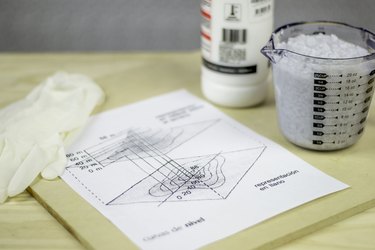
You may need to build a model river for a class project, job visual or diorama that features a boat model. The river will be the focal point that splits down the middle of the foundation board. Hand mold a mountain and the land that the river runs through when you build a model river project. You can use a topographical map as a guide for the land mass and area layout of a real river.
Step 1
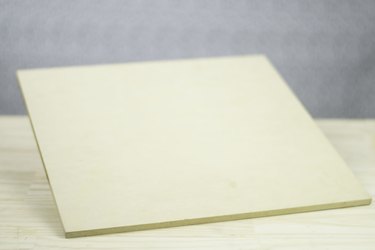
Place a piece of plywood on to your work surface. The plywood should be a size that is manageable for the project and its future use. For instance, if it is a school project, a piece that measures 16-by-20 inches would be appropriate, particularly if the student must transport it on a school bus.
Video of the Day
Step 2
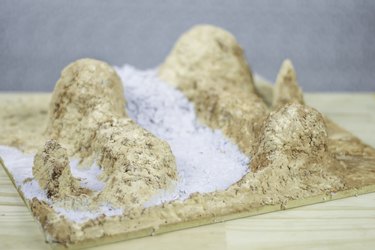
Mix Celluclay papier-mache according to package directions or a home-made papier-mache recipe in a plastic container. Add a drop or two each of burnt sienna and black acrylic paint into the mix and blend well. Scoop Celluclay out of the bucket with your hands and spread it on to the plywood piece. Mold the mountainous area first then work your way down on to the lower hilly or flat land region. Remember to keep the land high enough to create a riverbed indentation area.
Step 3
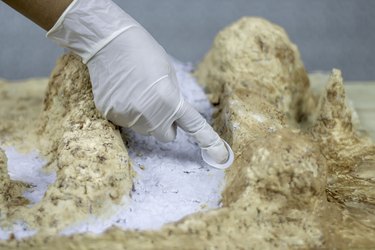
Form the sides of the riverbed with your fingers, and a plastic spoon and knife. Keep perspective as you start in the higher land area which is in the distance, making a small width for the riverbed. Dip your gloved fingers into water and smooth the riverbed area out. Widen the sides of the riverbed area as you get closer to the center and with the widest at the end of the scene in the front of the foundation piece.
Step 4

Press a few stones into the sides and center of the river bed area while the clay is soft.
Step 5
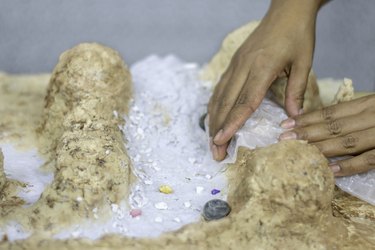
Cover the moist Celluclay of the land area with a sheet of crinkled wax paper. Press into the material, lift away. Look for the texture of the wrinkles in the Celluclay. Press this texture in to the area as needed.
Step 6
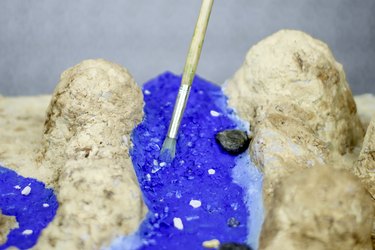
Use acrylic paints to paint the entire land mass, mountain and river banks. Paint the river area with a deep blue color.
Step 7
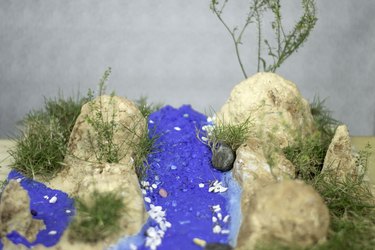
Adhere any small sticks or stones on to the land. Add pieces of lichen or Spanish moss to represent bushes and small trees.
Step 8
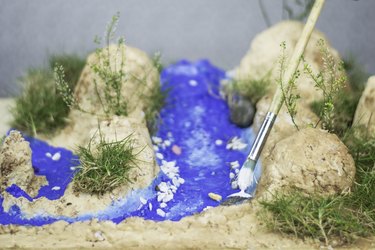
Brush light blue paint on to the dark blue river paint with a dry brush. Add small splashes of white where the water hits up against the rocks and creates whitecaps or foam.
Warning
Do not use the food container after you've mixed Celluclay in it.
Video of the Day