Things You'll Need
Putty knife
Drywall screws
Screwdriver
Hammer
Nail set
Joint compound
Mesh tape (optional)
150-220 grit sandpaper
Vacuum
Paint
Paint tray
Paint roller or brush
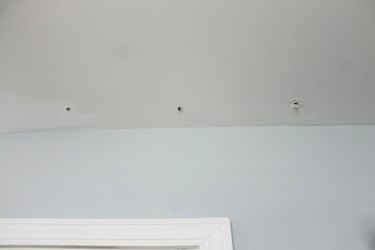
Over time, the lumber used in the construction of new homes loses moisture and slowly shrinks. As the wood shrinks, nails used to attach drywall to the framing may loosen and cause an unsightly bubble in the wall. Seismic activity, wind, humidity and vibrations from home stereos and nearby traffic can also cause nails to work loose over time. Nail pops usually aren't a problem in newer homes as drywall screws are now used instead of nails during drywall installation. Screws do, however, pop occasionally.
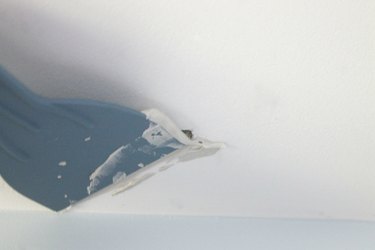
Step 1
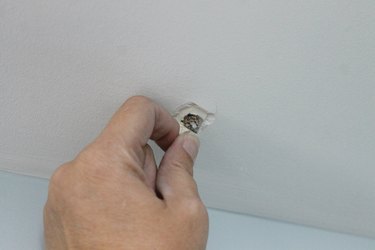
Peel away the paint around the area where the wall is bulging out. If it is too difficult to do so by hand, use a putty knife to get the job done.
Video of the Day
Step 2
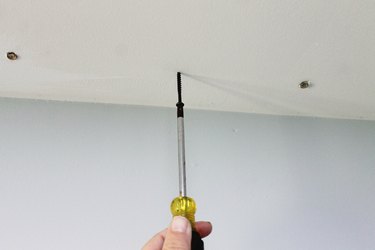
Push the drywall against the stud and install a drywall screw 1/2 inch above or below the nail pop.
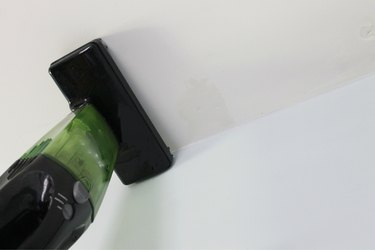
Step 3
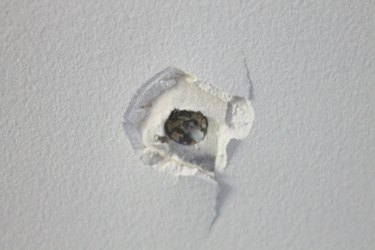
Remove the nail which caused the drywall pop or reset it with a nail set, countersinking it into the wall about 1/8 of an inch. If the pop was caused by a screw, use a screwdriver to remove or reinstall the screw.
Step 4
Smooth quality joint compound over the affected area with a large putty knife. Remember to cover both the new screw you installed and the nail that caused the pop. Use mesh tape if necessary to help smooth the wall and hide any damage the drywall incurred during the repair.
Step 5
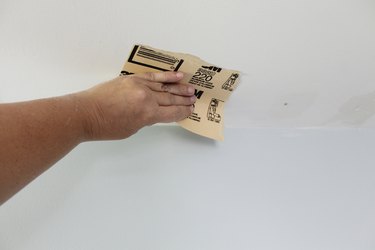
Allow the joint compound to dry until hardened and then smooth it with 150 to 220 grit sandpaper. Repeat this process until the wall feels completely smooth after sanding and the nail head is completely hidden.
Step 6
Vacuum the wall to remove any sanding dust and prepare the surface for primer and paint.
Step 7
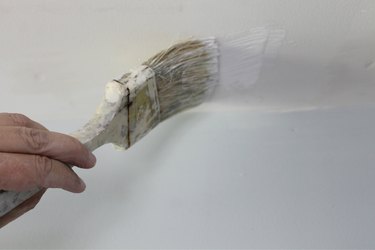
Apply a coat of primer and let dry. Paint the area you have just primed with a color that matches the rest of the wall.
Video of the Day