Things You'll Need
Measuring tape
200 yards worsted weight yarn
Knitting needles
Scissors
Tapestry needle
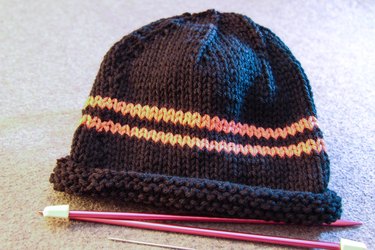
For knitters who are not yet comfortable knitting in the round, knitting a hat with straight needles is a perfect option. This simple alternative to working with either double-pointed or circular needles entails knitting the hat flat and then seaming it. Best of all, this method is easily customized to whichever size is required.
Getting Started
Step 1

Knit a small swatch by casting on at least 2 inches worth of yarn. Knit a few rows and then use your measuring tape to count the number of stitches in one inch. This is your gauge.
Video of the Day
Step 2
Measure the circumference of the wearer's head, or you can approximate. Cast on the number of stitches needed according to your gauge. For example, to knit a hat with a 15-inch circumference, with a gauge of 4 stitches in one inch, you should cast on 60 stitches.
Step 3
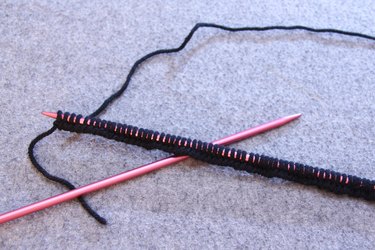
Knit 10 rows in garter stitch.
Working the Hat
Step 1
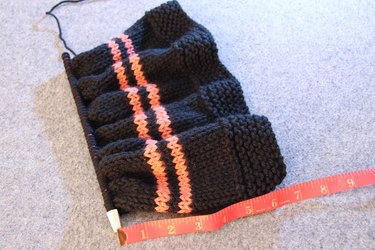
Change to stockinette stitch, and alternate knit rows and purl rows. Continue until the hat measures 6 inches from the cast-on edge. This is a good length for a child's hat; for an adult hat, keep knitting for another 2 inches, ending with a purl row.
Step 2
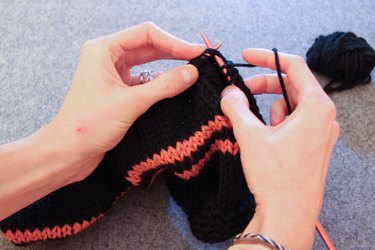
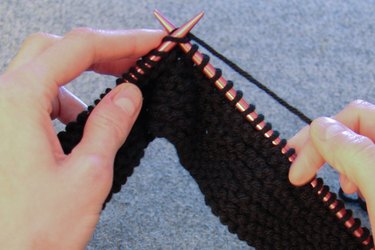
Knit eight stitches and then knit two stitches together. Repeat from across the row. When you no longer have enough stitches left on the needle to achieve this, simply knit to the last two stitches, and knit two together. Purl one row.
Step 3

Knit seven stitches and then knit two stitches together. Repeat from across the row. When you no longer have enough stitches left on the needle to achieve this, knit to the last two stitches, and knit two together. Purl one row. Repeat this process, decreasing the number of knit stitches by one, until you at last you knit one, and then knit two stitches together.
Finishing the Hat
Video of the Day
Step 1
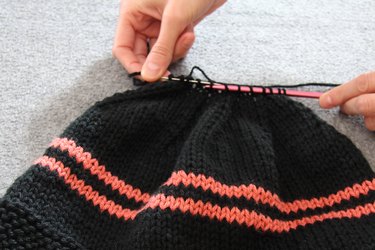
Cut the yarn, leaving a long tail -- at least 20 inches. Thread the tail into the tapestry needle and insert the tapestry needle into the remaining stitches, lifting them off of the knitting needle. Pull the yarn tight to close the hole.
Step 2
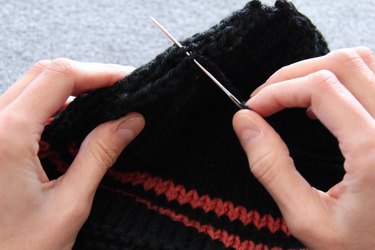
Holding the edges of the hat together, seam the sides of the hat closed by stitching one side to the next with the tapestry needle. Insert the needle into the same row on each side of the hat.
Step 3
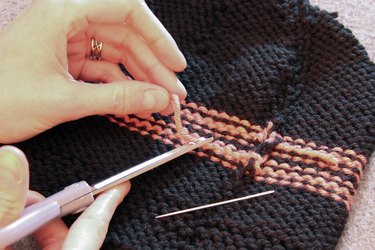
When you reach the bottom of the hat, turn it inside out. Weave the yarn into the wrong side of the hat for a couple of inches to hide the tail. Cut the yarn close to the fabric.
Tip
The yardage given is for an adult-sized hat.
Change yarn colors to add stripes, or knit in a different stitch pattern.
The swatch instructions will give you only a rough estimate of how many stitches you'll need. If you knit a 4-by-4 square inch swatch, you'll have a more precise idea of the stitches required; however, this is only necessary if you want to be absolutely exact.