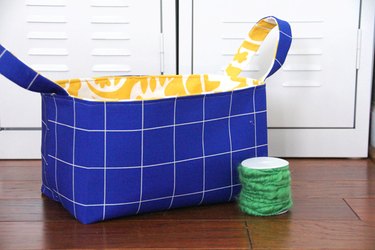
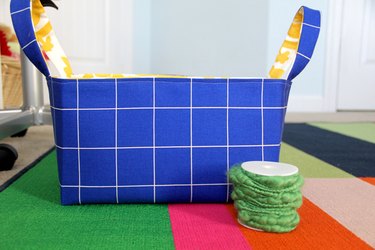
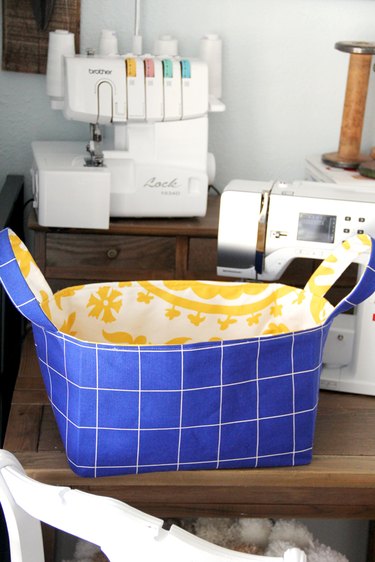
You can never have too many baskets! At least, that's the motto in our house. Use your favorite fabrics to make a reversible fabric basket that you will love (not to mention, it's perfect for holding all your knick knacks). Simply download the free basket sewing pattern HERE to get started and make your own fabric basket in under an hour. As long as you can sew a straight line, you CAN MAKE this basket!
Video of the Day
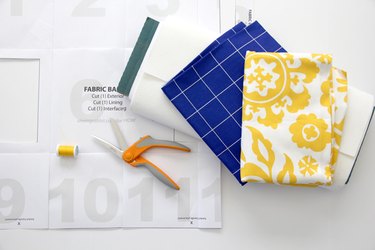
Things You'll Need
Fabric scissors
2/3 yard exterior fabric
2/3 yard lining fabric
1 yard mid-heavy weight interfacing
Coordinating thread
Pins or binder clips
Universal heavy duty sewing needle 90/14
Fabric marker or chalk
Sewing machine
Tip
Home decor fabric works best for a nice, sturdy basket. Quilting cotton will work, too but the finished basket will not have as firm a shape.
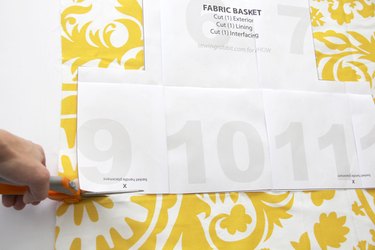
Step 1: Cut Out Pattern Pieces
Print out and assemble pattern according to the instructions that come with the free download. Lay the paper pattern flat on top of the fabric, and cut around it. Cut out 1 for the exterior, 1 for the lining and 1 from the interfacing for the main fabric basket pattern piece. For the handles, cut 2 from the exterior, 2 from the lining and 2 from the interfacing. Using a fabric marker or chalk, transfer 'basket handle placement' onto 1 of the pattern pieces as indicated.
Video of the Day
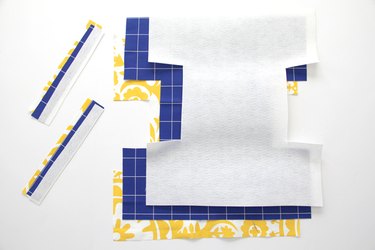
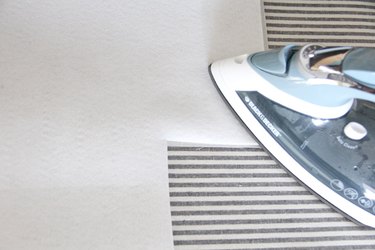
Step 2: Iron On Interfacing
Following the instructions that came with your interfacing, iron interfacing onto the wrong side of the lining fabric for the main basket pattern piece. Repeat for both lining handles.
Step 3: Sew the Basket Side Seams Together
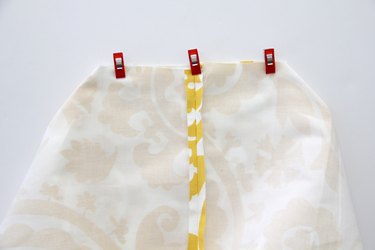
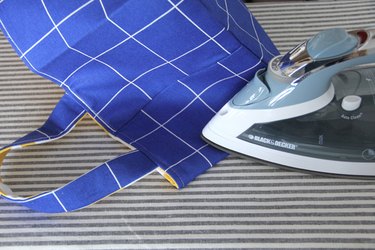
Fold the exterior basket pattern in half, right sides together, matching up the outer side seams. Pin side seams or use clips to hold in place and sew using a 1/2-inch seam allowance. Press side seams open. Repeat for lining.
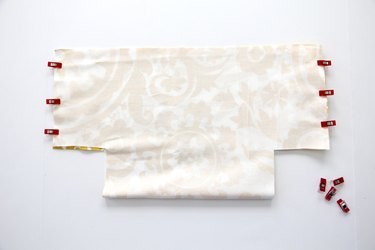
Step 4: Sew the Basket Bottom Seams Together
Fold the exterior basket so that the side seam is in the middle of your basket's bottom seam, matching up the bottom raw edges. Pin or use clips to hold in place and sew using a 1/2-inch seam allowance. Press seam toward the bottom of the basket and repeat for other side. Repeat for lining.
When finished, you should have what looks like a shell of the basket, one for the lining and another for the exterior.
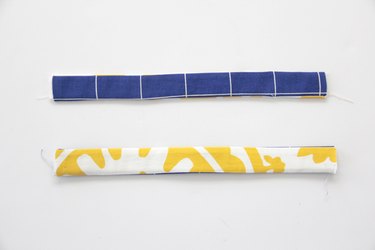
Step 5: Sew the Basket Handles
Place the lining and the exterior handles right sides together. Pin along the long outer side edges and sew, using a 1/4-inch seam allowance. Repeat for other basket handle pattern pieces.
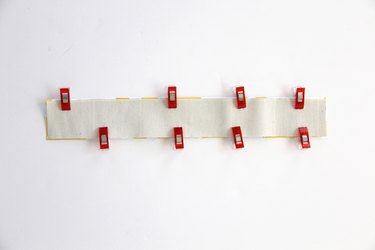
Attach a safety pin to one side of the handles, and slip pin inside the middle of the tube of fabric. Carefully shimmy the safety pin through the tube, until your handle is right side out. Press. Repeat for other fabric basket handle.
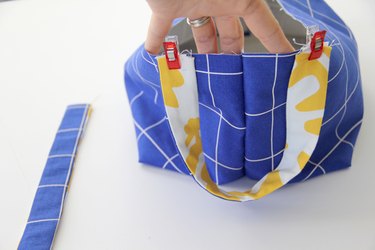
Step 6: Sew Handles to Basket
Take one of your basket patterns, and pin either side of the basket handle ends to the side of the basket, where the pattern has the 'basket handle placement' markings. Make sure your handle is not twisted when pinning in place. Baste stitch the handle ends, 1/8 inch away from the edge to secure. Repeat for other handle on opposite side of the basket.
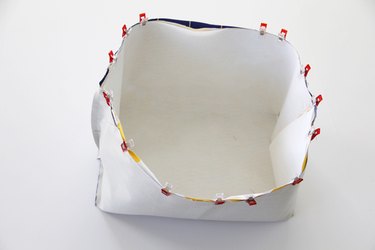
Step 7: Sew Basket Together
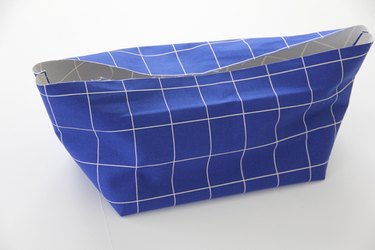
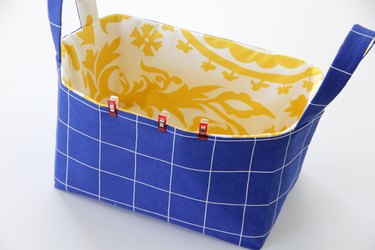
Slip the lining inside of the exterior basket, right sides together, matching up the side seams. Pin around the top edge, leaving a 7-inch opening for turning along one of the outer edges that does not have handles. Sew around using a 1/2-inch seam allowance.
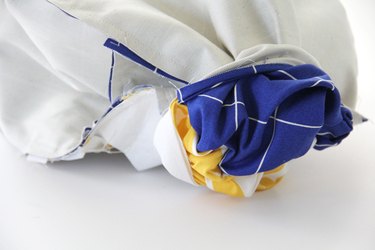
Pull the fabric through the opening to turn right side out, and push lining inside of basket. Press around the upper edge of basket, making sure the un-sewn raw edges are folded inside for a nice crisp outer edge.
Pin opening closed, and sew around the entire upper edge of the basket using a 1/4-inch seam allowance. This will close the opening, as well as give a nice finish to the basket.
Step 8: Press Corners
For a more rectangular basket shape, fold the basket at the corners and press. For a basket that is more oval in shape, skip this step.
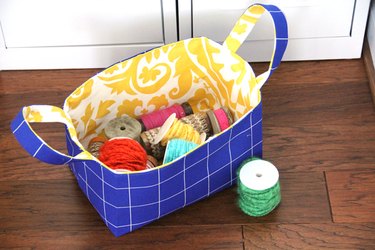
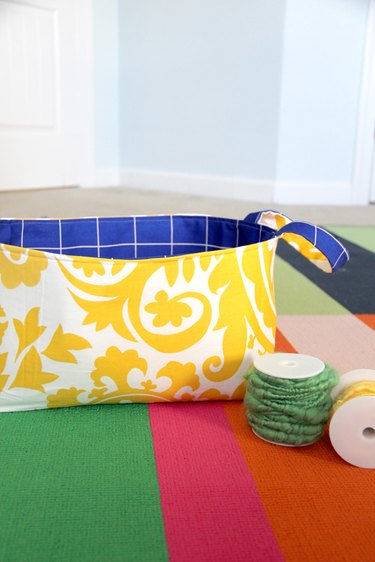
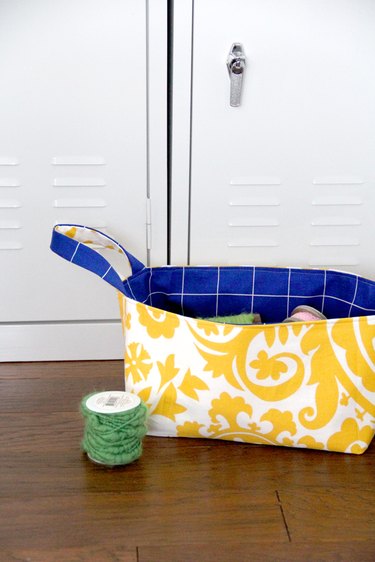
Step 9: Reverse the Basket
To make the basket reversible, simply turn basket wrong side out and press.

Step 10: Caring for Your Fabric Basket
The reversible fabric basket is machine washable. Any time it needs a good cleaning, simply throw it in the washing machine on a gentle cycle and allow it to air dry. Press it a bit, and it will be good as new!