Things You'll Need
Angle gauge
Scrap baseboard (optional)
Sliding bevel (optional)
Protractor (optional)
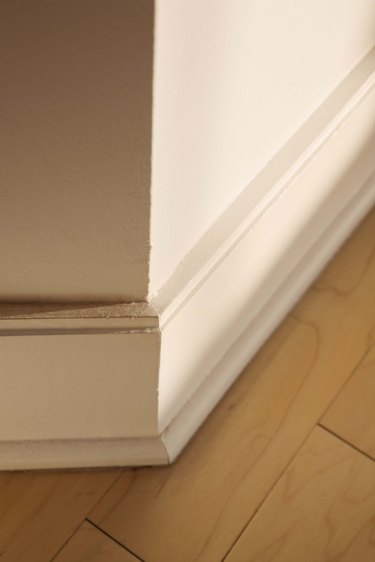
The most common methods of joining sections of baseboard molding include miter, compound miter, butt, scarf and coped joints. Of these, the miter joint is typically used to create a tight fit at both the inside and outside corners where two walls meet. While traditional 90-degree corners call for 45-degree angle miter cuts, not all corners are 90 degrees. What's more, most adjoining surfaces in a home aren't plumb, level or square, according to the book "Home How-To Handbook: Trim." To make accurate baseboard miter cuts, you need to measure the true angle of the intersecting walls.
Angle Gauge
Step 1
Set the corner of the angle gauge into the inside corner or up against the outside corner of the surface you're measuring.
Video of the Day
Step 2
Open the gauge's blades until they're pressed firmly against the adjoining surfaces. Tighten the tension nut.
Step 3
Read the angle off the gauge. Calculate the joint angle by dividing the number in half. A corner that has an 88.5-degree angle, for example, requires a miter cut of 44.25 degrees.
Sliding Bevel
Step 1
Lay a short piece of scrap baseboard on the floor, flat side down. Butt the bottom side of the molding up against one of the walls of the corner you're measuring. Lightly mark the floor along the topside of the scrap, drawing a short line from the corner that runs parallel to the wall.
Step 2
Repeat the process on the adjoining wall, ensuring the parallel lines intersect.
Step 3
Set the pivoting end of the sliding bevel's stock against the outside corner or into the inside corner you're measuring. Press the length of the stock against one of the walls.
Step 4
Loosen the bevel's blade lock. Pivot the blade until it precisely bisects the parallel lines drawn on the floor. Re-tighten the blade lock.
Step 5
Use the sliding bevel to set your miter saw directly, or measure its angle with a protractor and use the measurement to set your saw.
Tip
For best results when installing any type of molding, adhere to the carpenter’s adage -- measure twice, cut once.
Video of the Day