Things You'll Need
Lunch bags
Utility knife
Thick labels
String of full-size Christmas lights with clear bulbs

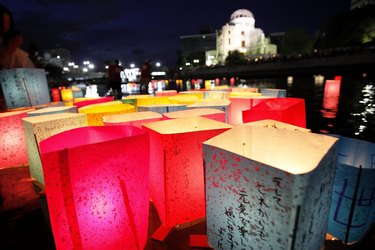
It may look like a useless, good-for-nothing lunch bag to some people, but you know that with a little creativity you can make magnificent paper lanterns. Making floating paper lanterns, which are lighted bags that look like they are hovering in the air, can turn any event into something magical and unforgettable. While some floating paper lanterns are constructed with complicated designs, you can make incandescent, luminous floating lanterns effortlessly with paper lunch bags and a few supplies.
Step 1
Trim a 1-inch section off the top of each lunch bag with a utility knife.
Video of the Day
Step 2
Put a thick label at the bottom of the lunch bag. Cut two 1-inch slits at the bottom of the bag with a utility knife to make a X-shape.
Step 3
Remove a bulb from a string of full-size Christmas lights with clear bulbs. Slide the socket through the X-shaped slit. Screw the bulb into the socket.
Step 4
Slide another lunch bag over the bottom side of the bag.
Step 5
Tie a ribbon around the socket tightly so there are two equal pieces of ribbon dangling.
Step 6
Pull the ribbons tight along the side of the bag. Tie them together at the bottom of the bag.
Tip
Paint the lunch bags with colors to personalize them.
Warning
If you want the lanterns spaced further apart, take the bulbs out of some sockets.
If the Christmas lights do not have LED bulbs, make sure the bulbs do not touch the paper to prevent fires.
Video of the Day