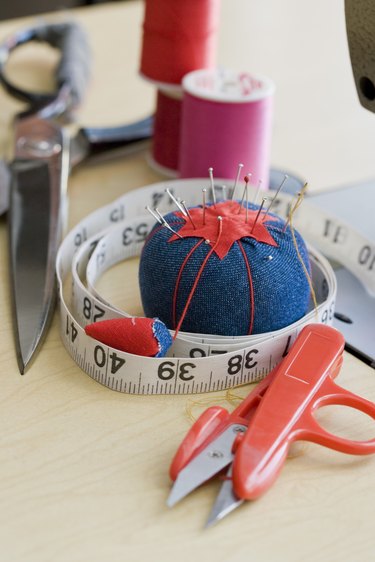
Things You'll Need
Paper
Pen
Fabric pencil
Needle
Embroidery floss
Small embroidery hoop
Backing
Embroidery is a good way to add personalization to cloth items such as bags or hats. You can add a name to the front or back of a hat or cap for yourself or as a gift. Experiment with different types and fonts on the computer or design your own on paper before you embroider the final design on the hat. Simple designs can be done by hand so there is no need to buy expensive machinery.
Step 1
Draw the design for the name you want to embroider on a piece of paper. The letters should be thick enough so that they can be seen when they're stitched on the hat. Use a fabric pencil or a washable marker to draw the name on the cap. Hold the paper against the hat as a template to center your design.
Video of the Day
Step 2
Cut a piece of embroidery backing to cover the inside of your hat behind where you will be stitching your design. Iron the backing in place if possible. You can trim excess backing when you are done stitching. Embroider through the hat and the backing.
Step 3
Place the section of the hat with the name on it in a small embroidery hoop. If you don't have a hoop or the spot is too close to the to bill to center it in a hoop, hold the cloth taut with your fingers as you stitch.
Step 4
Thread the needle with three or four sections of embroidery floss. Tie a knot in the end. Place the needle at the top or bottom left corner of your design and begin your stitching. Bring the needle from the inside of the hat out so the knotted end is on the inside of the hat.
Step 5
Stitch in the letters with your floss. Continue along the line of the first letter making horizontal stitches until the entire letter is covered. Bring the needle up outside the edge of the letter and push it back down outside the opposite edge. Pull your stitches tight enough to lay flat, but not too tight or your fabric will bunch.
Step 6
Continue embroidering over the letters drawn on the hat until the entire name is filled in with embroidery floss. If you need to re-thread the needle, make your last stitch on the inside of the hat and knot it before starting a new length of floss.
Video of the Day