Things You'll Need
Fabric
Scissors
Measuring tape
Paper
Straight pins
Thread
Needle

A nightcap, a hat worn at night to keep the head warm, is a nostalgic item associated with storybook characters such as Ebenezer Scrooge in Charles Dickens' "A Christmas Carol." Making a nightcap is a simple project that requires minimal time and few materials. Make one as part of a Scrooge costume, or take inspiration from the unusual style to make a warm winter hat from fleece or flannel.
Step 1

Measure the circumference of the person's head who will be wearing the nightcap. Add 1 inch for a seam allowance and ease.
Video of the Day
Step 2
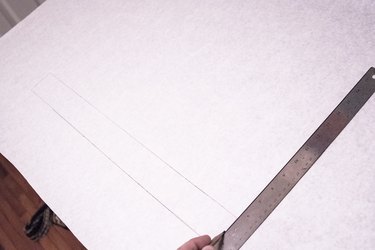
Make a pattern on a large piece of paper. Draw a line across the bottom of the paper with a ruler that is equal to the head circumference plus 1 inch. Draw another horizontal line parallel to the first, 2 inches above it, and join the lines at the end to form a rectangle. This is the brim part of the hat.
Step 3
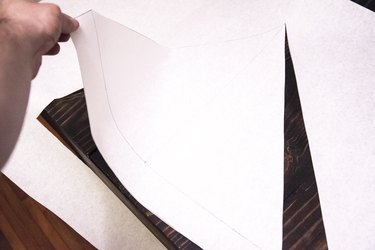
Find the middle point of the upper horizontal line and draw another line straight up 15 to 18 inches long. Connect the top of this line to the ends of the line at the bottom to create a triangle shape. Cut out the triangle shape.
Step 4
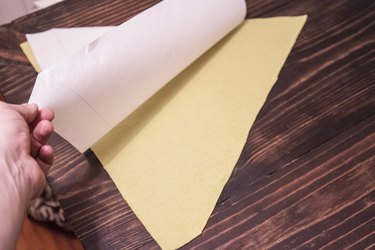
Lay the fabric out in front of you and pin the paper pattern to the fabric. Cut the fabric around the pattern.
Step 5
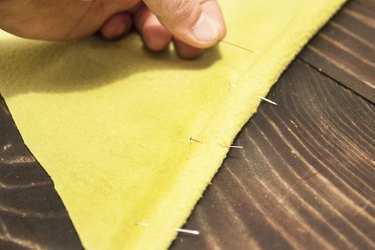
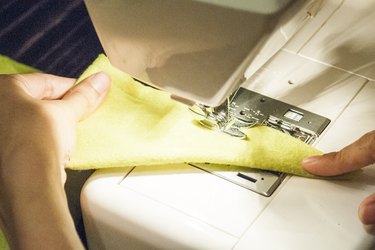
Lay the fabric triangle on the table with the right side down. Fold the edge of the bottom of the triangle up 1/2 inch, then another 1/2-inch to form a double-fold hem. Place pins along the fold and sew along the upper edge of the fold.
Step 6
Fold the fabric triangle in half lengthwise, with the right sides together. Match up the two long edges of the triangle and pin in place. Start at the bottom corner and sew along the edges, all the way up to the point at the top of the nightcap, leaving a 1/2-inch seam allowance.
Step 7

Flip the hat right side out and try it on. If the hat is too big, sew another seam inside the first one and trim the seam allowance.
Tip
Add a tassel or pompom to the top of the hat to give it a fun look.
Wash, dry and iron your fabric before starting this project.
If you are using a stretchy fabric, such as jersey knit, sew the seams and hem using a narrow zigzag stitch instead of a straight stitch.
Video of the Day