eHow may earn compensation through affiliate links in this tutorial.
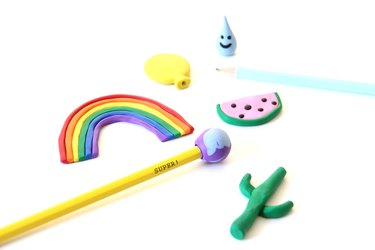
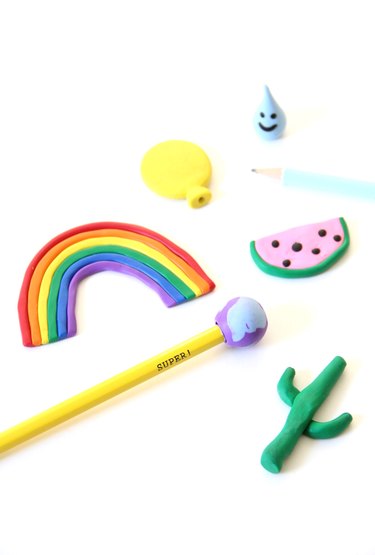
Whether you like it or not, back to school is right around the corner, but you can take some joy in making a few fun erasers that are perfect for heading back to school! These erasers are so much fun and the kids will love both making and using them. It's also a great way to get your kids interested in practicing their writing (though, they may just want to erase it all with these erasers!). These are so easy to make and would make for a fun afternoon of crafting at home.
Video of the Day
Video of the Day
Things You'll Need
Eraser clay (click here for the clay used in this article)
Flat surface
Cookie sheet
Oven
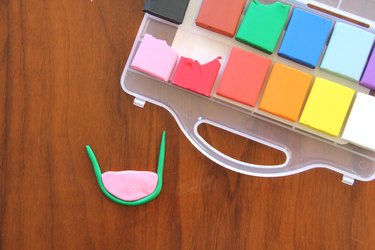
To make your own, all you need is eraser clay, a flat surface, a cookie sheet and an oven. Use the clay to make any shapes you want! Start by kneading the clay to warm it up so it's easy to mold and won't crack.
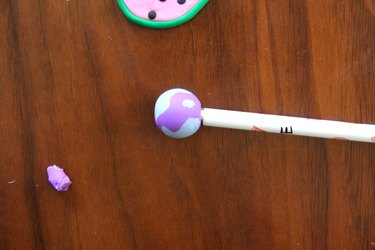
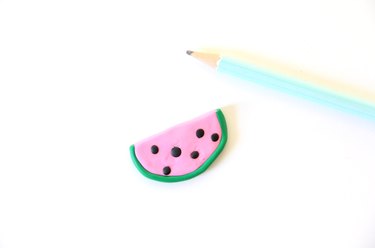
To make a pencil topper eraser, just take a pencil and push it in to the clay and mold it around the pencil top till you get the shape you want.
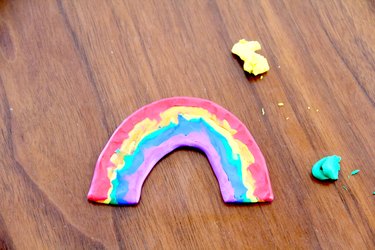
For erasers with different parts, try blending the backside of the eraser together to help keep the pieces intact. Wet your fingertip with a little water to smooth out the edges. Once you've got them looking the way you want, follow the directions on your clay to bake them and turn them into erasers!
Once your erasers have baked, let them cool completely for about an hour before you use them. Have fun with your new erasers!