
Things You'll Need
1/4-inch-thick plasterboard or drywall sheets
Drywall screws or nails
Screwdriver or hammer
Joint tape
Painter's or masking tape
All-purpose joint compound
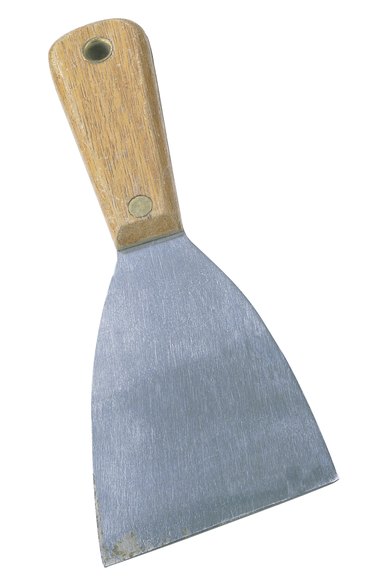
8- or 10-inch broad putty knife or trowel
Long mud pan
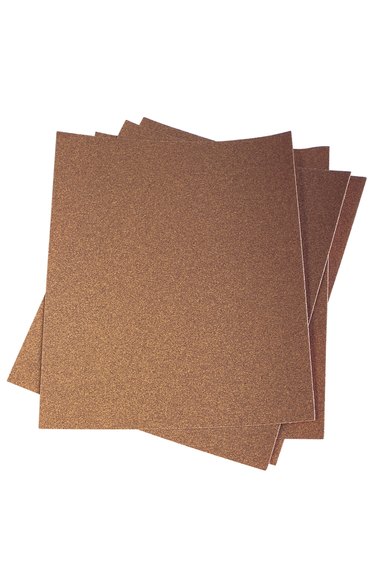
100-grit sanding sponge or sandpaper
Coarse-grit pole sander
Soap and water
Cleaning rag
Fine-grit sander
Drywall primer/sealer
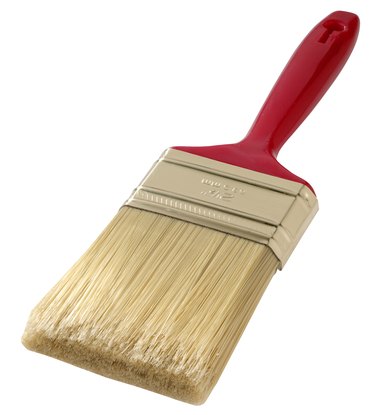
Paintbrush
Textured surfaces can add interest and drama to a wall or ceiling and can hide slight imperfections. Many builders use a spray-on popcorn-like material as a quick and inexpensive finish. However, some people prefer a smooth surface to paint or on which to apply wallpaper. The common approach for removing the popcorn finish is to wet and scrape it, which is a time consuming, messy solution made more difficult if the popcorn finish has been painted. There are other options to get popcorn walls smooth without scraping.
Warning
Before working with this material, have it checked for asbestos. If it contains asbestos, check with professionals who can remove it without danger to the health of you or your family. If your surface does not contain asbestos, there are alternative ways to achieve a smooth surface.
Cover the Surface With Plasterboard
Step 1: Purchase Plasterboard to Create Smooth Walls
Purchase enough 1/4-inch-thick plasterboard/drywall sheets to cover the existing wall. This method may be a bit more expensive, but will ensure a good end result.
Video of the Day
Step 2: Secure the Panels
Screw or nail the panels into place. Be sure the screws are long enough to fit through the new wall board as well as the existing one.
Step 3: Apply Joint Tape
Place joint tape along the seams, filling in the joints and nail holes with spackling compound. Feather the compound out from the center to eliminate grooves or mounds in the finished product. Allow the compound to dry completely.
Step 4: Rub the Dried Compound
Gently rub the dried joint compound to a smooth finish with fine-grit sandpaper. Wipe all loose dust from the wall when finished to provide a clean surface.
Step 5: Prime the Bare Walls

Prime the bare wall with drywall primer and paint, or paper the wall.
Plaster Over the Popcorn Ceiling
Step 1: Plaster the Popcorn Walls Smooth
If the popcorn wall surface has been painted and does not flake off when you run your hand over it, you might be able to plaster over it. Applying a layer or two of skim coat can give you the smooth surface that you desire. This option is not suggested if the popcorn is loose since it would pull loose, eliminating the possibility of strong adhesion to the walls. Test a small area first.
Step 2: Clean the Surface
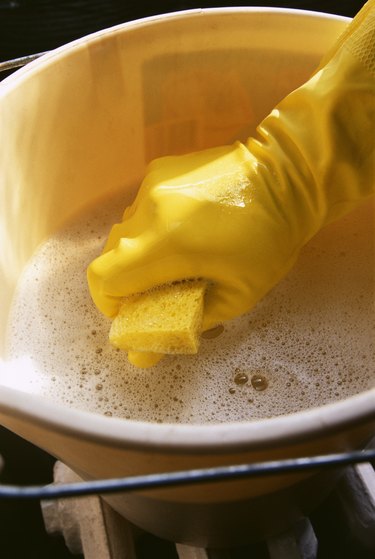
Lightly clean the surface with soap and water to remove any loose dirt or dust. Allow it to dry thoroughly.
Step 3: Protect the Trim Work
Protect any trim work from the mud or joint compound by applying painter's tape or masking tape along its edges. Remove wall plates and cover any receptacle boxes, and be sure to turn off the electricity.
Step 4: Fill Cracks and Holes
Fill any cracks or holes with joint putty.
Step 5: Mix the Dry Compound
If you did not buy premixed buckets of joint compound, mix the dry joint compound according to the directions on the product.
Step 6: Apply Mud or Compound
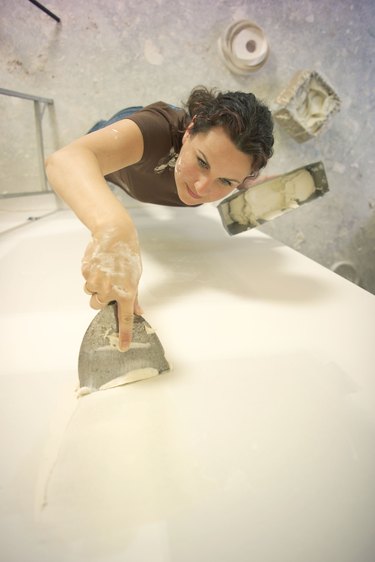
Start at the top of the wall. Using the putty knife or trowel, apply hot mud or all-purpose joint compound evenly on the wall, smoothing as you go. As it dries, you can knock off small imperfections with the edge of the putty knife.
Step 7: Add More Coats
Allow the compound to dry, and then apply a second coat to fill in any remaining rough spots on the first coat. Let the compound dry.
If the surface is still not smooth, a third layer of compound may be needed.
Step 8: Remove Tool Marks
After the wall is dry, use the fine-grit sandpaper to remove any tool marks and smooth the wall.
Step 9: Brush Away Loose Dust
Brush off loose dust, and then coat the newly surfaced wall with drywall primer/sealer before adding paint or wallpaper.
Sanding
Step 1: Sand With Coarse Grit
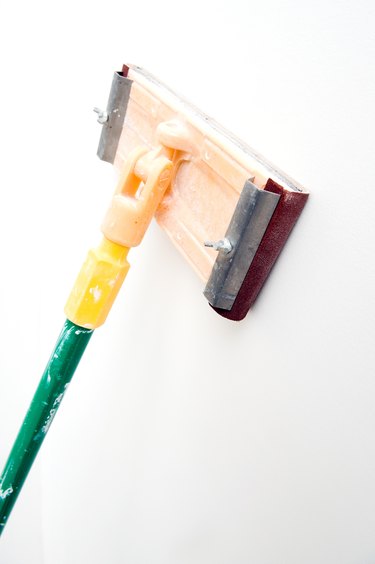
If you do not want to scrape the ceiling or wall, you can try sanding. Use a coarse-grit pole sander across the whole surface. The popcorn wall finish should loosen and fall off easily. Be sure to sand evenly, starting in one corner and moving across the wall.
Step 2: Use a Fine-grit Sander
Go over the surface with a fine-grit sander to eliminate any rough or raised spots. If you have any gouges in the surface, fill them with joint compound, let it dry and then sand.
Step 3: Remove the Dust
Wipe the dust from the walls, and prime them with drywall primer. Apply the paint or wallpaper.
Tip
Hot mud compound can be used for filling the joints and covering the wall, but it hardens quickly and sets up like concrete. Use all-purpose joint compound for a final smooth coat. It is finer grained and easier to sand.
Stir some plaster bonder into the water before mixing the joint compound to ensure good adhesion.
Warning
Asbestos was used in some sprayed coatings for ceilings from 1935 to1978 and can cause mesothelioma and asbestosis. Builders were allowed to use their existing stock even later than 1978. Before scraping or sanding, it is a good idea to have a sample tested by an NVLAP (National Voluntary Laboratory Accreditation Program)-approved testing center.
Video of the Day