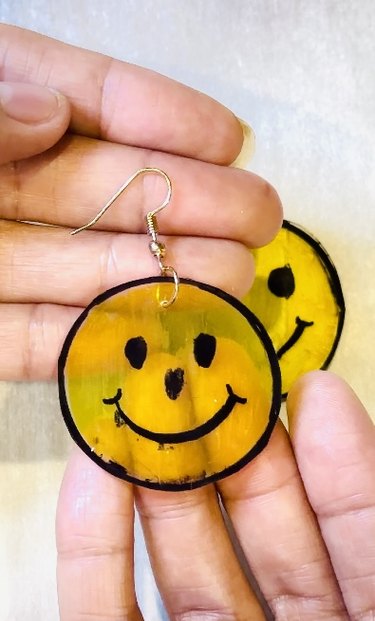
Let's face it: Earth Day should be every day, but since we've designated a special day to remind us of our planet's fragility, why not celebrate with a craft that turns trash into treasure? Enter the DIY Shrinky Dinks earrings, made from recycled #6 plastic containers. These earrings are not just cute with their sunny yellow smiley faces, but they also celebrate sustainability and our continual effort to repurpose materials.
So grab your recycled plastics and a few Sharpies — we're about to shrink our way into eco-friendly fashion.
Video of the Day
Video of the Day
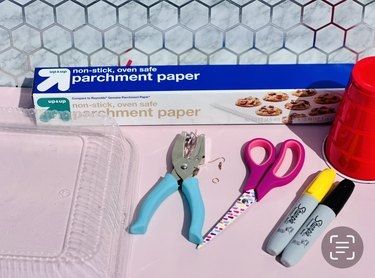
Things You'll Need
Clear plastic containers (with #6 recycling symbol)
Scissors
Permanent markers (preferably Sharpie brand)
Hole punch
Parchment paper
Earring jump rings & hooks
Tip
Ensure your work area is well-ventilated. Shrinking plastic is fun, but let's keep it safe.
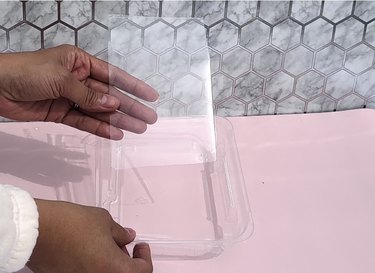
1. Find #6 plastic
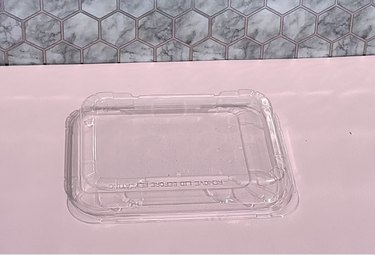
Start your eco-crafting adventure by hunting for #6 plastic, marked with a "6" inside the recycling symbol. These gems, often found as clear tops on foil pans and many clamshell food containers, are perfect because they shrink just right when heated. Other plastics won't do the trick and might not be safe to heat.
Tip
Ensure your work area is well-ventilated. Shrinking plastic is fun, but let's keep it safe.
2. Cut out your "canvas"
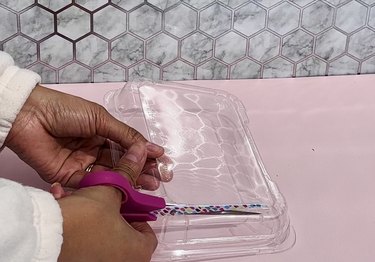
Cut the plastic into flat sheets, then into smaller shapes for your earrings. For your smiley faces, circles work best. Aim for about 4 inches in diameter; they'll shrink down to about 1.5 inches.
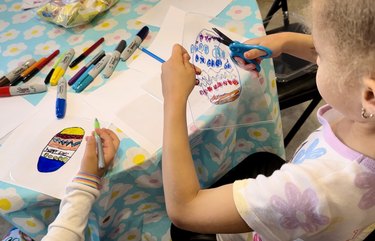
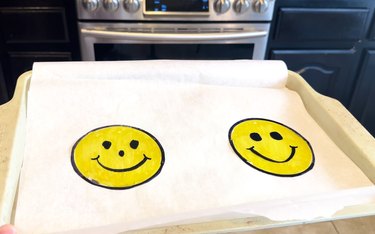
3. Draw your design
Sketch a smiley face on each plastic piece with your markers. Feel free to personalize your smiles; after all, every smile is unique, just like these earrings.

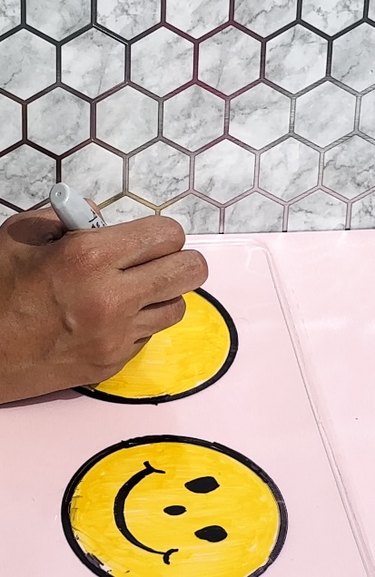
Be as create as you'd like with your design — it doesn't have to be a smiley face!
4. Cut out the design
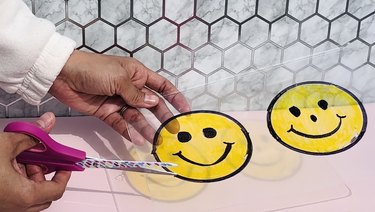
Cut out your smiley faces or other design with scissors.
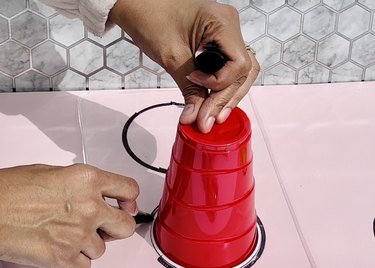
5. Punch holes
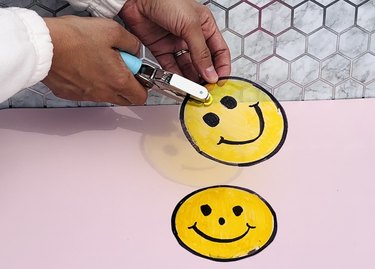
Before you bake, punch a hole at the top of each smiley face. This is where you'll attach the earring hook later, so make sure it's big enough to work with since the hole will shrink along with the entire object.
6. Preheat the oven
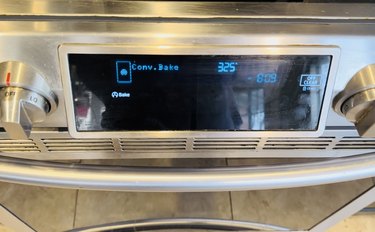
Preheat your oven to 325°F. Line a baking sheet with parchment paper, and place the smiley faces onto the paper.
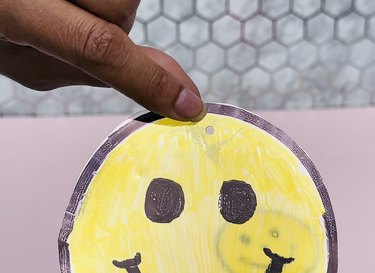
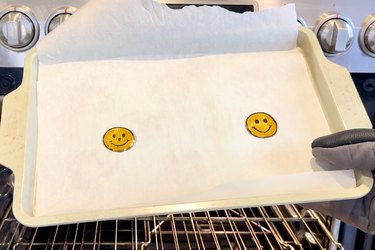
7. Watch 'em shrink!
Slide the pan into the oven, and watch the magic happen: Your creations will curl, twist, and ultimately flatten back down. This takes about 1 to 2 minutes — keep an eye on them the whole time. They'll shrink to about one-third of their original size. Pull the pan from the oven as soon as you like how they look.
8. Let 'em cool
Let the earrings cool for a few minutes before handling them. They'll be hot!
9. Add earring hardware
Attach a jump ring through the hole you punched earlier, then connect it to the earring hook. Repeat for the second earring.
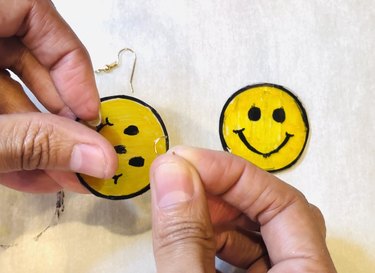
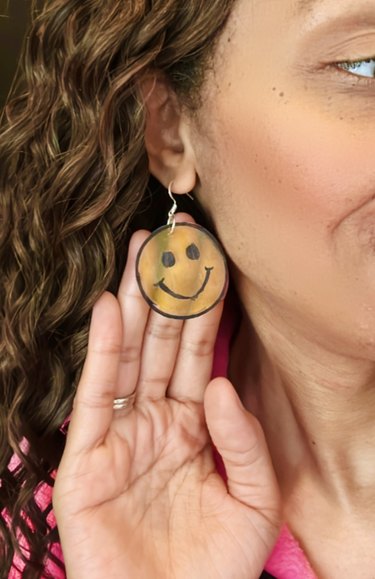
Voila! You've just made yourself a pair of eco-friendly, adorable earrings, perfect for Earth Day — or any day, really.