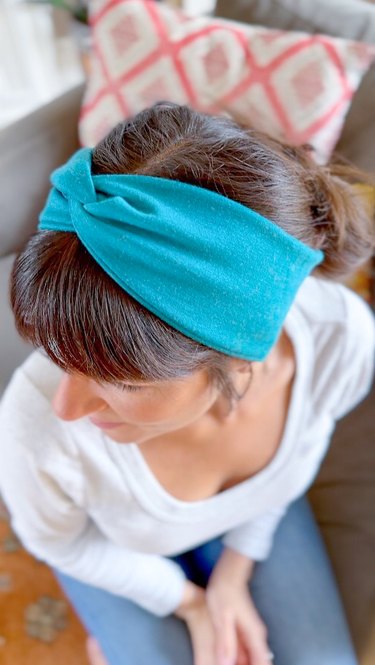
This cute and simple twisted headband is made with any jersey knit fabric. It's perfect for adding a pop of personality to your ensemble or for keeping those pesky strands at bay for any activity. This also makes a great upcycle project for reusing the fabric from an old shirt, dress, or fabric scrap.
Whether a treat for yourself or a thoughtful gift for someone special, this twisty headband represents the perfect blend of fashion, function, and fun. So why wait? It's time to let your creativity shine and stitch your way to a fabulous new addition to your accessory collection.
Video of the Day
Video: Stretchy Twisted Headband
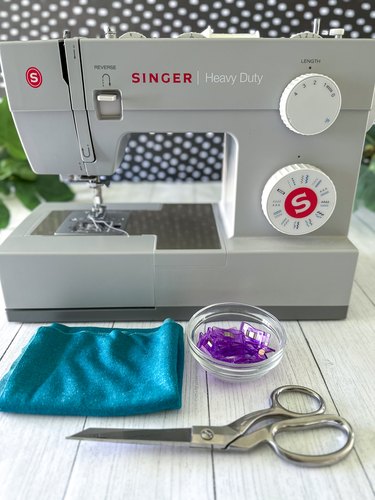
Things You'll Need
24-inch x 8-inch piece of jersey knit fabric
Clips or straight pins
Sharp scissors
Thread
Sewing machine
Ball point sewing needle
1. Fold and clip fabric
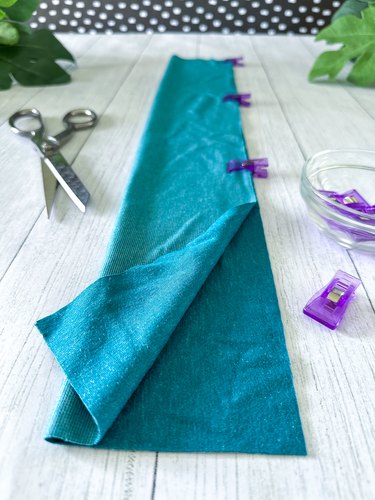
Start by taking a 24-inch by 8-inch piece of stretchy jersey knit fabric and folding it in half lengthwise, so the long sides meet. To keep everything in place, either clip or pin the material along the open edge.
Tip
If you're on a mission to reduce waste and embrace sustainability, consider rummaging through your dresser for a well-loved T-shirt, or even seek out a thrift store gem. It's a fantastic opportunity to repurpose something familiar or give an item a second life, transforming it into something fabulously new and stylish.
2. Sew
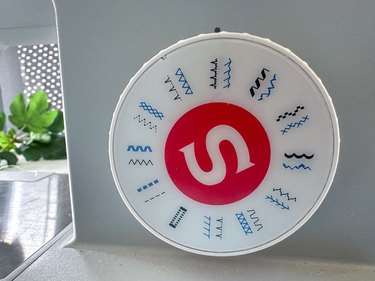
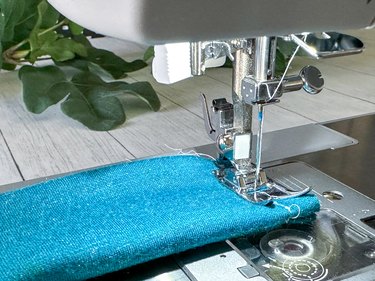
Set up your sewing machine with a ballpoint needle, which has a rounded tip that delicately separates the knit threads instead of piercing through them, preventing damage or snagging. Select a zigzag or stretch stitch (see below).
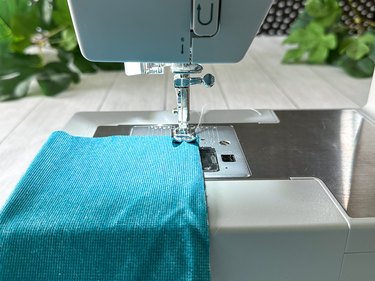
Sew a 1/2-inch seam down the side you've clipped, carefully removing the clips as you go along.
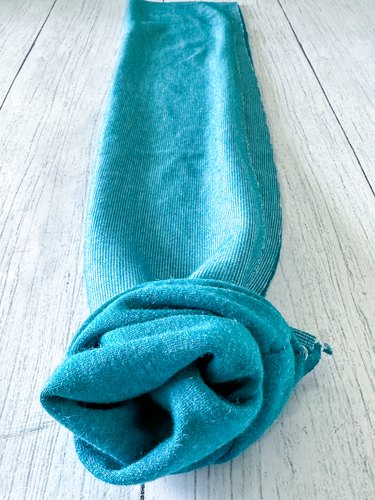
Turn fabric right side out and position the seam along the side to form a long "tube."
Zigzag or Stretch Stitch?
When you're working with stretchy knit fabric for your project, choosing the right stitch is important. A zigzag stitch or a stretch stitch is ideal. These stitches are designed to work with the fabric's elasticity — as the fabric stretches, the seams won't break. The zigzag stitch allows the seam to expand by creating a bit of extra space within each stitch.
On the other hand, a stretch stitch is specifically tailored for elastic materials, ensuring your seams are strong yet flexible. So, when sewing stretchy materials, opting for either of these stitches will help you create something that not only looks good but also fits well and stands up to wear and tear.
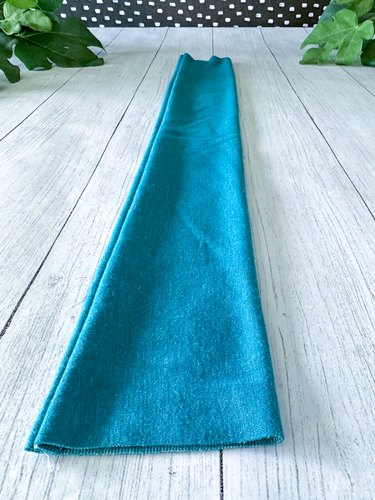
3. Create the twist
Fold the "tube" in half so the short raw edges are together.
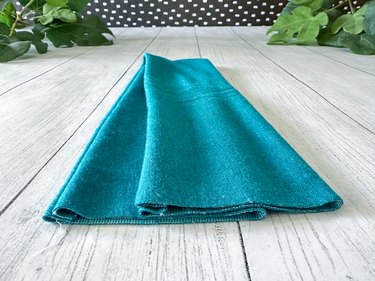
Make a slight shift so the edge of the top piece is centered on the bottom piece.
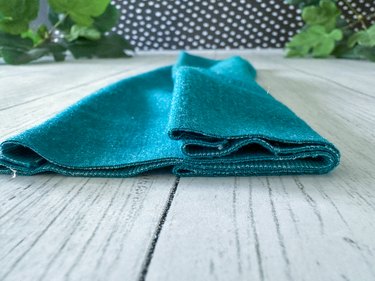
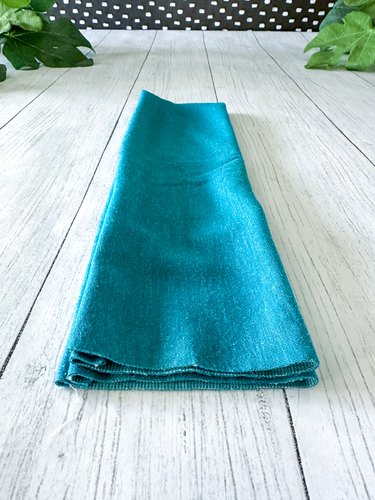
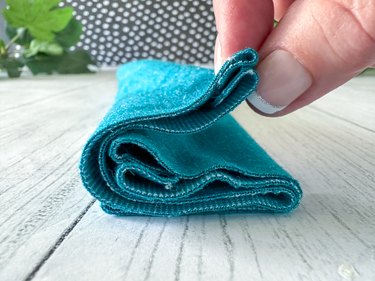
Flip the top half under and the bottom half over to form a fabric "sandwich."
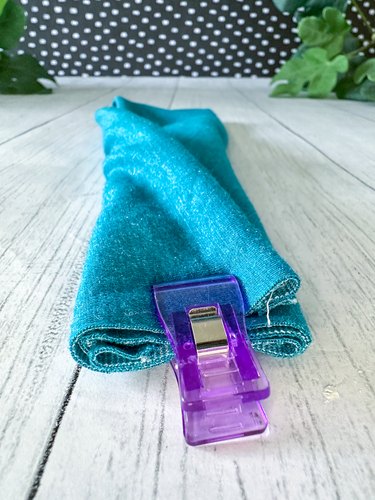
Use a clip to hold the folds in place while you take this to your sewing machine.
Sew across all the layers with a zigzag or a stretch stitch.

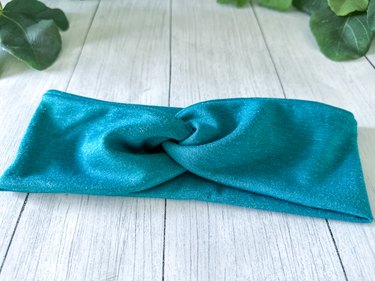
Flip the headband right side out so that the seam is hidden underneath, and—voilà — your twisty headband is all set to wear.