Are you looking for something fun to do this fall? One delicious way to celebrate autumn is to visit a local apple orchard. A day at the orchard can include fresh apple cider, warm doughnuts and hayrides as well as pick-your-own apples. It's a wonderful way to spend some time with people you love and support local farmers at the same time.
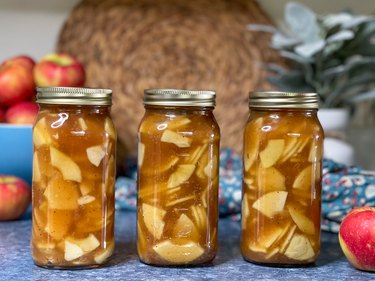
When you get home, you can continue the fun by canning apple pie filling made with some of your freshly picked apples. Don't worry if you've never canned anything before because we've got you covered. These beautiful jars full of pie filling will make the deliciousness last all winter long. Just pop one open anytime to fill a pie shell, make an apple crisp, pour over ice cream or even eat straight out of the jar. Yum!
Video of the Day
Video of the Day
Things You'll Need
18-20 apples (Honey Crisp, Granny Smith, Gala, Pink Lady)
Bowl of water and 2 tablespoons of lemon juice (to keep sliced apples fresh)
5 1/2 cups sugar
1 1/2 cups Clear Jel (Cooktype)
1 tablespoon cinnamon
1 teaspoon nutmeg
7 1/2 cups water
3/4 cup lemon juice
7 quart jars
7 two-piece canning lids
Steam canner (or water bath canner)
Tip
Is it safe to use corn starch in place of the Clear Jel when canning?
The answer is a definite NO!
Clear Jel is a modified corn starch that will not break down or interfere with killing bacteria during the canning process. Clear Jel produces no aftertaste, and your pie filling will be smooth and clear. The USDA says, "There is no substitution for Clear Jel that can be made in these recipes. This means do not use other corn starch, flour, tapioca, or other thickener in canning pie filling. You also must use Clear Jel and not Instant Clear Jel, Clear Jel A, any other form of Clear Jel, or any other modified corn starch."
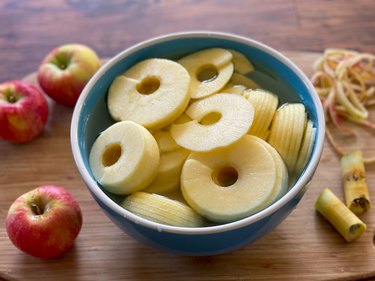
Step 1
Peel, core and slice the apples. You can do this by hand, or if you'd like to save time, you can use a multipeeler or a five-blade spiralizer attachment for your KitchenAid mixer. Place the prepared apples in a bowl of water with 2 tablespoons of lemon juice to keep the apples fresh.
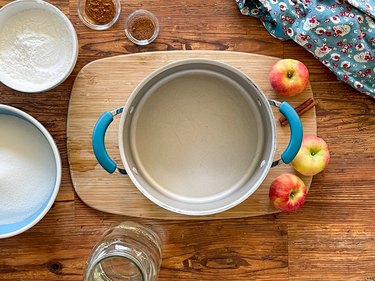
Step 2
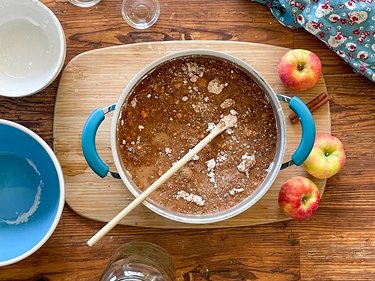
In a large kettle, mix together:
- 5 1/2 cups sugar
- 1 1/2 cups Clear Jel
- 1 tablespoon cinnamon
- 1 teaspoon nutmeg
- 7 1/2 cups water
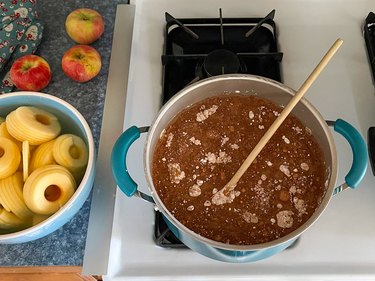
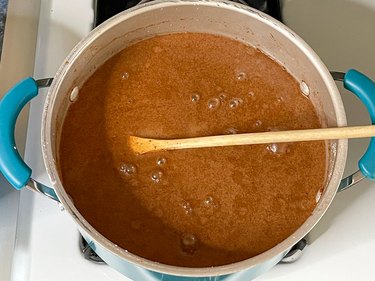
Step 3
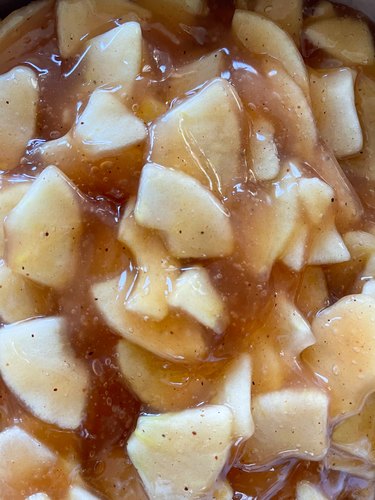
Stir and cook the sugar mixture on medium/high heat until the mixture begins to bubble and thicken. Add 3/4 cup of lemon juice and boil for one minute, stirring constantly so it doesn't scorch. Remove it from the heat.
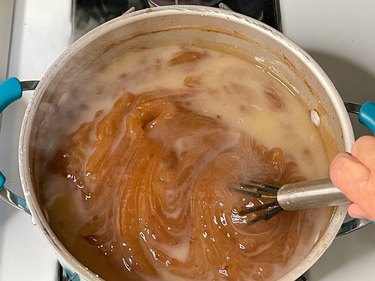
Step 4
Drain the apple slices and then carefully fold them into the hot sugar mixture.


Step 5
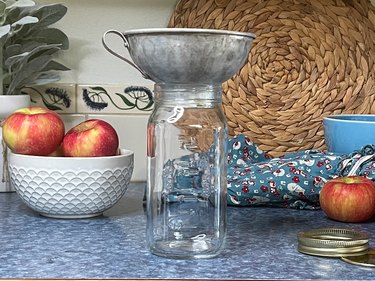
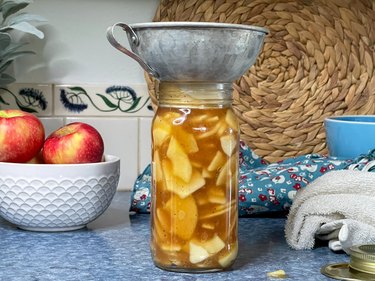
Immediately fill the hot, sterilized jars with the hot apple mixture. Be sure to leave 1 inch of headspace in the jars.
Step 6
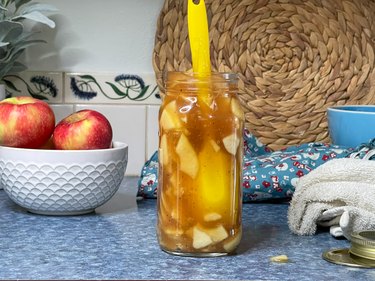
Run a rubber spatula along the inside of the jars to remove any air bubbles that might be trapped. Use a clean, wet cloth to wipe off the jar rims. Adjust a hot, two-piece lid onto each jar.
Step 7
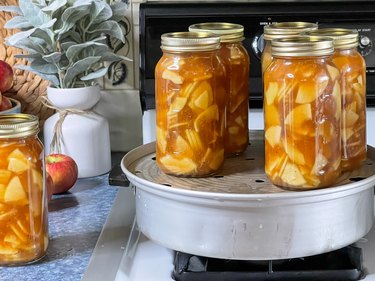
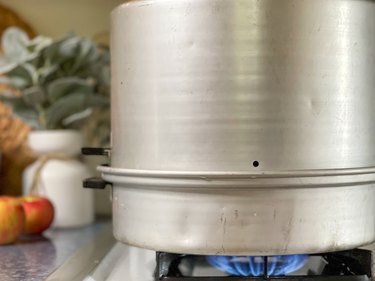
Put the jars on the steam canner shelf and place the lid over the jars. Process the jars for 25 minutes in the steam canner. If you're using a water bath canner, set the jars in the rack, submerge them into the boiling water, place the lid on the canner and boil for 25 minutes.
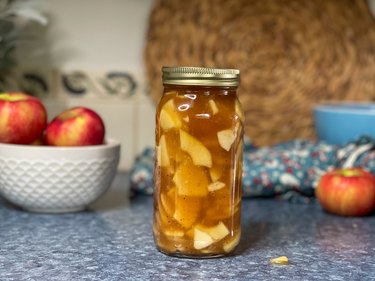
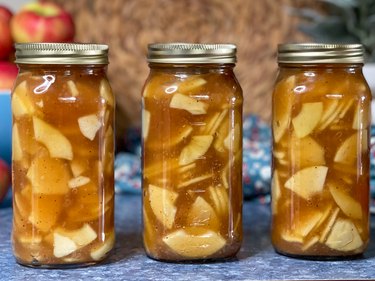
After processing, carefully remove the jars from the canner and place them on a clean towel on the counter. Let them sit still for 24 hours. As the jars cool, you'll hear a satisfying "ping" sound as each jar lid seals. After 24 hours, run your finger along the center top of the lid. It should feel solid, and you shouldn't be able to push it in. If the center springs back when you push it in, the jar has not sealed. Place that jar in the refrigerator and be sure to use it within two weeks.
As long as the sealed jars of pie filling are stored in a cool, dark place and remain unopened, they will last up to three years. Before you use any home canned goods, run your finger over the center of the jar lid. The center should be solid and not spring back. If it springs back when you push on it, the seal has been lost, and the contents of the jar should be thrown away.
Tip
What if you don't have a canner? Can you freeze apple pie filling?
The answer is a definite YES!
Just fill a gallon Ziploc freezer bag with the pie filling, smooth it out to remove any air bubbles, seal it and place it flat in your freezer. It will last in the freezer for up to 12 months. You could even be extra efficient and have a stack of pie-shaped filling in your freezer ready to go. All you have to do is cover the bottom and sides of a pie pan with plastic wrap, add the pie filling and place it in the freezer. When it is completely frozen, remove the pie-shaped filling from the pan and seal it with a vacuum sealer or place it in a Ziploc freezer bag. Stack 'em up and you'll be ready for pie season.

Enjoy pies all year long!