The Japanese art of shibori tie dyeing is quite different from the psychedelic swirls of tie dyeing with which most people are familiar. By folding and bundling fabric, sometimes compressing it between objects and then dyeing it in deep indigo, shibori creates an infinite variety of patterns that conjure lazy days at the beach and travels to exotic locales. The dyed fabric can be used for many purposes, from clothing to linens to wall art. The good news is that shibori is very easy to do, even for a beginner. We'll cover three different folds to create distinct patterns. Once you master these, you'll want to experiment and try your own.
Video of the Day
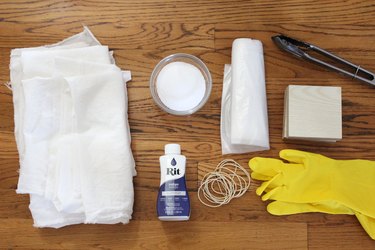
Things You'll Need
Natural fabric, like cotton
Rubber bands
Paint sticks or rulers
Plastic liner
Plastic bucket
Salt
Metal tongs or spoon
Rubber gloves
The Classic Itajime Style
If you're going to tackle shibori tie dyeing, you should definitely start with itajime – the style that is most closely associated with shibori. The grid of squares is created by blocks of wood that compress folded fabric. The square areas that are compressed resist the dye and stay light in color.
Video of the Day
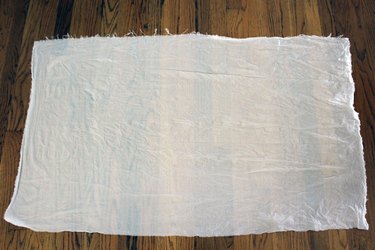
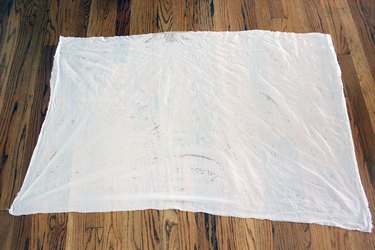
Step 1: Wet the Fabric
Immerse your fabric in a tub of water or place it under a running faucet. Wring out any excess water and place the fabric on your work surface.
Tip
Wash your fabric in mild detergent before the dyeing process to remove any finishes that might interfere with the dye.
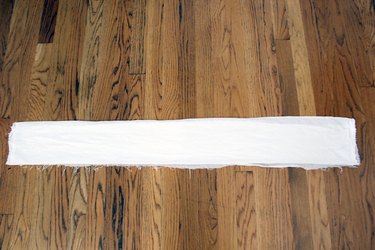
Step 2: Fold the Fabric
Accordion-fold the fabric lengthwise about every 5 inches until you have a long strip that is 5 inches wide.
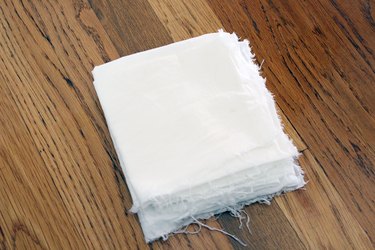
Accordion-fold this strip of fabric until you have a folded square.
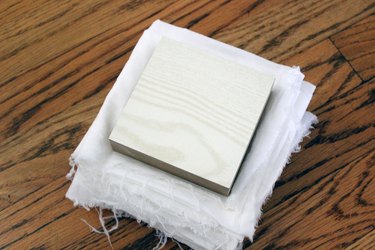
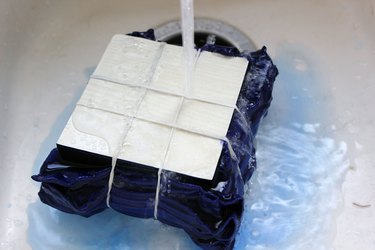
Step 3: Compress With Wood
Place 4-inch wood blocks on the top and bottom of the folded fabric to create a sandwich.
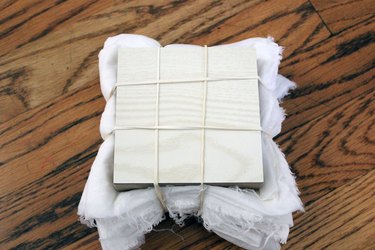
Wrap rubber bands around the sandwich so that the wood compresses the fabric.
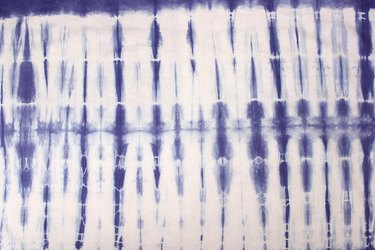
The Stripes Variation
Here is a similar folding method for the classic itajime but with stripes instead of squares.
Step 1: Wet the Fabric
Immerse the fabric in water, wring out excess moisture and lay it flat on your work surface.
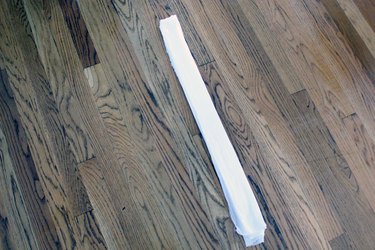
Step 2: Fold the Fabric
Accordion-fold the fabric so you have a long strip that is about 2 inches wide.
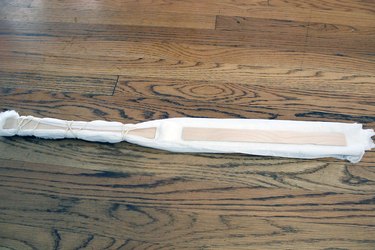
Step 3: Compress the Fabric
Sandwich the folded fabric with paint sticks or rulers. The number you use will depend on the length of your fabric. Wrap rubber bands around the fabric and paint sticks to compress the fabric.
The Triangle Fold
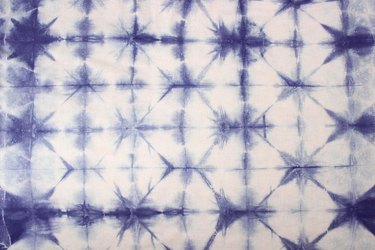
This folding technique creates a diamond pattern that looks like a tiled floor.
Step 1: Wet the Fabric
As with all shibori dyeing, wet the fabric before placing it on your work surface.
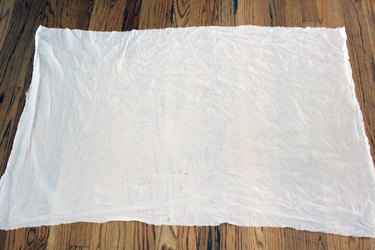
Step 2: Fold Into Triangles
Start by accordion-folding the fabric lengthwise every 5 to 6 inches so you have one long folded strip.
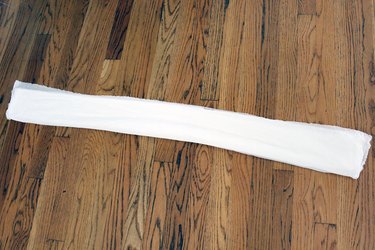
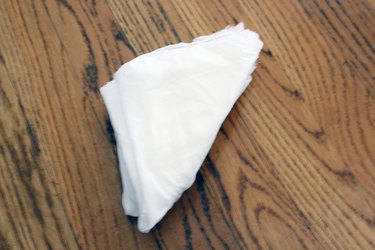
Then, accordion-fold this strip in overlapping triangles as you would fold a flag.
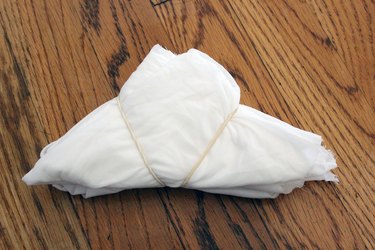
Step 3: Tie With a Rubber Band
Wrap a rubber band tightly around the triangular stack of fabric.
Dyeing the Fabric
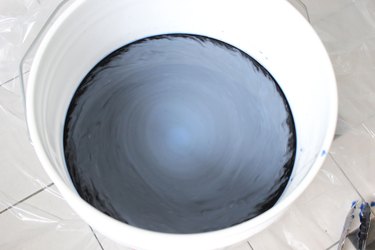
Step 1: Prepare the Dye Bath
Line your workspace with a plastic liner. In a plastic bucket, mix 3 gallons of hot water with a cup of salt and one 8-ounce bottle of Rit dye in indigo blue. Stir with metal tongs or a spoon. While the traditional color of shibori dyeing is indigo blue, you can select another color if you wish.
Tip
Adding salt helps enhance the color when your fabric is cotton, rayon or linen. If you are dyeing nylon, silk or wool, use vinegar instead.
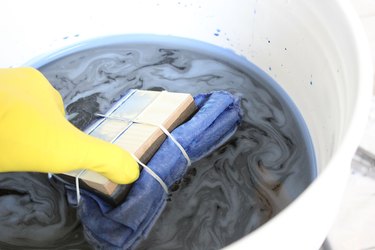
Step 2: Immerse Fabric in the Dye
Wearing rubber gloves, place the bundles of fabric in the dye bath. They will float to the top. Let the fabric sit in the dye for about 5 minutes for a pattern with more white contrast. You can keep it in as long as 20 minutes if you want a deeper color with less contrast.
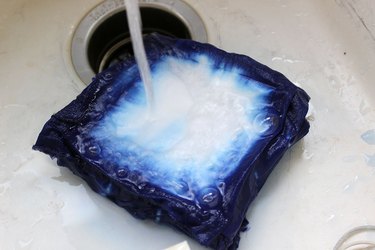
Step 3: Rinse the Fabric
Remove the fabric bundle from the dye bath. Leave on the wood blocks and rubber bands. Rinse under running water until the water becomes clear instead of blue.
Remove the rubber bands and wood and continue to rinse until the water is clear.
Unfold the fabric to see your masterpiece. Wash it in warm water with mild detergent.
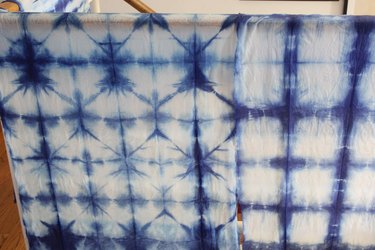
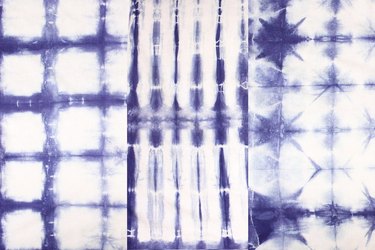
This is the finished itajime look using the wood blocks.

The striped variation would make a beautiful table runner.
The triangle-fold fabric just begs to be made into pillows.