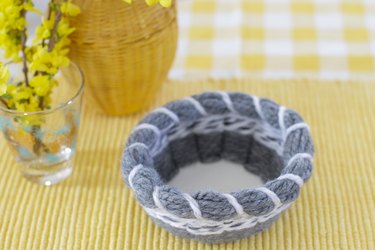
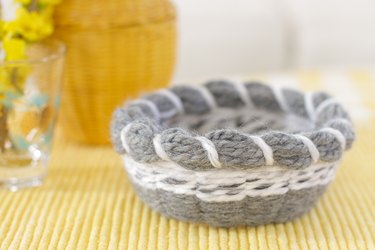
Baskets are great for storing, organizing or just to dress up an empty area of your home. They can be used as a versatile way to decorate your living space and when you make them yourself, you can choose the size, color and design. Fun for the whole family, this technique is an uncomplicated way to get introduced to the art of basket weaving. Just print off the template, grab a few skeins of yarn and before you know it, you just might have a new favorite hobby.
Video of the Day
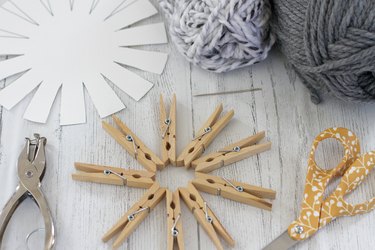
Things You'll Need
Template
Card stock or cardboard cereal box
Scissors
Paper punch
Two colors of yarn
Tapestry needle
Clothespins
Step 1
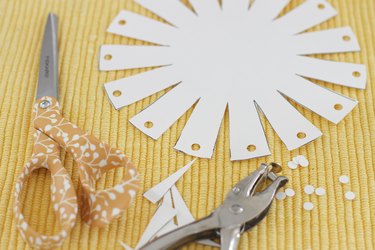
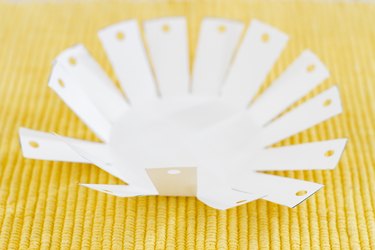
Download the template and trace it onto thick card stock or the back of a cereal box. Cut around the lines and punch a hole in each end. Fold each panel up.
Step 2
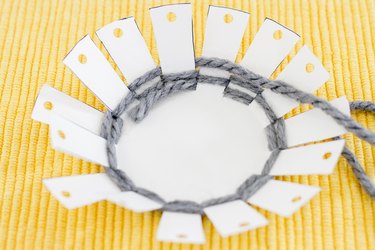
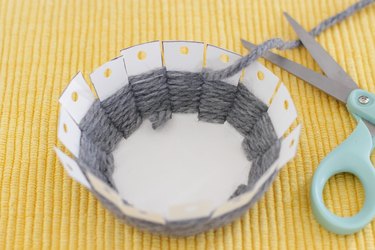
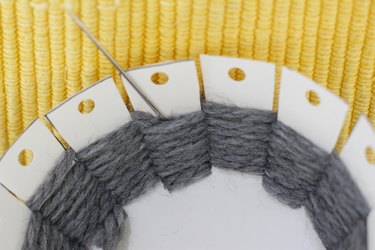
Start the first color of yarn at the bottom and weave in and out of each panel. Continue to weave and pull the yarn tight until you get about 2/3 of the way up the panels. Cut the yarn, leaving about an inch. Use the tapestry needle to tuck the yarn ends into the woven area.
Step 3
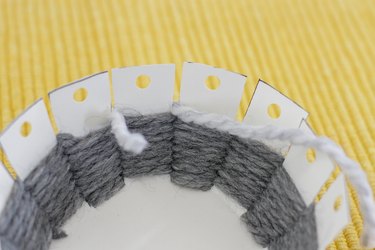
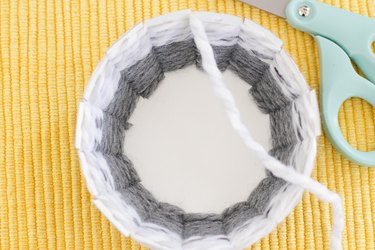
Start the new color and weave it in and out of the panels. Continue weaving until you reach approximately half way up to the holes. Cut the end of the yarn and tuck the ends into the woven area with the tapestry needle.
Step 4
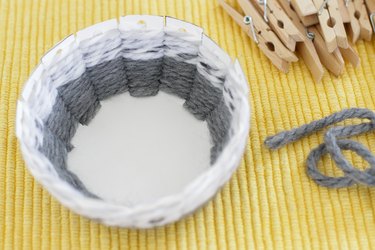
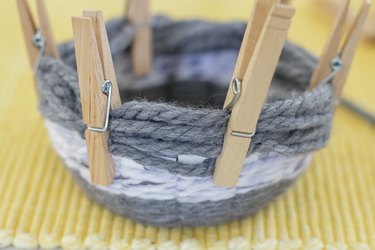
Wrap the first color of yarn around the top of the basket at least ten times. Secure in place with clothespins.
Step 5
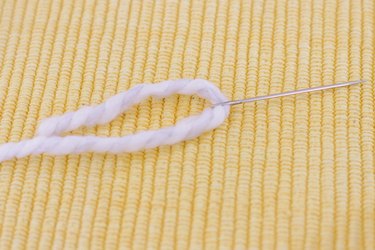
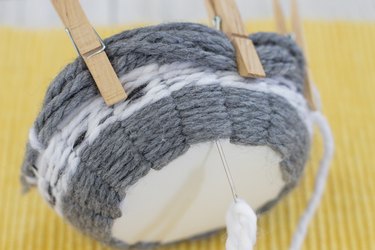
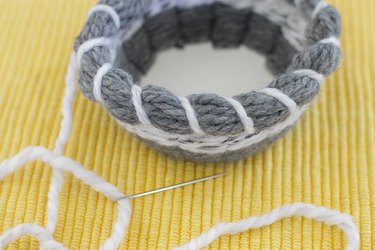
Thread the tapestry needle with contrasting thread. Start at the bottom of the basket and run the needle up through the woven area until the loose end of the yarn is secure. Wrap the white yarn around the gray yarn at top edge, running the needle in and out of each hole. Remove the clothespins as you wrap. Secure the end with a knot and cut.
That a wrap!!
