eHow may earn compensation through affiliate links in this article.
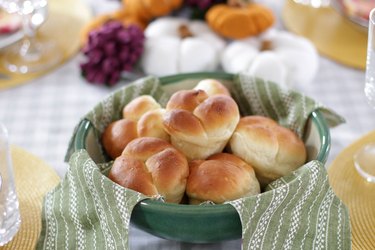
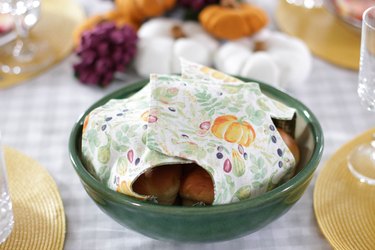
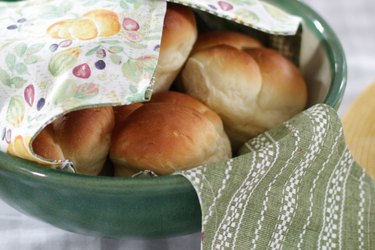
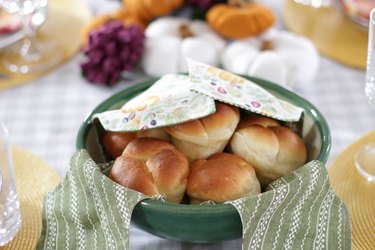
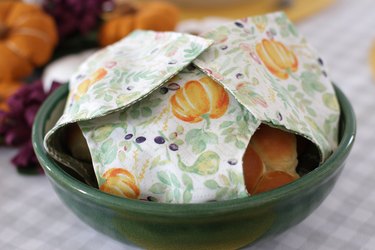
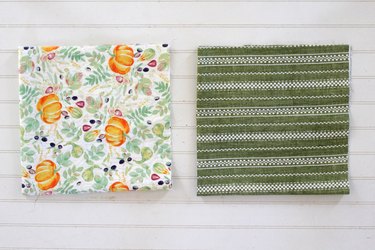
Please pass the rolls! It's hard to resist that warm and buttery, homemade bread right out of the oven. This holiday season, keep your rolls fresh while adding some serious style to your table with a DIY fabric roll cover. The flaps allow the steam to vent so the bread won't get soggy and will fit a variety of bowl sizes. All you need to make this cute cover are two fabric squares in any color or pattern to match your table. Sheesh, who knew a roll cover could be part of your holiday decor?
Video of the Day

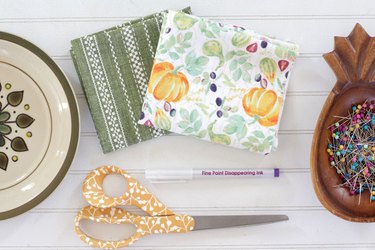
Things You'll Need
Two 18 x 18-inch pieces of fabric
6 or 7-inch plate (or anything round)
Sharp scissors
Iron
Step 1
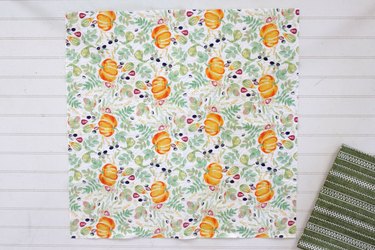
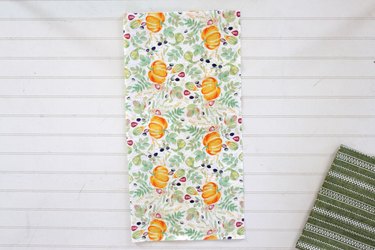
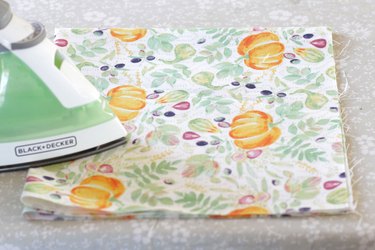
Fold the 18 x 18-inch fabric squares into fourths. Be sure to match the edges so they're even.
Step 2
Press with a hot iron.
Step 3
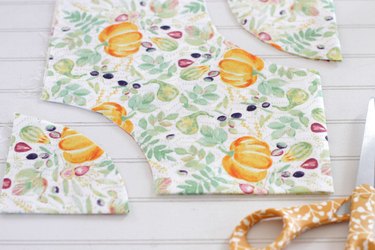
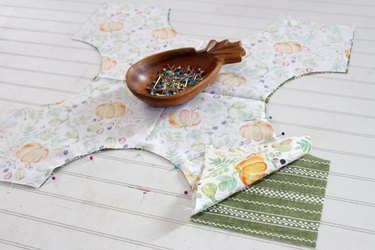
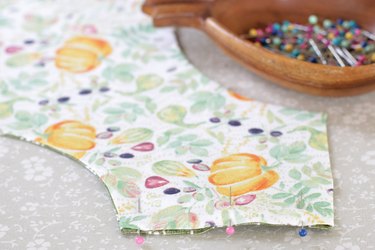
Mark the two corners that have raw edges on one side and two folds on the other (do not use the corners with all raw edges and only folds). Make a mark that is 3 1/2 inches up on each side and place the sides of the plate on each mark. Trace the plate with a marking pen. Repeat this on the opposite side of the folded square of fabric.

Step 4
Use a sharp pair of scissors to cut along the marks. Do the same thing on the other piece of fabric.
Step 5
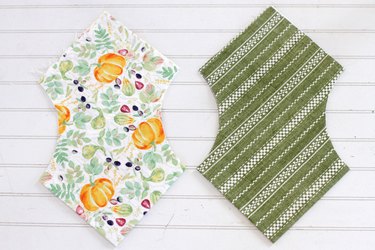
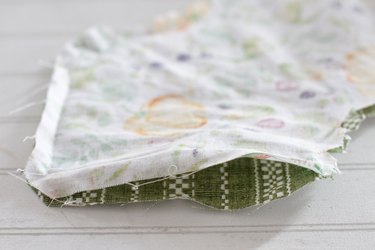
Open up the fabric squares and place them with right sides together. Line up all the edges and pin in place.
Step 6
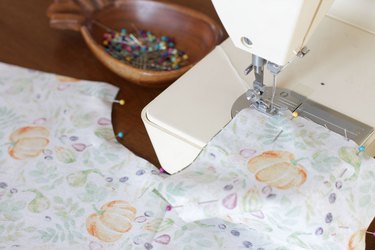
Sew along all the edges except leave one of the straight edges open. Be sure to remove the pins as you sew.
Step 7
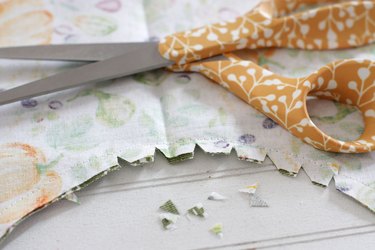
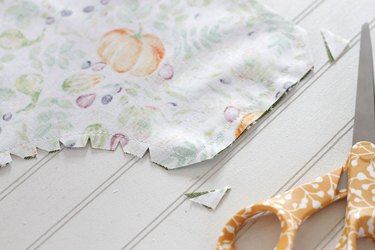
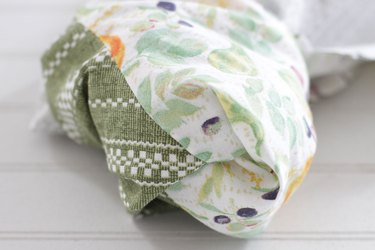
Notch the curved edges and clip each corner to remove bulk. This will help make the corners and edges flat when it's turned right side out. Be careful not to clip any of the stitching.
Step 8
Pull the fabric through the opening to turn it right side out.
Step 9
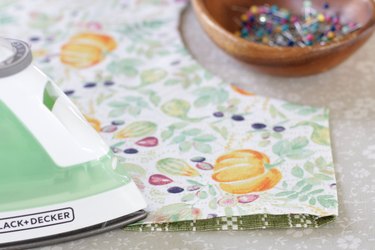
Tuck in the raw edges of the opening, press and pin. Continue to press all the the edges and corners for a nice, crisp finish.
Step 10
Topstitch around the entire cover to close the opening and to create a nice finished look.

Please pass the rolls!!!