eHow may earn compensation through affiliate links in this article.
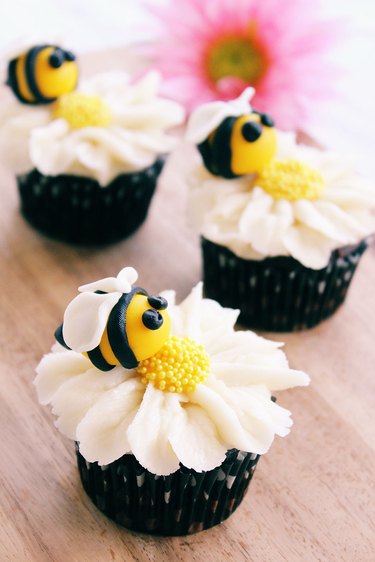
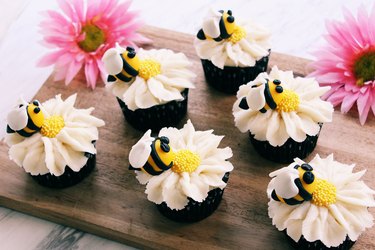
If you're looking for a sweet treat that will create quite the buzz, these adorable bumblebee and flower cupcakes are for you. With cheery fondant bees resting on white daisies made of frosting, they are the perfect cupcakes for garden parties, showers or birthday gatherings all spring and summer long. They'll be such a hit, everyone will make a bee-line for them.
Video of the Day
Video of the Day
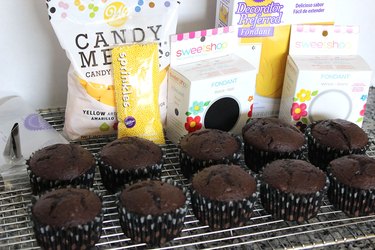
Things You'll Need
Cupcakes
Knife
White buttercream frosting
Yellow nonpareils sprinkles
Rolling pin
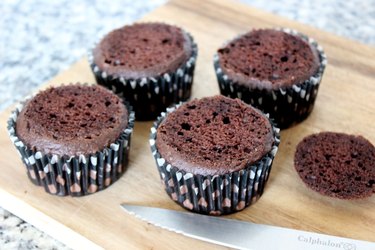
Step 1: Prepare the Cupcakes
Bake cupcakes either using your favorite recipe or a box mix. I used a box mix. Select any flavor you wish, as the top of the cupcake will be covered with frosting and, therefore, not visible.
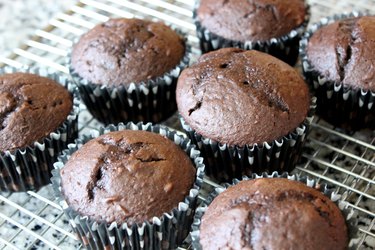
If your cupcakes have a pronounced dome shape, cut off the top with a knife so it is flat. The flower will be easier to create when the cupcake surface is level.
Step 2: Prepare the Frosting
Store-bought frosting does not pipe well, so it's best to whip up a batch of frosting from scratch. The basic recipe is to mix 1 cup of butter with 4 cups of confectioner's sugar, and then mix in a teaspoon of vanilla and 2 tablespoons of milk, cream or water at the end. My secret for frosting that holds its shape when piped into flower shapes, even when the weather is warm, is to substitute half the butter for vegetable shortening. Believe me, it still tastes yummy.
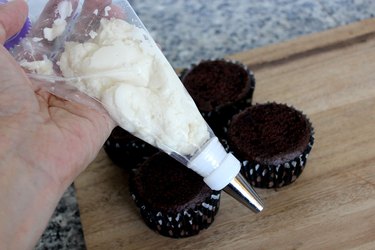
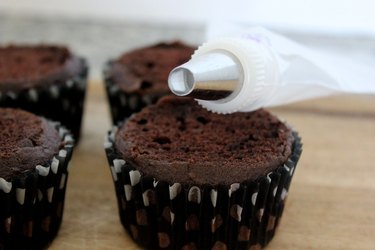
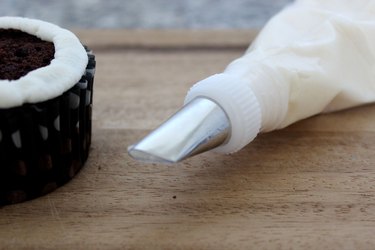
When you've finished the frosting, spoon a small amount into a piping bag fitted with a round piping tip like tip #12.
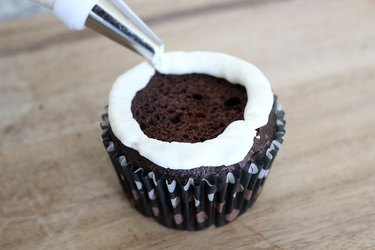
Step 3: Frost Around the Edges
Apply a circle of frosting around the circumference of the cupcake. This layer of frosting will help support the petals so they don't droop over the edges.
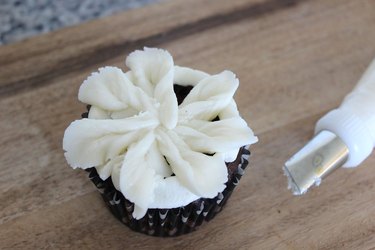
Step 4: Pipe the Daisy Petals
To create the petals, fill another piping bag with the rest of your buttercream frosting, this time fitted with petal piping tip #104. Look for a tip with an elongated teardrop shape.
Place the piping tip over the cupcake with the wide end at the center of the cake. Tilt the tip about 45 degrees to the right (if you're right-handed). As you squeeze the piping bag, move the tip toward the edge and the frosting will form the left side of the petal.
Return the tip toward the center, squeezing the bag to release more frosting to form the right side of the petal. Overlap the left and right sides so there are no gaps. Start by making six or seven petals spaced out evenly around the cupcake. Let them extend past the circle of frosting you created for support.
Tip
Practice making petals on a piece of wax or parchment paper first to gain some confidence. Then when you get the hang of it, you can scoop the frosting back into the piping bag to reuse.
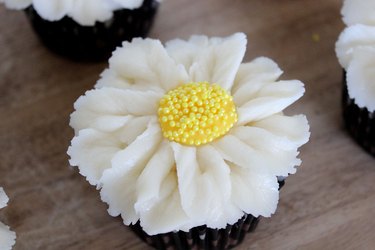
Add additional petals between the first petals until there are no more gaps. Don't worry about perfection. The petals will actually look more realistic if they are of different sizes and shapes!
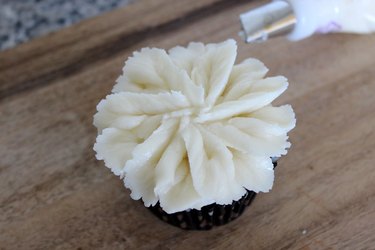
Step 5: Create the Daisy Center
Make the round yellow center of the daisy with yellow candy melts. Place some yellow candy melts in a microwaveable bowl, and heat in 20-second intervals. If they get lumpy as you're melting them, add a teaspoon of vegetable shortening and they'll smooth out.
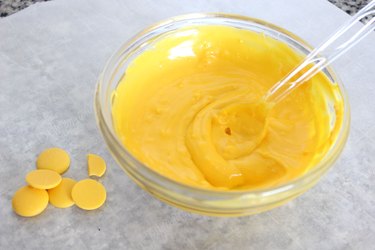
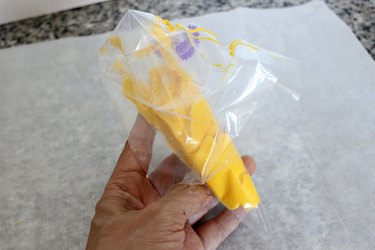
Spoon the melted candy into a piping bag. You won't need a special piping tip. Just cut off the very end of the bag with some scissors to create a small opening.
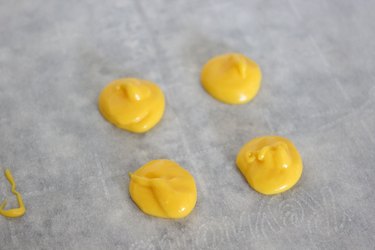
Squeeze dollops of the candy melts onto parchment paper. Make them between 1/2 and 1 inch in diameter.
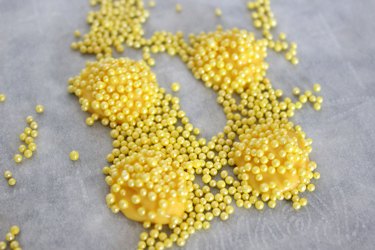
While the candy melt dollops are still warm, sprinkle yellow nonpareils on top of them. Nonpareils are sprinkles that look like little pearls. Allow them to cool and harden at room temperature, or better yet, in the refrigerator.
Position the yellow candy center in the middle of the petals. The cupcake is already darling, but the bee puts it over the top.
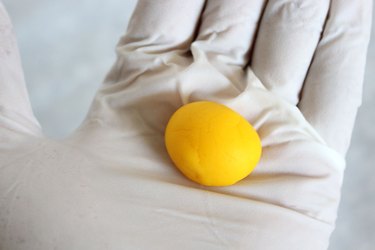
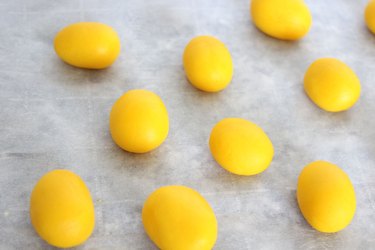
Step 6: Form the Bumblebee Body
Roll a piece of yellow fondant between your hands to form a small oval shape about 1 inch long. If you've never worked with fondant, it is similar in consistency to Play-Doh and very easy to mold.
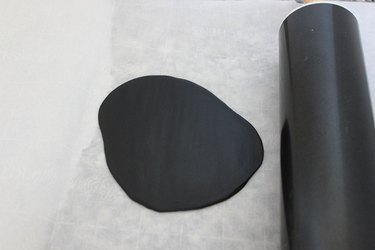
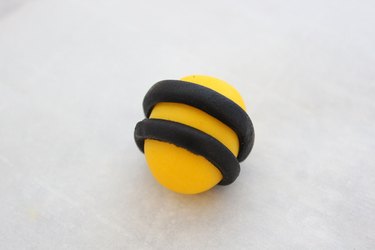
Step 7: Add the Bee Stripes
Place some black fondant between two sheets of parchment paper and roll it as flat as you can.
Cut thin strips about 1/8-inch thick using a pizza cutter.
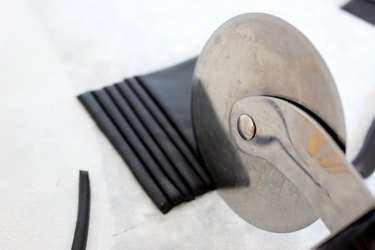
Wrap two black fondant strips around the yellow oval. They don't have to go all the way around the bottom, as the bottoms will not be visible. If the fondant is fresh out of the package, the pieces should stick together without any moisture. Otherwise you can dab some water between the pieces to help them adhere.
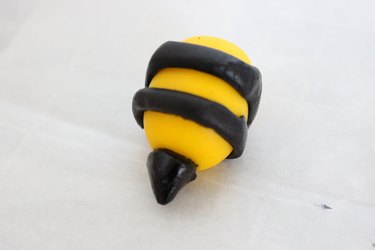
Step 8: Attach the Bee Stinger
Not that we're going for anatomical accuracy, but the stinger does give you that "bee" look. Using your fingers, shape a small piece of black fondant into a pointy cone shape and adhere it to one end of the body.
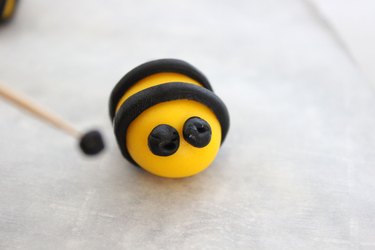
Step 9: Add the Eyes
Roll small balls out of the black fondant and attach them to the face. Use a toothpick to hold the eye, and then press it to the body with your finger.
Step 10: Attach the Wings
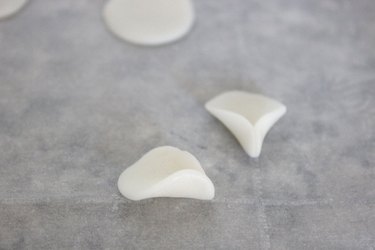
Roll small balls of white fondant that are about 1/4-inch in diameter. Then place them between two pieces of parchment paper and form small circles by pressing down on the fondant with your thumb.
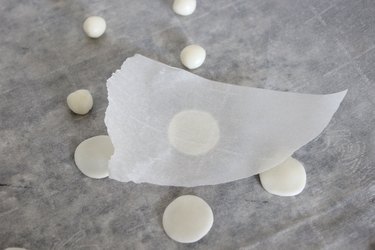
Pinch one end of each fondant circle to create a teardrop wing shape.
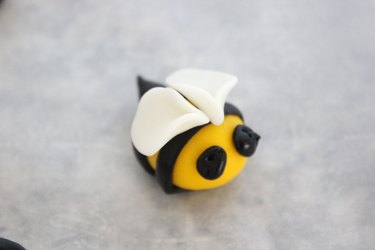
Attach two wings to the bee's body just behind the eyes. Again, they should stick without any added moisture, but use a little water if necessary.
Tip
The fondant can get very sticky when manipulating it due to the warmth of your hands. If you're having trouble with overly sticky fondant, just leave it alone to air out for a few minutes, and it will harden and be easier to use.
Step 11: Attach the Bee to the Daisy
Position the bumblebee on top of the cupcake with the head resting on the yellow daisy center. The frosting beneath the bee should be able to hold it in place. However, if the frosting has hardened, or you plan on transporting the cupcakes to another location, you can secure the bumblebees in place with a toothpick.
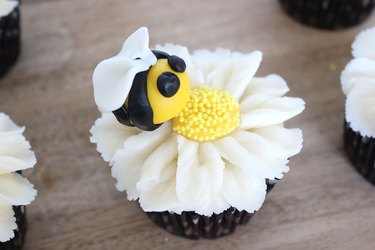
These cupcakes are the bee's knees.