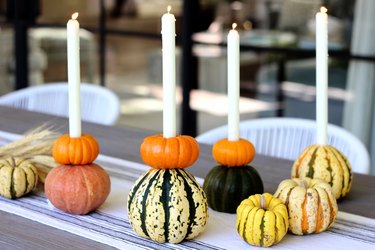
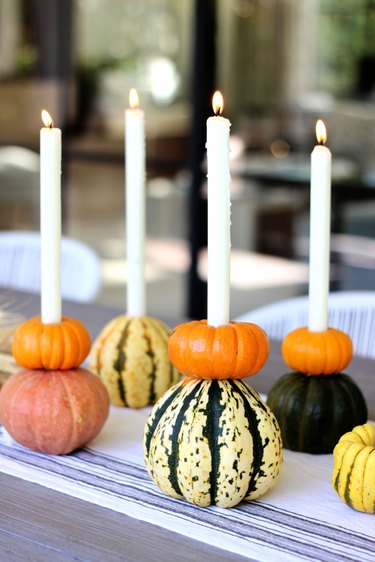
Gourds and pumpkins are ubiquitous autumn decor staples, but they aren't just for dressing up front porches. They also make unique and festive alternatives to candle holders. When stacked, they create elegant shapes that feel equally at home as a table centerpiece or on a fireplace mantel.
When making budget-friendly fall crafts this year, follow this simple DIY tutorial to create pumpkin candle holders. How beautiful would this look on your Thanksgiving table?
Video of the Day
Video of the Day
Things You'll Need
Taper candles
Power drill
3/4-inch or 1-inch drill bit
Mini pumpkins, gourds or squash
1. Select the candles and the drill bit
Choose taper candles that don't actually taper at the wick. Candles that are the same diameter at the top and bottom are preferable, as they will fit more snugly in the pumpkins and gourds. Interestingly, they're still called taper candles, even without the taper. White candles work well in your DIY pumpkin candle holders, but you choose any colors you like that work with your gourds and the rest of your holiday home decor.
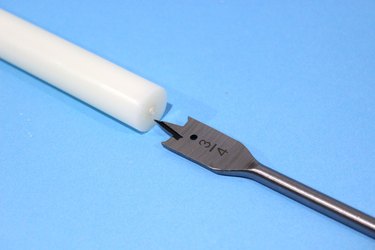
Measure the diameter of your taper candles and select a drill bit that is the same size. Most taper candles have a 3/4-inch diameter at the base, but some are 1 inch in diameter.
2. Choose appropriate gourds
Even though gourds are typically thought of as inedible, rock-hard fruits used solely for decoration, the family of gourds actually includes pumpkins and squash.
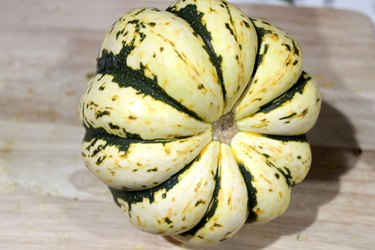
When selecting gourds, choose ones that will sit upright without wobbling. Also, look for gourds that do not have protruding stems on top of the pumpkin. At least the top or bottom needs to be flat.
3. Drill a hole in the top of the pumpkin
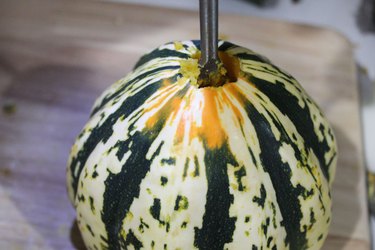
You candle holder can consist of only one gourd, or you can make a stacked double-gourd version. When stacking, the gourd at the base should be the larger of the two. Holding it steady, drill a hole at the top of the gourd using the large drill bit. Once the drill penetrates the top, you don't need to go deeper than an inch or two. And watch your fingers — the drill bit is sharp.
4. Drill the second gourd
Mini pumpkins work well as the second gourd that sits on top of the first. Drill a hole through the center of the mini pumpkin with the same drill bit.
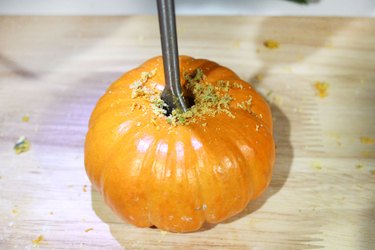
Keep drilling all the way through the pumpkin, until the drill bit comes out the other end. Again, watch your fingers.
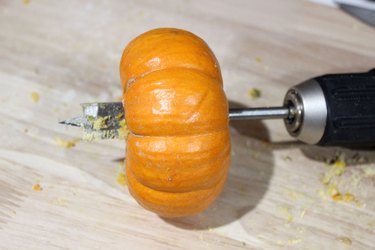
5. Slide the candle through the top gourd
Insert the candle into the top gourd (in this case, the mini pumpkin) until it goes through the bottom. If the candle is having trouble going in, run the drill through the hole again.
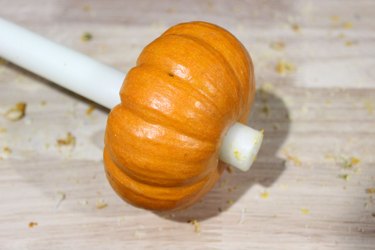
6. Insert the candle into the base of the gourd
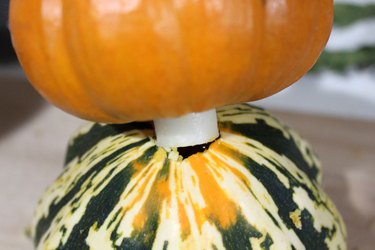
Line up the mini pumpkin and the candle above the bottom gourd, and insert the candle through the hole. Push the candle down until it is snug in the DIY candle holder.
Tip
Gourds begin losing freshness the moment you break the skin. To keep your candle holders fresh for as long as possible, keep them in the refrigerator when not using them.
These gourd candle holders are so easy to assemble, you'll want to make several of them to adorn your table. And no, people will not think you're out of your gourd.
Warning
Never leave lit candles unattended and keep them away from children.