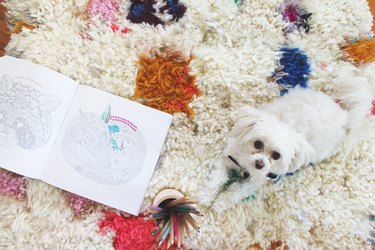
Rugs are a crucial element to making a room feel cozy and inviting. Although it may seem an arduous and time-consuming project, rug weaving is a great partner activity and can help you decompress after a long day. Create custom floor coverings for your home with wonderful textures and patterns using a latch hook tool and your favorite wool yarns.
Things You'll Need
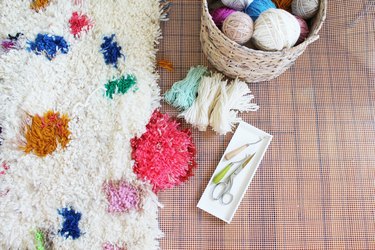
Several skeins of yarn in various colors
Latch hook tool
Latch hook rug canvas
Scissors
Iron on edge binding
Video of the Day
15 large skeins of wool yarn were cut and woven into the 3-by-5 foot rug pictured. Wool yarn can get expensive so mix in acrylic or cotton yarns to achieve a textures look without compromising on comfort.
Video of the Day
Step 1: Cut Yarn
Cut 3-inch to 5-inch lengths of yarn to weave into your rug. Wrap yarn around your fingers or a scrap piece of cardboard to cut multiple sections at a time.
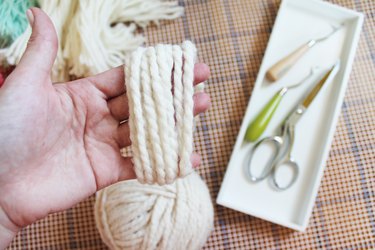
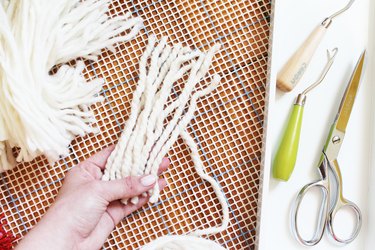
The longer the cut pieces of yarn, the higher the pile of your rug will be, so determine your preferred look before cutting.
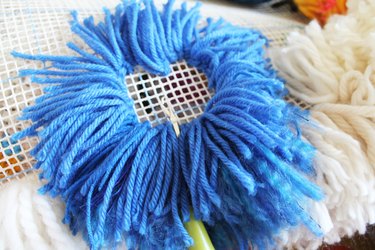
Step 2: Start Using the Latch Hook Tool
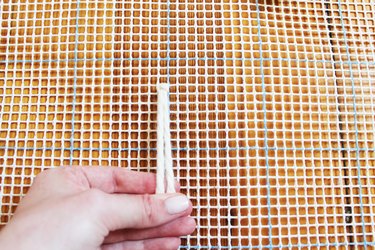
A latch hook tool essentially aides in the creation of a slipknot around a section of the grid. Insert the metal hook under one section of the rug canvas, taking care that the latch is open.
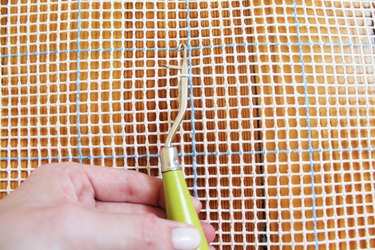
Insert a piece of yarn under the handle of the tool, pulling the edges even on either side.
Pulling both ends of the yarn together, catch them in the hook of the tool and pull in the opposite direction of the latch opening.
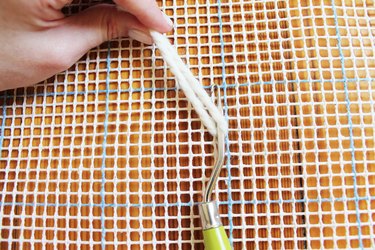
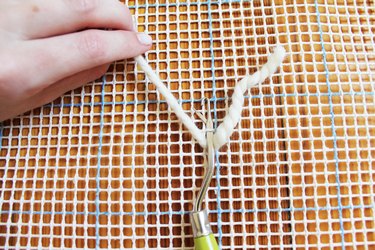
By pulling the tool towards you, the latch will automatically close. Continue pulling the tool towards you, to draw the ends of the yarn under the section of rug canvas and through the loop.
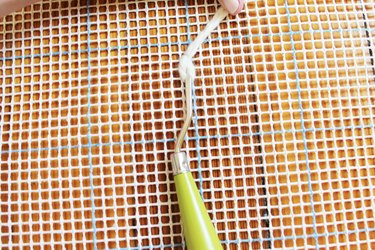
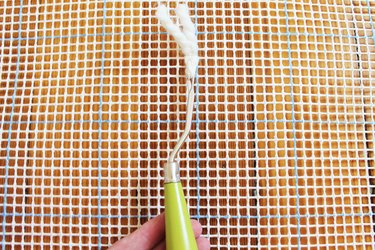
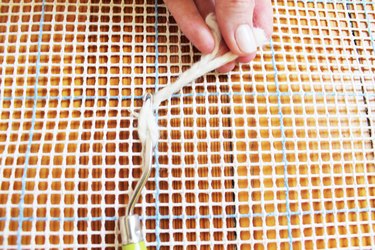
Pull the ends downward to tighten. Thicker yarns may require an extra tug to pull them through.
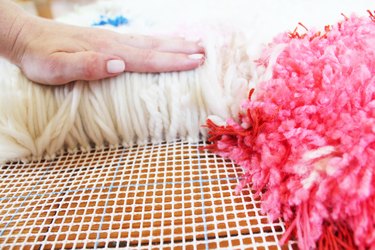
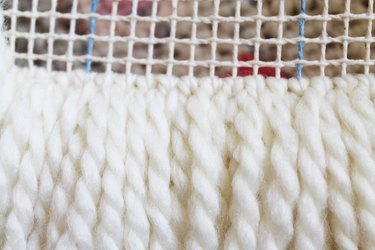
Working row by row from the bottom up is the easiest method of latch-hook rug weaving. Try folding finished sections under to make unfilled canvas grid easier to access.
Step 3: Create Shapes
Create patterns by using the grid of the rug canvas or allow a design to develop organically.
Outline shapes on the grid in your desired color and fill them in working from bottom up.
Step 4: Finish Edges
You can find iron-on or glue-on binding for the bottom edge of your rug in the knitting section of most craft stores. This will keep the edges of the rug canvas intact through use.
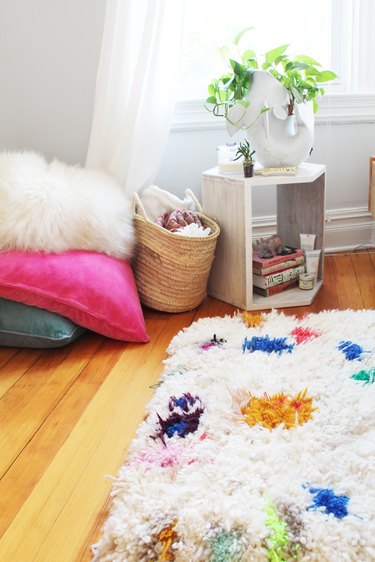
Layer your finished rug with floor pillows and sheepskins for a bohemian look, or use your woven masterpiece as textural wall art by hanging it from nails above your bed!