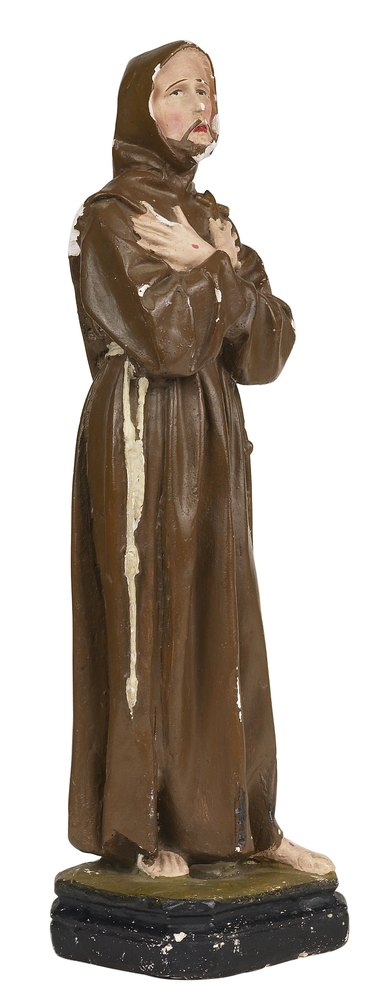
The medieval monk's habit, or robe, is a simple and modest looking tunic-like garment. Rough textures and generous cut were its hallmarks. Most robes included a hood and cord around the waist. Sources indicate that the earliest Benedictine habits were probably white, brown and gray, because monks wore undyed wool as part of their dedication to a life of poverty. Some of the colors varied according to the order. As time went by, black became the standard color of a Benedictine robe.

Video of the Day
Things You'll Need
Straight Pins
Brown Fabric, 72-Inch Extra Wide
Scissors
Sewing Machine
Tailor'S Chalk
Measuring Tape
Thread
Robe
Step 1
Fold the fabric in half, widthwise, and lay it on an open area on the floor. The fabric edges perpendicular to the fold should measure 60 inches long.
Video of the Day
Step 2
Lay on the fabric while it is still on the floor. Center yourself on the fabric, aligning your shoulder tops with the fabric fold. Stretch your arms out on each side toward the fabric edges.
Step 3
Ask someone to trace around you with tailor's chalk, creating the outline of a monk robe on the fabric. Make the arm lines grow wider as they extend to the fabric edges from the arm pits and draw the robe body wider as it progresses from the armpits to the bottom of the robe. This creates enough fabric for the completed garment to move and flow.
Step 4
Get up from the floor. Using tailor's chalk, make marks on the fold at the center of the fabric, 3 inches on the fold at each side of the center and 3 inches down from the fold at the center. Starting at the 3-inch mark on one side of the center, create a neckline in a semi-circular shape by connecting the three 3-inch marks.
Step 5
Cut the robe from the fabric using the chalk lines as a guide, leaving 1 inch between the chalk line and the cutting line to allow for seams. Cut out the semi-circle at the neckline. Turn the robe so that the fabric's right sides are facing.
Step 6
Machine stitch a 1-inch seam along the robe sides and along the bottom of the arms.
Step 7
Sew a 1/4-inch hem around the bottom of the sleeves and robe bottom.
Hood
Step 1
Cut a 16-by-32-inch piece from the same fabric as chosen for the robe. Fold the fabric in half, rights sides facing, so that you have a 16-inch square.
Step 2
Machine stitch one of the sides, perpendicular to the fold, using a 1/2-inch seam. Turn the hood right side out.
Step 3
Align the hood seam with the center back of the robe neck.
Step 4
Pin the bottom front corners of the hood to the right and left sides of the neckline, respectively, using straight pins. Fit the hood's bottom edge around the neckline edge from these points. Make small pleats in the bottom hood edge to make the hood fit because the bottom hood edge is much larger than the neckline opening.
Step 5
Machine stitch a 1/2-inch seam connecting the hood to the neckline, leaving a 1/4-inch fabric allowance at the front edge of the hood for a hem. Remove the pins. Fold the 1/4-inch allowance toward the inside of the hood and sew a hem around the hood's front edge.
Tip
Calculate the amount of fabric needed for your robe by measuring from the top of your shoulder to the ground in inches. Double that figure and add two inches to the total. Record this measurement. For example, if the ground to shoulder measurement is 60 inches, then the fabric length needed is two times 60 plus two inches, resulting in 122 inches.
Right side of the fabric is a sewing term that refers to the side of the fabric that will be exposed on the finished garment.
Add a rope or fabric cord around the waist, if desired.