Things You'll Need
Pocket knife, metal pick, chainsaw or other sharp edge for carving
Pencil or pen
Work gloves
Eye protection
Carving words into a tree trunk or stump is often associated with love and romance, but wood carving is also a very intricate and widespread art form. Be careful and take caution when working with sharp tools.
Step 1
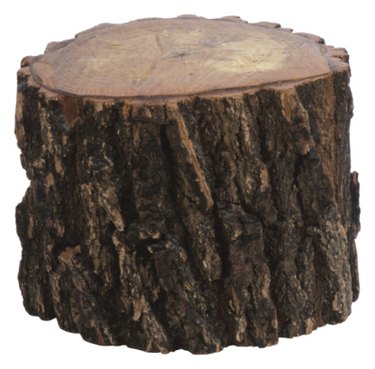
Select the piece of tree you're going to use. Hardwoods are stronger and more durable than softwoods, although softwoods are easier to carve into. Maple is a well-rounded carving choice due to its texture, durability and mid-level hardness. Color is a matter of preference; birch and pine are typically light yellow, walnut ranges from light brown to dark chocolate and oak features both red and white varieties.
Video of the Day
Step 2
Write the words you'll be carving lightly onto the wood with a pencil or pen if possible -- depending on the tree's texture you may want to remove the bark beforehand. Fit the size and spacing to your taste -- you can freely manipulate the ink or pencil guide by using sandpaper to erase errors. If your markings do not show up on the tree's surface, simply skip this step and freehand your carving.
Step 3
Put on a pair of safety glasses and carving work gloves (usually leather or Kevlar) for protection. You may want to protect your ears as well if you're using a chainsaw. Some wood carvers use thumb guards -- an alternative to large gloves -- when working on smaller projects that require finer detail.
Step 4
Use a pocket knife, metal pick, utility knife, chainsaw or other carving tool to carefully carve the words -- use your light pencil or ink design as a reference if you made one. Chainsaws are best for large and more serious projects. The saw's long edge and the tip can be used to cut lines and crevasses as desired. Other carving tools, such as knives and picks, are best when sharp. Using the tip provides greatest control and uniformity. Work slowly in small sections to avoid errors. Gouges and chisels are useful for intricate detail.
Step 5
Apply lacquer or wood stain for protection if desired. These can be painted or sprayed onto the tree's surface -- two or more coats is often recommended. An additional satin or gloss shine coat will help with ultraviolet protection.
Tip
Wear protective gear and work in ample light.
Warning
Never carve into a tree located in a national park or forest -- it is illegal and can result in fines and/or jail time.
Video of the Day