Things You'll Need
8 1/2-by-11-inch paper
Pencil
Ruler
Scissors
Fabric
Straight pins
Sewing machine
Thread
Fiberfill
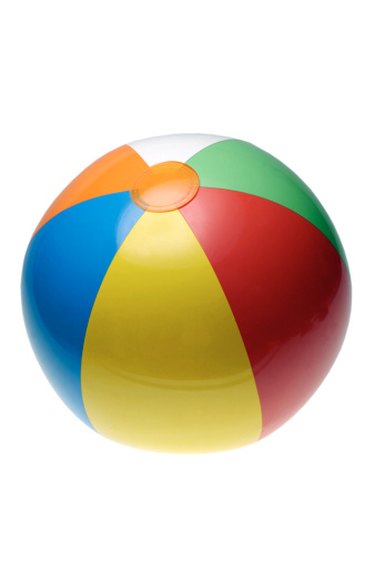
A sewn fabric sphere is made from six strips of fabric that resemble a drawn eye or leaf shape. Both ends are pointed with a wide center. Common widths of the six-leaf shape designs are 2 1/4 inches wide by 8 inches long, 2 3/4 inches wide by 10 inches long and 3 1/4 inches wide by 12 inches long. Fabric spheres make excellent baby and toddler toys. Each sphere is stuffed with fiberfill that is washer-friendly, making the toy sphere easy to clean.
Step 1
Place an 8 1/2-by-11-inch piece of paper on a flat work surface so that the 11-inch edge is on the horizontal axis. Fold the top edge to the bottom and match it with the bottom edge. Crease the fold. Note: When making a sphere of 11 inches long, tape two pieces of 8 1/2-by-11-inch paper together along one edge.
Video of the Day
Step 2
Place the edge of the ruler along the fold in the paper. Measure and mark the desired length of the sphere pattern. For example, a small sphere is 8 inches long, a medium sphere is 10 inches long and a large sphere is 12 inches long.
Step 3
Fold the right side of the paper to the left side of the paper, matching the two marks for the length of the sphere pattern. The edges of the paper will not necessarily line up. This depends on where the two marks were placed. Crease along the fold line. This step finds the exact center between the two marks that were made.
Step 4
Place the edge of the ruler along the vertical fold line. Measure and mark half the distance of the sphere pattern's width. For example, a small sphere is 2 1/4 inches wide. Therefore, measure and mark the fold at 1 1/8 inches. The width of a medium sphere is 2 3/4 inches; half of 2 3/4 inches is 1 3/8 inches. The width of a large sphere is 3 1/4 inches; half of 3 1/4 inches is 1 5/8 inches.
Step 5
Locate the two matched end points for the length of the sphere. Draw a gentle curve from that point to the mark on the vertical fold. A gentle curve looks something similar to an individual with a very small smile on her face.
Step 6
Cut along the drawn line. Open the folds. This is the sphere pattern piece.
Step 7
Pin the sphere pattern piece to a piece of fabric. Cut along the outside edge of the pattern. Repeat this process for a total of six fabric sphere pieces.
Step 8
Place one fabric sphere piece of fabric on a flat work surface so that the front side or patterned side of the fabric is facing up. Turn a second fabric sphere pattern piece over so that the front side or patterned side is on the bottom. Match the edges of the two fabric pieces. Pin along one curved edge. Sew a 1/2-inch seam along the pinned edge.
Step 9
Clip along the seam. Clipping along the seam means simply taking the tip of the scissors and making perpendicular cuts in the 1/2-inch seam every 1 to 1 1/2 inches. The cut is stopped 1/16 inch from the sewn seam.
Step 10
Open the seam and finger-press it flat. This is completed by running the tip of your forefinger over the open seam.
Step 11
Place the opened sewn sphere on a flat surface so that the front side or pattern side is facing up.
Step 12
Flip a fabric sphere pattern piece over so the front side or pattern side is on the bottom. Line the long edge of the pattern piece up with the unsewn edge on the first fabric sphere pattern. Pin along the edge. Sew a 1/2-inch seam. Clip the seam and finger-press.
Step 13
Repeat Steps 8 through 12 for the second side of the fabric sphere.
Step 14
Place one side of the sewn fabric sphere on a flat work surface so that the front side or printed side is facing up. Turn the second sewn fabric sphere over so that the seams are on top. Match the edges of the two sewn pieces together and pin in place.
Step 15
Sew a 1/2-inch seam along the outside edge of the two half spheres. Stop sewing 2 inches from the starting point. This leaves a hole in the sphere to turn it right side out and for stuffing. Clip the seam along the outside edge of the sewn sphere.
Step 16
Turn the fabric sphere so that the front side is on the outside. Open the 2-inch hole. Place your thumb and forefinger inside the hole. Grab the seam directly across from the opening. Pull the seam through the opening. Continue to pull the outer edge of the entire sphere through the hole until the seams are all on the inside.
Step 17
Stuff the sphere through the 2-inch opening.
Step 18
Fold the edges of the fabric along the stuffing hole under 1/2 inch on each side. Pin the opening closed. Hand-stitch the opening closed.
Video of the Day