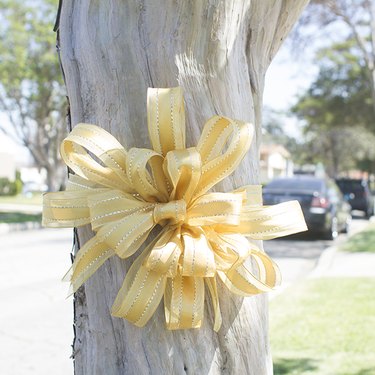
While big yellow ribbon bows are often tied around trees to symbolize military support, they also look great for other occasions such as anniversary or baby shower decor.
Things You'll Need
Video of the Day
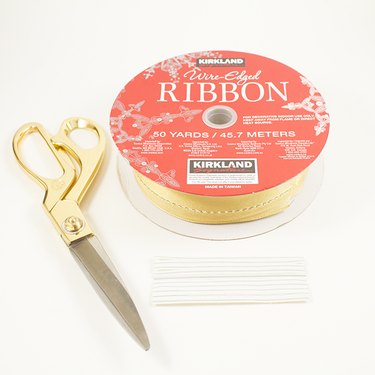
- Wired yellow ribbon
- Scissors
- Twist tie or thin ribbon
Video of the Day
Step 1: Choose the Ribbon
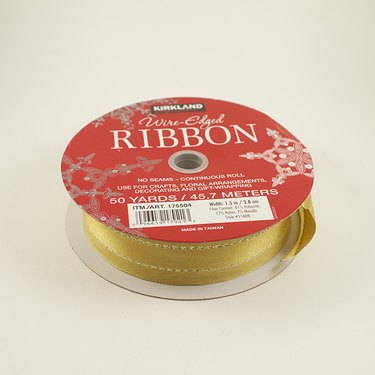
Choose a yellow ribbon thick in width.
Step 2: Wrap the Ribbon Around Your Fingers
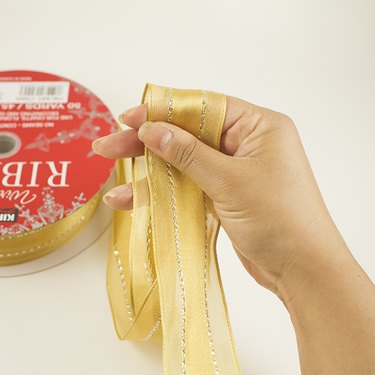
Wrap your ribbon around your index and middle fingers on one hand making a small loop. Make sure to hold this tight throughout the project. Do not let go!
Step 3: Make a Top Loop
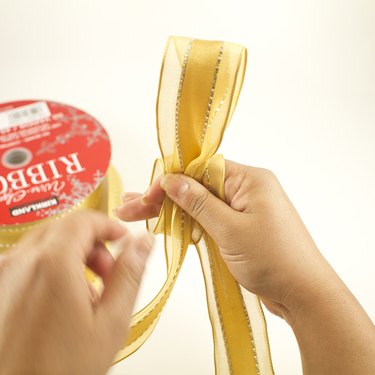
Make your first loop and hold it between your index and middle fingers. If you have shiny ribbon, you will need to twist your ribbon to ensure the shiny side is showing up front.
Step 4: Make a Bottom Loop
Make a bottom loop holding tightly with your index and middle fingers. You will now have one top loop and one bottom loop. Make sure to hold tightly with your fingers.
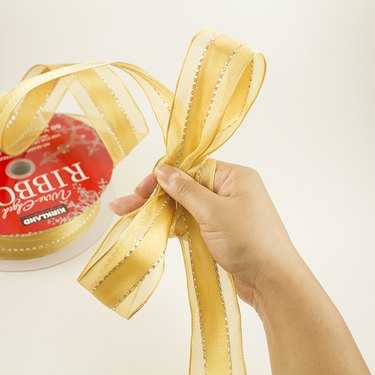
Step 5: Make Additional Loops

Continue making at least three more loops on the top and bottom. You should have a minimum of eight small loops. Again, while making each loop, be sure to hold tightly with your fingers so your bow doesn't fall apart.
Step 6: Make Additional Large Loops
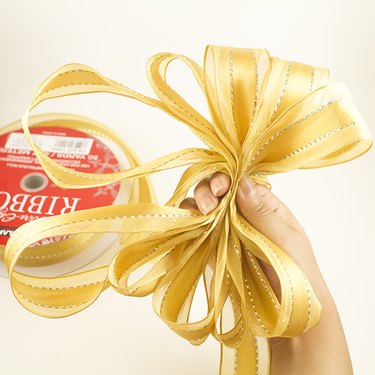
Now that you have eight smaller loops, in order to make the bow larger you will need to make another set of eight larger loops. Use the same method as step 5. Start from the top, make a large loop and hold it tightly with your fingers. Now make a large loop at the bottom.
Step 7: Continue Making Large Loops
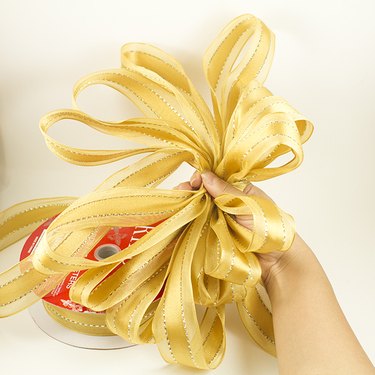
Continue making at least three more large loops on the top and bottom. You should have a minimum total of eight large loops and eight smaller loops. While making each loop, be sure to hold tightly with fingers so your bow doesn't fall apart.
Step 8: Fasten the Twist Tie
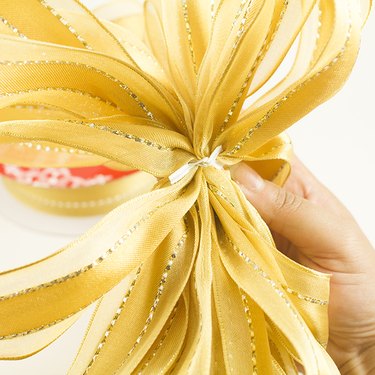
Take your twist tie or thin ribbon and run through the loop wrapped around your hand and then around the 16 loops you created to make the bow. Twist the tie together to hold the ribbon into place, making sure all the loops are tightly secured before letting go.
Step 9: Cut the Ribbon
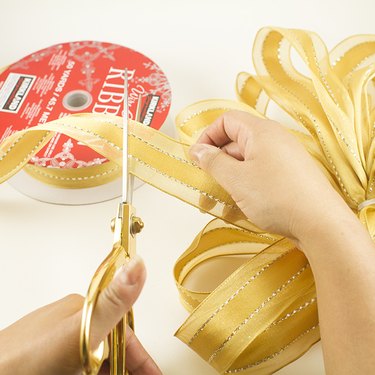
Cut your ribbon from the spool. Trim the ends of your bows to your desired look.
Step 10: Fluff the Bow
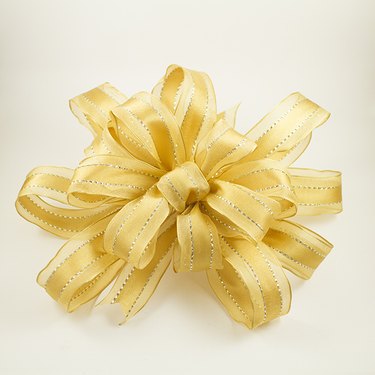
Fluff up your bow and you're good to go!