Things You'll Need
Tanned rabbit pelts
Borax, soda, or mild detergent
Water
Bucket or tub
Sponge
Tanning oil, such as mink or neatsfoot oil
Household ammonia
Paintbrush
Plastic sheeting
Plywood
Nails or tacks
Sandpaper (optional)
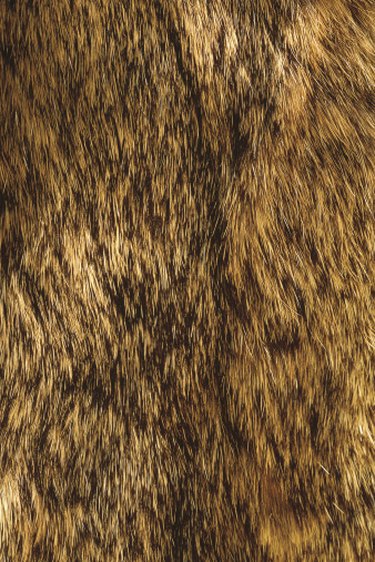
An essential step in turning animal skins into leather is softening the tanned pelt to make it flexible. After tanning, a pelt will be stiff and hard to work with and must therefore be made soft and pliable again through a method known as "breaking the skin." Because of their small size, rabbit pelts are great for tanning beginners to practice on. However, because they are so small, it's best to wait until you have a number of rabbit pelts that you can tan and soften all at once.
Step 1
In a bucket or tub, mix up a solution of 1 oz borax, soda or mild detergent per gallon of water. Thoroughly wash the pelts in this mixture and rinse them several times in lukewarm water, squeezing out excess water each time. Do not wring the pelts because this will ruin them. Hang the washed pelts in the shade to dry until they are just damp.
Video of the Day
Step 2
Make fat liquor oil by mixing together a 1/4 tsp. household ammonia, and 1 tsp. each of water and tanning oil. This makes enough fat liquor oil for four pelts weighing about 2 oz each. Adjust the amount according to how many pelts you have.
Step 3
Take the damp pelts and lay them hair-side down on a flat surface. Apply fat liquor oil to each pelt, using a paintbrush to spread it evenly. Use approximately half of the fat liquor oil. Let the pelts sit for about 30 minutes, and then apply the rest of the fat liquor oil. Cover the oiled pelts with plastic sheeting and leave them overnight.
Step 4
If the hair on the pelts is damp, drape them over something with the hair facing out and allow it to dry. Otherwise, nail or tack the pelts to a plywood board or other flat surface, stretching the skins tightly, and allowing them to begin drying.
Step 5
Do not let the pelts dry fully. Remove them from the boards while they are still somewhat damp and begin to work the skins. Working a small area at a time, pull the skin in all directions, being careful not to pull so hard as to tear it. The leather should begin to soften and turn white. You can also work the pelts by rubbing and pulling them over a hard edge, such as that of a table or the back of a chair.
Step 6
Wet the leather with a damp sponge if it begins to get too dry. Repeat Step 4 by dampening the drying leather and re-working it until the pelt begins to remain soft as it dries, instead of becoming hard. Nail or tack the pelts back on to the plywood if you wish for them to dry flat.
Step 7
If necessary, the skin can be further softened by buffing it with a coarse sandpaper block. Brush the fur side with a small hairbrush, and then massage a small amount of tanning oil into the skin side to finish.
Tip
Because rabbit pelts breathe -- they have pores that allow air to circulate -- they do not need to be stored in air-tight containers and can instead be stored in a cardboard box.
Video of the Day