Things You'll Need
Hand-sewing needle
Thread
Pins
Chalk
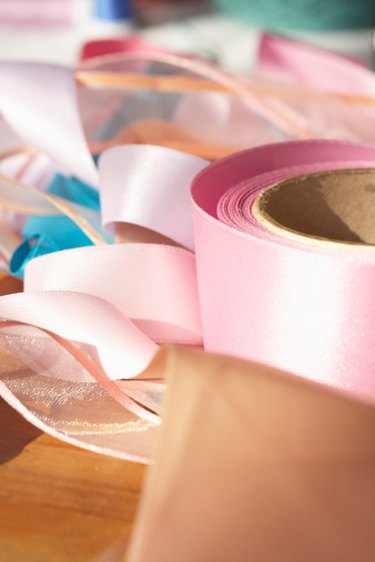
Sewing ribbon onto fabric is a way to enrich the style. Fabric ribbon of any kind can be used, including taffeta, grosgrain, satin, double-faced satin, or sheer mesh. Two pieces of ribbon can be tacked to the fabric to create ends that can be tied into a bow or a piece of ribbon can be sewn to fabric in a design to embellish the fabric. The ribbon can be stitched by hand or by machine for bigger projects.
Step 1
Fold the ribbon edge back 1/2 inch towards the wrong side of the ribbon.
Video of the Day
Step 2
Sew the folded piece to the ribbon 1/4 inch from the folded edge of the fabric using a running stitch. A running stitch is a stitch where the needle is inserted through the top of the fabric, then through the back about 1/4 inch away, parallel to the fabric edge.
Step 3
Use the chalk to mark where the ribbon is going on the fabric.
Step 4
Fold the ribbon edge another 1/2 inch inward, encasing the previous fold in the new fold.
Step 5
Stitch down the ribbon to the fabric at the fold edge and 3/8 inch from the fold line, stitching the folded piece down. You are making two rows of stitches.
Step 6
Repeat the steps with the other side of the fabric, and tie the ribbon edges together to form a bow.
Step 7
If you are making a design with ribbon, pin the ribbon in place on the fabric and stitch down the center of the ribbon, lengthwise to secure it to the fabric.
Video of the Day