Things You'll Need
Aida cloth
Cross-stitch pattern
Needle
Thread
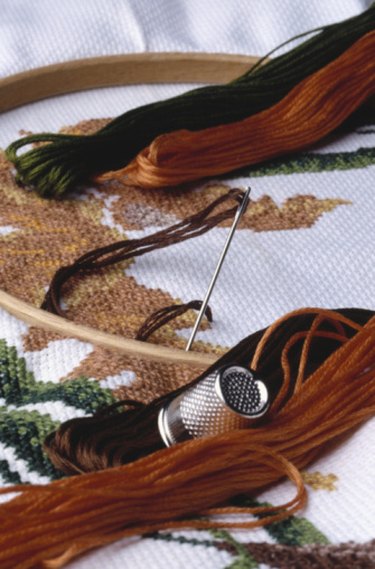
Cross-stitch projects typically follow a pattern printed on paper that you use as a reference to create the design on the cross-stitch fabric. Most of these patterns incorporate numerous colors of thread to create the picture represented by the pattern. Therefore, as you make your way through the project, you will need to change colors. For some projects, you will need to change colors frequently, while for others, you may only change colors a few times.
Step 1
Thread your first color onto the needle and use the pattern to determine where on the Aida cloth you must start. It is easiest to start in the middle of the fabric and the middle of the pattern.
Video of the Day
Step 2
Start the stitching by pulling the needle and thread through the front of the Aida cloth, leaving a short tail in the back. Hold the tail securely with your finger and create your first 'x.' As you make the next couple of stitches, watch the back so the tail is secured beneath these first couple of stitches.
Step 3
Complete the stitching for the first color that you chose. This may involve completing one row of stitches or a specific area of stitches based on the pattern you are using.
Step 4
Slide the needle underneath the stitches at the back of the Aida cloth to secure it. Cut the thread to finish using that color.
Step 5
Thread the needle with thread of the next color you need.
Step 6
Begin the stitching in the new color by leaving a short tail at the back and ensuring that tail is secured beneath the first couple of stitches.
Step 7
Finish the stitching in that color by sliding the needle through the back side of the stitching and cutting the thread at the end.
Step 8
Repeat for all of the colors needed for your project.
Tip
Always make sure all of your stitches are created the same way, starting in the same direction.
Thread different needles with each color to avoid having to re-thread the needle multiple times. This works best when you are using many colors in many different areas on the project.
Video of the Day