Things You'll Need
Pine Board, 1-inch by 8-inch by 10-inch
Pine Board, 1-inch by 8-inch by 8-inch
Trophy Picture Printed on 8-inch by 10-inch paper
Scrap wood
X-Acto knife
Carpenter’s square
Scotch tape
Pencil
C-clamp
Jigsaw
Electric Drill
Drill Bit
Router
Decorative router bit with pilot bearing
Coarse, medium, fine and extra-fine grit sandpaper
Tack cloth
Clean wide paint brush
3 clean metal cans
Dark wood stain
Clean cotton rags
Mineral spirits
Linseed oil
Regular steel wool
Clear Varnish
#0000 Steel wool
Paste Wax
Electric Drill
1/8-inch Drill bit
Wood glue
2 flathead wood screws, 1 1/4-inch
Magnetic hand screwdriver
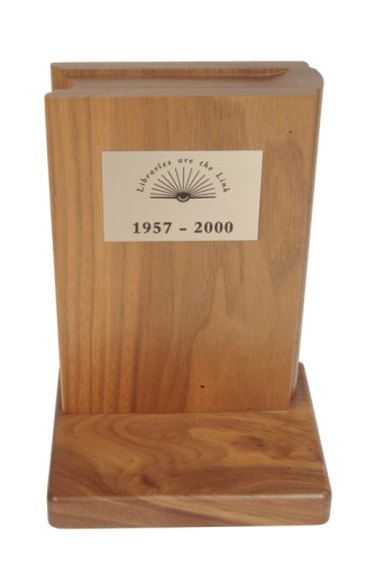
Athletes and students of all ages love to earn awards for their achievements – a trophy hand made out of wood sends a special message to the recipient. Presenting a handmade wooden trophy instead of one purchased ready-made rewards success in a very personal way. Sure to be cherished for years, a one-of-a-kind wooden trophy can be crafted by anyone with basic woodworking skills and without doing any wood carving.
Step 1
Create the trophy template for the face of the trophy. Lay the trophy printout on a piece of scrap wood or cardboard. Cut out the trophy shape with the X-Acto knife.
Video of the Day
Step 2
Place the template on one of the pine boards. Tape the template to the pine board. Trace the outline of the template onto the board with a pencil. Remove the template and the tape from the board.
Step 3
Clamp the board which has the template outline on it to the work table. Half of the board should be hanging off the table. Use the jigsaw to cut around the outside edge of the template outline on the half of the board hanging off the table. Release the clamp, turn the wood so the other side extends beyond table and re-clamp. Cut around the outside edge of the trophy shape on the second side. Turn and re-clamp the wood as needed until all the edges are cut. This is the trophy top.
Step 4
Create the base. Take the second pine board and clamp to the table at one corner with two sides extended slightly beyond the table's edge. Insert the decorative bit into the router. Stand facing the exposed wood. Place the router bit at the farthest right corner of the exposed edges with the pilot bearing at the bottom of the bit lined up with the bottom of the wood's edge and the base plate resting on the top of the wood. Cut along the edges of the two sides, moving counterclockwise to create a smooth edge. Turn off the router, set aside and readjust the wood to expose the other two sides and repeat. Release from clamp.
Step 5
Sand the trophy top and base fully until all edges and services are smooth. Start with the coarse grit sandpaper and work up to extra fine grit sandpaper.
Step 6
Stain the trophy base in a well-ventilated area. Wipe off sawdust and dirt from the base with a tack cloth. Dip the wide paintbrush into water and slightly wet the base. Apply the stain to the top and sides of the base with the clean cotton rag to the flat surface and edges then fill in any gaps along the edge decoration with cotton swabs. Wipe off excess stain with the paper towel. Allow to dry. Apply stain to the bottom of the base and allow it to dry. If the stain dries patchy then apply a second coat in the same manner.
Step 7
Clean top for varnishing. Lay the trophy on clean newspapers in a well-ventilated work area. Wipe the trophy clean of sawdust and dirt with a tack cloth. Pour 1 cup mineral spirits into the metal can. Add 2 tsp linseed oil. Clean trophy thoroughly by dipping the steel wool into the mixture and scrubbing the wood. Wipe with a clean cotton rag.
Step 8
Varnish the trophy top. Mix first coat of varnish. Dilute one part mineral spirits into two parts varnish. Coat all sides of the cut trophy top except for the bottom using a foam brush dipped in the diluted varnish. Prop up the trophy so it is resting on its bottom edge and allow it to dry for approximately ten hours. Stand lightly with extra-fine grit sandpaper then apply a second coat of undiluted varnish with a clean foam brush. Allow to dry and repeat up to five times. Buff the trophy with #0000 steel wool once the last coat is dry then apply paste wax with the cotton rag for lustrous shine.
Step 9
Drill hole in trophy base. Lay the scrap wood on the table and place a layer of newspaper on top to protect the stained trophy base. Place the trophy base face down onto the wood. Find the center of the square base with a ruler and mark. Take the trophy top and place on to the bottom of the base directly over the center mark and use the pencil to draw a rough outline of the trophy top's bottom. Move the trophy top aside. Drill two holes with the 1/8-inch bit into the center, within the boundaries of the outline.
Step 10
Attach the trophy top to the base. Turn the trophy base face-up and place the trophy top centered over the drill holes. Draw a light outline around the trophy top where it meets the base. Lay the trophy top flat on the table with the bottom side flush with the table's edge and clamp in place. Set one wood screw into the head of the magnetic hand screwdriver and place on the table close by. Sand the bottom of the trophy top with coarse grit sandpaper. Apply a thin layer of wood glue to the base then quickly register the outline at the center of the top of the base with the bottom edge of the trophy top. Hold in place with one hand, pick up the loaded screwdriver with the other and screw the base to the top through one of the drilled holes. Reload the screwdriver with the second screw and screw into the other drilled hole. Tighten both screws until the heads are recessed into the bottom of the base. Release the trophy top from the clamp and stand joined trophy upright. Wipe away any excess wood glue from around the bottom of the trophy cup.
Tip
A trophy can be whatever shape you like – have fun and get creative.
Warning
Use eye protection when cutting and drilling wood.
Video of the Day