Things You'll Need
Graph paper
Yardstick
Chalk
Level
Stencil set with registration guides
Low-tack tape
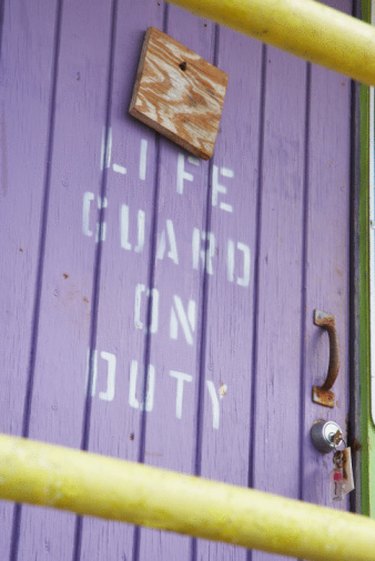
You can buy letter stencil sets at craft shops and office supply stores in a wide variety of fonts and sizes. You can even download many customizable free sets from the Internet to print out yourself. However, there is still the challenge of spacing the letters evenly so that the stenciling job looks professional. When selecting stencils, purchase a set with registration marks built in whenever possible to simplify the stenciling process. Registration marks are lines or holes around the letters on the stencils that you can line up with similar marks on adjacent stencils to ensure even spacing. If your letter stencils do not have registration guide marks, however, you can add your own.
Using Stencils with Registration Marks
Step 1
Measure the space you want to letter with the stencils.
Video of the Day
Step 2
Measure the height of your stencil letters.
Step 3
Sketch your lettering design on graph paper. Make the sketch to scale by using a ratio. For example, designate one square of the graph paper as 1 inch. If your letters are 2 inches tall, you would use two squares for each letter. Play with the design and placement of the words to fit them into the space you want. If the words take up too much space on one line, move a word or two to a different line so the letters do not look squeezed together.
Step 4
Use a yardstick to draw horizontal lines in chalk on the surface where you want the letters. If the letters will be on a wall, use a carpenter's level to ensure that the lines are level. If the letters are on a shirt or other object, measure the lines carefully to ensure that they are level and straight.
Step 5
Tape the letter stencils to the wall or object with low-tack tape, such as painter's tape.
Step 6
Line up the bottom of the letters with the chalk lines.
Step 7
Line up the registration guide marks on the stencils with each other to make the letters evenly spaced. Now you are ready to use paint or whatever you like to create the letters on the object.
Adding Registration Marks to Stencils
Step 1
Draw a horizontal line lightly on the stencil that is level with the top of the letter.
Step 2
Draw another horizontal line that is level with the bottom of the letter.
Step 3
Place four vertical marks on the stencil, one on the left and one on the right on each of the horizontal lines. The marks should be equal distances from the sides of the letter. The marks form the corners of an imaginary rectangle around the letter.
Step 4
Experiment with the process so that the spacing is not too little or too great between letters when the registration marks are lined up. You will have to use your own judgment about the way it looks.
Tip
Step back from the stencils and make sure the lettering looks good to you before you begin to paint the letters.
Some letter stencils have two layers so that areas in the middle of letters that are not connected to the sides can be stenciled. An example of this is the inside of the top half of a capital letter A. Line up the registration guide marks on both layers in this case.
Video of the Day