Things You'll Need
3/4-inch plywood
Table saw or hand saw
Cement backerboard
Stanley knife
2-inch galvanized deck screws
Drill
2-inch galvanized backerboard screws
Tiles
Tile spacers
Thin set mortar
Notched trowel
Tile nippers
Eye protection
Grout
Grout float
Rag or sponge
Caulk
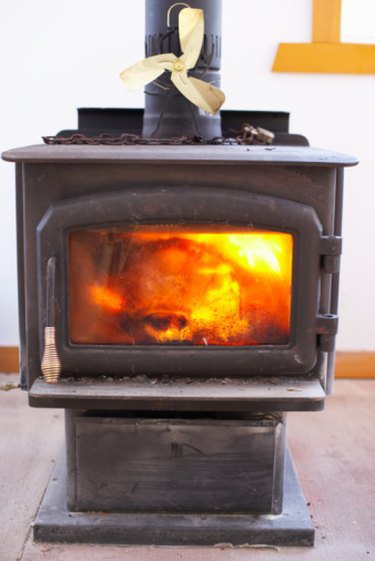
Hearth pads are designed to protect the area around a stand-alone stove. They require a certain amount of clearance space, as well as a high level of insulation value. Most hearth pads are raised from floor level and are comprised of a couple layers of insulating material with a heat-resistant top layer; tile is one of the most common. Making your own tile hearth pad is not very complicated and is a good first-time tiling project.
Step 1
Read the manual on your stove to determine the appropriate clearance space and insulation requirements. Design the shape of the hearth pad, ensuring it meets the recommended clearance space.
Video of the Day
Step 2
Draw the shape of the hearth pad onto the plywood and the backerboard. Cut the plywood with the table saw or hand saw and the backerboard with a Stanley knife.
Step 3
Set the plywood in position and use the deck screws to secure it to the floor. Use one screw every 8 to 10 inches around the outside, with only a couple of screws in the center of the plywood. This is to minimize the chance of a screw conducting heat into the floor. Place the backerboard over the plywood and screw down, using backerboard screws in the same manner as the plywood.
Step 4
Dry set the tiles on top of the backerboard hearth to work out the tile design. Begin from the front edge working backward and outward and use the tile spacers to space the tiles evenly. Remove the tiles and set next to the hearth pad on the floor ready for installation.
Step 5
Spread a thin layer of about 1/8-inch of thin set mortar onto the hearth pad, starting at the front like you did for the dry set. Spread enough for about five tiles, then use the notched edge of the trowel to make furrows in the mortar. Gently press the tiles down into the mortar, spacing as you did in the dry set with tile spacers. Continue spreading thin set and setting tiles until you only have the tiles that need cutting and the edges of the hearth pad remaining.
Step 6
Put on your eye protection, then cut the tiles that need resizing to fit into the hearth pad design with the tile nippers. Spread mortar on the backs of these tiles and press them into position. Cut the edge tile to size and install it as you did the other cut tiles. Remove all the tile spacers and leave the hearth pad for 24 hours to let the mortar set.
Step 7
Hold the grout float at a 45-degree angle to the hearth pad and use it to sweep grout into the joints between the tiles. Do this for all the joints except the ones between the last of the edge tile and floor. Wipe off the extra grout with a damp rag or a damp sponge, then wait 30 minutes before giving the hearth pad a once-over with a fresh rag or sponge to remove the last of the grout residue.
Step 8
Run a line of the caulk into the joint you left without grout. Wet your finger and use it to smooth over the caulk line. Let the hearth pad set for three days before proceeding with installing the stove on top.
Video of the Day