Some quick needlework can turn a blank piece of canvas into a handcrafted treasure, and that's where needlepoint and quickpoint come in handy. These two related arts take a single piece of thread and turn it into a slightly pixelated version of the image off which you are working. Quickpoint is easier for beginners, while needlepoint is a little more complicated. The major difference between the two is the type of canvas you are using.
Step 1
Select the thread matching the color of the smallest and center-most section of the pattern. You should start with the smallest sections of the pattern, then move onto the larger sections. On a quickpoint canvas, the pattern is printed directly onto the canvas. With needlepoint, you will need to count the stitches based on the instruction pattern. Consult the instructions for more information on the positioning of stitches.
Video of the Day
Step 2
Thread your needle by inserting the end of a piece of thread into the eye of the needle. Many people who sew will dampen the end with saliva to hold the thread together.
Step 3
Tie a knot in the tail of the thread, leaving a 3/4-inch "tail" at the end.
Step 4
Push the needle through the top-left corner of the center section of the pattern. The needle should be pushed through from the back to the front. Pull it through so that the knot hits the back of the canvas.
Step 5
Move up and to the right, one square, and push the needle through the canvas again. Pull the needle through to the back so that the thread pulls tight against the canvas.
Step 6
Move the needle down one square, next to the original stitch. Hold the tail against the back of the canvas between these two sections of thread. Pull the thread through again so that it touches the back of the canvas, and holds the tail down.
Step 7
Repeat this step to finish the top row of the needlepoint.
Step 8
Rotate the canvas, and move up a row. Push the needle from the back toward the front, through the canvas, at the new top-left corner. Repeat the process to finish the next row.
Step 9
Repeat this process to finish the section. Return to the beginning of this process, and move to the next largest section of your needlepoint pattern. Complete this section, and move on to the next largest section. Keep repeating this, until you complete the pattern.
Tip
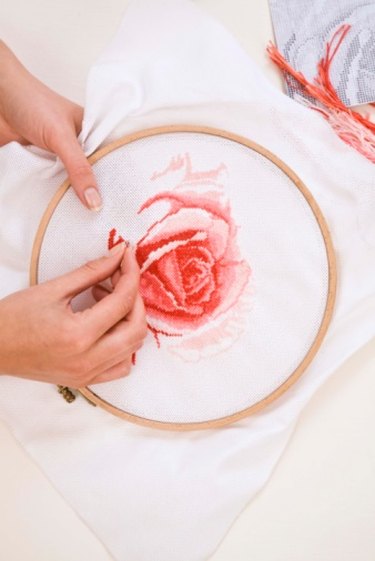
You can use a hoop or frame to hold the canvas taut while you are working on the needlepoint. Loosen the screw on the outer section of the hoop, and separate the pieces. Put the smaller hoop beneath the canvas and the larger hoop on top, then push the hoops together and tighten the screw. This holds the canvas down while you are working.
Video of the Day