Things You'll Need
Heavy gloves
Screwdriver
Hammer
Pliers
Measuring tape
Handsaw
Clear construction adhesive
Duct tape
Scissors
Sandpaper
Acrylic, latex or spray paint
Paintbrush or sponge
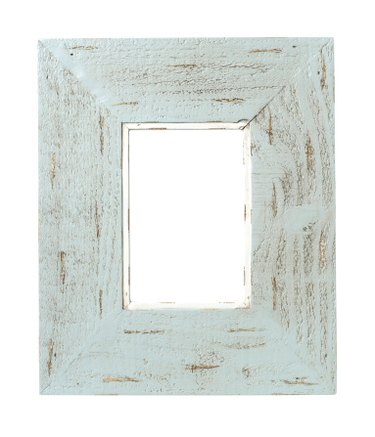
Rework old picket fence panels into decorative picture frames for a country, French country or rustic style room. Old wood pickets have a distinctive charm with their rough texture and often peeling paint. Even if shabby chic decorating is not your preference, you can still use the wood from old fence panels to make picture frames. A few decorative touches will make the old wood pieces look fresh and new.
Step 1
Put on work gloves and disassemble the pickets from an old fence panel by removing the screws used to attach the pickets to the frame. Hammer the back side of individual pickets away from the frame to loosen the nails if those are used instead of screws. Remove nails with pliers.
Video of the Day
Step 2
Measure and cut two wood pickets equal to the desired width of the picture frame. Measure the width of the pickets and multiply the number by two.
Step 3
Measure and cut two pickets equal to the desired height of the picture frame, minus the doubled width of the pickets. For example, if the individual pickets are 2 inches wide and the frame should be 12 inches tall, cut two 8-inch pickets to make the vertical sides of the frame. The vertical sides fit flush between the two horizontal (width) pickets, so you must account of the width of these panels in the overall dimensions.
Step 4
Run a bead of construction adhesive on the edge of each end of the vertical (height) pickets. Press the horizontal (width) panels at a 90-degree angle to the vertical pickets to create the shape of the frame. Cover the back of the seam with duct tape to hold it in place while the glue dries. Remove the duct tape after 24 hours.
Step 5
Lightly sand the fence panel frame to remove any loose paint. Wipe away the sanding debris with a wet cloth.
Step 6
Paint the frame using acrylic, latex or spray paint. Allow the paint to dry. (Omit painting the frame if you prefer a rustic look.)
Tip
Miter the corners of the four-piece fence panel frame using a miter box for a more finished look. Cut the end of each panel at a 45-degree angle, one to the left and one to the right. The pieces will fit together at the cut seams.
Warning
Always wear gloves when handling old wood as the pieces likely will have splinters.
Video of the Day