Things You'll Need
Steel brush
Garden hose
Oxygen bleach
Bucket
Sponge
Cloth
Painter's tape
Dropcloth
High-temperature spray paint
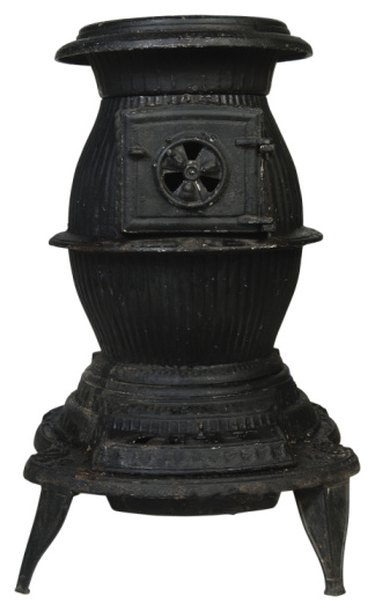
Pot belly cast iron wood stoves can last virtually forever with the proper care. After years of use, though, you may find that your pot belly stove needs a makeover. A coat of new paint -- after a good cleaning -- can restore your pot belly stove to almost new condition. Of course, you can't use just any paint on a wood stove. Purchase high-temperature paint designed for wood stoves and grills, available at home and garden centers and specialty paint stores.
Step 1
Empty the pot belly stove of all wood and ashes, if necessary, and dispose.
Video of the Day
Step 2
Remove all of the removable pieces such as the ash tray and top plate. If the stove is currently installed, detach the stove from the pipe. Move the stove and its pieces outdoors.
Step 3
Scrub any areas of rust or corrosion with a dry wire brush.
Step 4
Wash the stove thoroughly, by first rinsing the inside and outside of the stove with a garden hose until the ash buildup has been washed away.
Step 5
Dissolve 1 lb. of oxygen bleach in 1 gallon of hot tap water. Scrub the outside and inside of the stove with the solution using a sponge. Rinse the stove off with water. Allow the stove to dry.
Step 6
Sand the entire outside surface of the stove lightly. Wipe it clean with a damp cloth and allow it to dry.
Step 7
Mask off any areas of the stove you don't want painted with painter's tape, if necessary. Place the stove on a dropcloth.
Step 8
Shake the high-temperature spray paint for at least one full minute. Hold the can 1 foot away from the stove and spray a very thin mist coat to the entire surface. Wait a few minutes, then spray on an even coat of paint, spraying in an overlapping back-and-forth motion. If another coat is needed, allow the paint to dry for overnight before re-coating.
Step 9
Install or re-install the pot belly stove after the last coat of paint has dried. No long curing time is required before using, as the heat from the fire will cure the paint. Heat the stove slowly the first time you use after painting.
Tip
Your pot belly stove can be painted in any color high-temperature paint, not just black.
Warning
Do not disassemble the pot bellied stove unless it is completely cold.
Video of the Day