Things You'll Need
Red, blue and green craft non-water-based paint
Cardboard plate
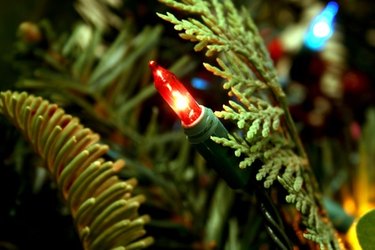
Creating custom Christmas decorations puts you into the holiday frame of mind. A simple and inexpensive way to kick off the holiday season while creating a festive atmosphere within your home is to paint clear Christmas light bulb caps various colors. You can either customize exterior Christmas lights or add character to the family Christmas tree.
Step 1
Remove the light bulb caps from a string of Christmas lights. Clean the outsides with water and a wet rag.
Video of the Day
Step 2
Secure the light bulb in place gently with a small vise grip, and begin applying the paint to the outside of the light bulb cap. Choose colors that are typically associated with Christmas, such as red, green and blue, or select more unusual colors to suit your home decor.
Step 3
Apply as many coats of paint to the outside of the light bulb as needed until the paint thoroughly covers the bulbs. Clean your paintbrush in a cup of water between colors. Once the outsides have been painted, place the light bulb caps onto a cardboard plate or hang them upside down and allow the excess paint to drain off the light bulb covers while they dry. If you're painting a working light bulb, use non-water-based paint.
Step 4
Put the painted caps back over the light bulbs after they've finished drying.
Step 5
Plug the light bulb strands into a power source, and string them along your Christmas tree or hang them on the outside of your home.
Tip
Allow the caps to dry for four hours.
Video of the Day