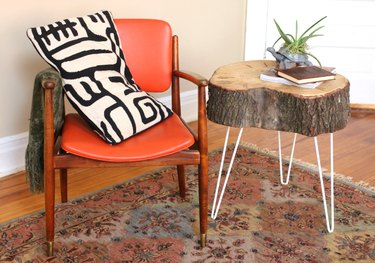
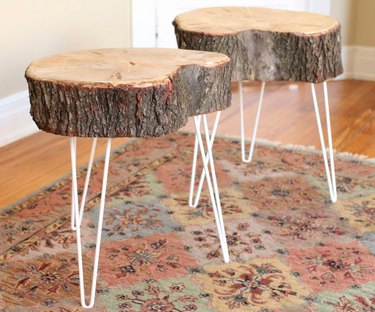
Make a pair of rustic end tables from the sliced portion of a tree trunk and a trio of hairpin legs. This beginner-level furniture project can be put together over a weekend. Use them as tables in your living room, nestle them in a cozy corner or place them in the bedroom as bedside tables.
Things You'll Need
Video of the Day
- Tree stump slice (23-inch diameter, 6.5-inches thick)
- Broom
- Hand planer
- Palm sander
- Medium-grit sandpaper, for example, #P60
- Hairpin legs
- 9 wood screws, #10 1-inch
- Screwdriver
- Wood stabilizer
- Paintbrush
- Low-odor clear finishing spray
- Oil-based polyurethane topcoat finish
Video of the Day
Selecting Wood and Table Legs
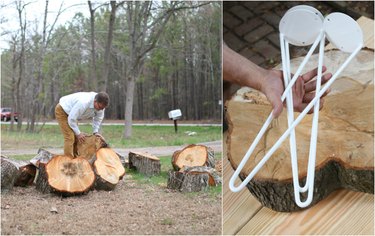
The key to making a rustic end table is to find a good tree stump slice. Use slices from a tree in your own yard, look for recently cut trees on Craigslist or at a local lumberyard. Most hardwoods will work, for example, oak, walnut and cedar, but stay away from soft, sappy woods like pine. A "good" tree stump for an end table has level surface cuts, meaning the top and bottom of the stump are flat, without any major angles.
Allow a freshly cut stump to dry indoors for at least three months before working with it. Wood is a natural material, and it will continue to change and even crack with age as it fully dries out.
You can order hairpin legs online at custom heights, with custom powder-coated finishes, such as Etsy, or even uninstall the legs from vintage furniture that needs a new life. Standard end tables measure 20 to 24 inches high. When looking for or ordering hairpin table legs, subtract the height of the tree stump slice from your ideal table height to determine leg size.
Exposing the Wood-Grain Surface
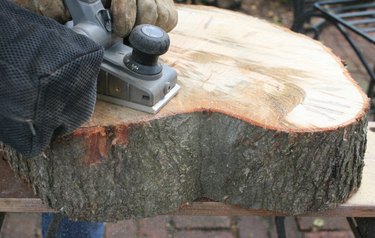
Rest the tree slice on a flat, stable surface. Clear any remaining dust and debris by sweeping it away with a broom. Use a hand planer to quickly strip away the top layer of wood, exposing fresh wood grain and creating a smoothed, even top surface for the tabletop.
Smoothing the Table Edge
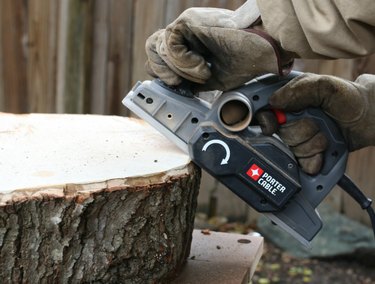
Create a smoothed edge around the surface and top layer of bark by holding the planer on an angle, pressing it into the top edge all the way around the stump.
Sand the Table Surface
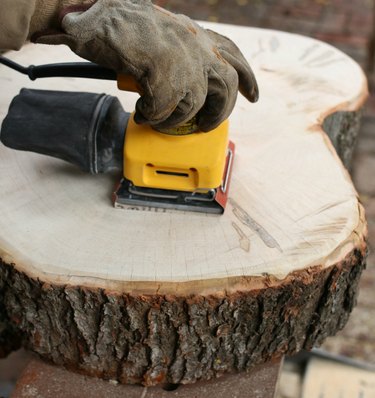
Smooth the surface of the tabletop to a fine finish using a palm sander and medium-grit sandpaper.
Apply Wood Stabilizer
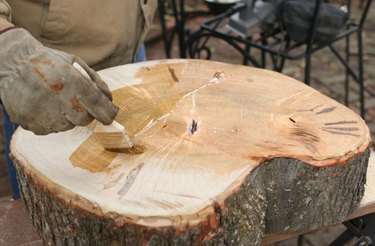
Clear the tabletop surface from sanding; then generously apply a wood stabilizer into the surface of the stump, which helps prevent any future checking, cracking or wood warping. Use a paintbrush to spread the stabilizer, which the wood will soak in.
Leg Placement
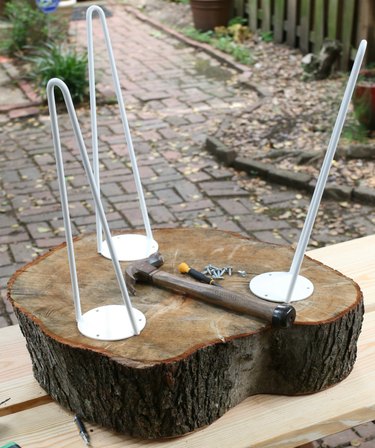
Turn the stump over to install the hairpin legs. Eyeball the placement, forming a rough triangular shape between each leg.
Installing the Hairpin Legs
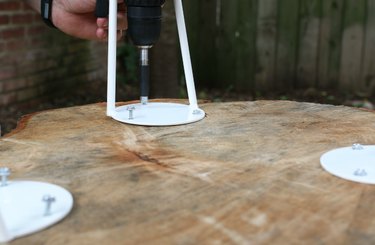
Using #10 1-inch wood screws, drill each leg directly into the tree stump. Turn the table over onto a flat surface, making sure each leg is resting on the ground and the surface of the table is level.
Preserving the Bark Edge
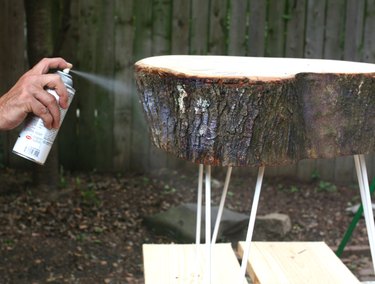
Apply a low-odor clear finishing spray in thin, even coats all the way around the live edge of the stump. Doing so helps preserve the bark and keeps it from shedding debris once it's inside your home.
TIP: At this stage, apply a wood stain if you prefer a finish other than the natural wood grain.
Apply Finish
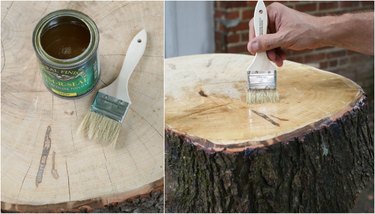
Apply an oil-based polyurethane topcoat finish on the surface of the tabletop to preserve the natural wood look and add protection and durability.
Dry Finish
Allow the finish to dry fully, at least 24 hours, before bringing the table indoors.