Things You'll Need
Screwdriver
Electrical tape
A doorbell that does not function can be frustrating for visitors and homeowners alike. Replacing an existing electric doorbell requires basic wiring that some might not feel comfortable with. An alternative is to install a battery-operated doorbell that not only simplifies the installation process but also allows for the placement of multiple doorbell buttons and multiple receivers throughout the home.
Step 1
Turn off the power to the existing doorbell. Locate a breaker panel and turn off power to the doorbell to prevent the possibility of electrical shock.
Video of the Day
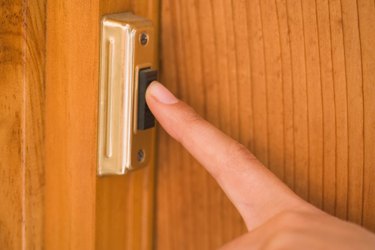
Step 2
Remove the screws holding the doorbell push button in place. Pull the doorbell from the wall and loosen the contacts holding the two wire in place to the push button. Tape the exposed wire ends with electrical tape and push back into the wall.
Step 3
Install batteries into the battery-operated push button doorbell and mount over the opening where the old doorbell was installed. Attach the battery-operated doorbell with screws or double-sided tape, depending on the model and personal preference.
Step 4
Choose a location inside the home where the doorbell receiver can be plugged into an electrical outlet for power. Select a location where the receiver can be easily heard throughout the home.
Step 5
Turn on the doorbell receiver and adjust the volume, if necessary, for proper operation.
Video of the Day